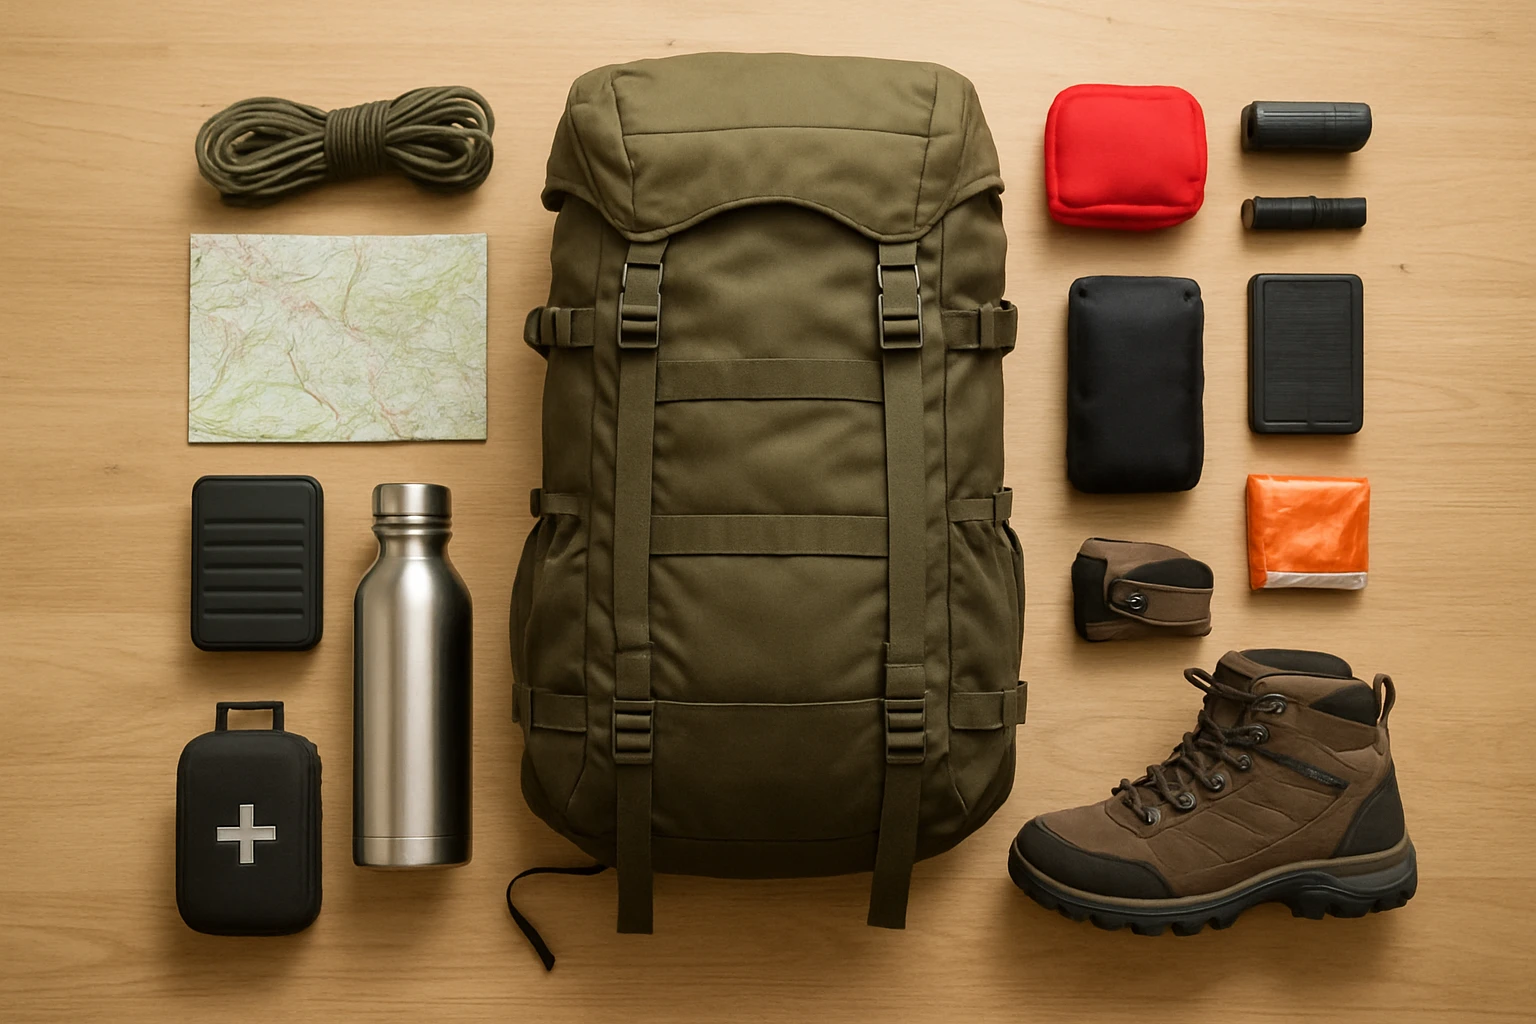
How to Pack a Bug Out Bag for Hiking Terrain: Essential Lightweight Checklist for Trails, Mountains & Backcountry
Introduction
In this guide one will learn how to assemble a compact yet comprehensive bug out bag that can sustain a hiker through unexpected emergencies on trails, mountain ridges, and remote backcountry areas. The emphasis is on lightweight equipment, efficient organization, and redundancy without excessive bulk. By following the steps below a reader can create a ready‑to‑go pack that balances survival capability with comfort for multi‑day excursions.
Understanding the specific challenges of hiking terrain—variable weather, limited water sources, and uneven footing—helps one prioritize items that deliver the most value per ounce. The checklist presented combines proven outdoor principles with four carefully selected Amazon products that serve as practical tools for each major category.
Even if a reader chooses not to purchase the recommended gear, the methodology remains applicable because the focus is on function, not brand. Nevertheless, the products listed have been chosen for their high ratings, durability, and price‑to‑performance ratios, making them sensible choices for most hikers.
What You'll Need
- A durable, modular backpack sized for your load.
- A gravity‑fed water filtration system.
- Lightweight shelter, sleeping bag, and insulation.
- Compact food, cooking, and nutrition supplies.
- First‑aid kit, multitool, fire‑starter, and navigation aids.
- Clothing layers suited to temperature swings.
Step 1: Select the Right Backpack
The foundation of any bug out bag is a sturdy, well‑designed pack that distributes weight evenly and offers modular attachment points. For most hikers a 40‑50 L capacity provides enough room for shelter, food, and emergency gear while remaining manageable on steep ascents.
The Falko Tactical Backpack excels in this role. It features a 50 L main compartment, reinforced 2.4 × stronger fabric, and a full‑length MOLLE webbing system that allows one to attach pouches, a first‑aid kit, or a water bladder. At $62.95 it offers a 4.7‑star rating from over 2,300 reviewers who praise its durability and ample pockets.
If a lower profile is preferred, the Wotony Small Tactical Backpack delivers 25 L of space, high‑density 900D fabric, and an extensive MOLLE system for modularity. Reviewers highlight its waterproof zippers and comfortable padded straps, making it a solid secondary or day‑pack option.
For ultra‑light travel the ROYAL MOUNTAIN 20L Hiking Backpack provides a streamlined 20 L capacity, breathable mesh straps, and a built‑in rain cover. At $27.99 it is ideal for short‑term bug outs where speed outweighs bulk.
When packing, place the heaviest items (shelter, food, water) close to the spine and low in the pack to maintain a low center of gravity. Use the MOLLE webbing to secure external tools such as a multitool or emergency blanket, keeping the interior free for softer items.
Step 2: Integrate a Reliable Water Purification System
Access to clean water is the most critical factor in any wilderness emergency. A gravity‑fed filter allows one to treat several liters at once without the need for manual pumping, conserving energy during long treks.
The Waterdrop Gravity Water Filter Straw combines a 1.5 gal gravity bag with a five‑stage filtration straw. Its 0.1 µm ultrafiltration membrane removes bacteria, protozoa, chlorine, and sediment, delivering up to 1,400 gallons of safe water before replacement is required. Users appreciate the backwash feature that keeps the straw recyclable and the flow rate of up to 700 ml/min, which is sufficient for rapid hydration during intense activity.
Attach the filter bag to a tree branch or a trekking pole using the included straps, then run the straw into a water bottle or directly into a hydration reservoir. Because the system is compatible with standard 27.5 mm bottle threads, it integrates seamlessly with the MOLLE‑compatible pockets of the Falko or Wotony backpacks.
In a pinch, one can also use the straw as a standalone purifier for small streams, allowing flexible water collection without the bulk of a full bag.
Step 3: Pack Shelter and Sleeping System
A lightweight, weather‑resistant shelter protects against hypothermia and exposure. Choose a compact tarp or a single‑person ultralight tent that folds into a small stuff sack no larger than 5 L.
Place the shelter at the bottom of the pack, followed by an insulated sleeping pad and a down‑filled sleeping bag rated for the lowest temperature you expect. This arrangement keeps the pack balanced and prevents the shelter from shifting during movement.
If space permits, add a bivy sack for extra protection against wind and rain. All items should be compressed with straps or compression sacks to reduce bulk.
Step 4: Organize Food and Cooking Supplies
High‑calorie, non‑perishable foods such as dehydrated meals, energy bars, and nuts provide sustained energy. Aim for a minimum of 2,500 kcal per day for a moderate‑pace hiker.
Pack a lightweight stove, fuel canister, and a collapsible pot. Store food in resealable bags to keep it dry and protect against wildlife. Position the cooking kit in an external pocket for quick access, while keeping the bulk of the food in the main compartment.
Remember to follow Leave No Trace principles: store food securely and dispose of waste responsibly.
Step 5: Assemble First‑Aid and Survival Tools
A comprehensive first‑aid kit should include bandages, antiseptic wipes, pain relievers, and a trauma dressing. Add a compact multitool, fire‑starter (magnesium rod or ferrocerium), and a signaling whistle.
Secure these items to the MOLLE webbing of the Falko or Wotony backpacks using small pouches. This placement ensures they are reachable without opening the main compartment, a crucial advantage during emergencies.
Consider a lightweight emergency blanket that folds into a pocket‑size pouch; it adds thermal protection without significant weight.
Step 6: Add Navigation and Communication Devices
Even experienced hikers can become disoriented in backcountry terrain. Pack a topographic map, compass, and a compact GPS unit or a smartphone with offline maps.
Store a portable power bank in a waterproof sleeve to keep electronic devices operational. If you anticipate extended isolation, a satellite messenger can provide two‑way communication for rescue requests.
Place these devices in a dedicated inner pocket to protect them from impact while keeping them accessible for quick checks.
Step 7: Choose Appropriate Clothing and Layering
Layering is essential for temperature regulation. Include a moisture‑wicking base layer, an insulating mid‑layer, and a waterproof, breathable outer shell.
Pack extra socks, a hat, and gloves in a zippered pocket. Compress the clothing in a stuff sack to minimize space and keep the pack organized.
When weather forecasts predict sudden storms, prioritize the outer shell and ensure it is easily reachable, perhaps in an external pocket of the Falko pack.
Step 8: Final Organization and Weight Distribution
Before sealing the bag, perform a weight‑distribution check. The combined weight should not exceed 20‑25 % of your body weight for comfortable trekking.
Use the internal compression straps of the backpack to tighten the load, preventing sway on uneven terrain. Verify that all external attachments are secure and do not snag on vegetation.
Conduct a short walk with the fully packed bag to assess comfort. Adjust strap lengths and hip belt tension until the load feels centered and the shoulders are relieved.
Tips & Pro Tips
- Test all gear in a controlled environment before relying on it in an emergency.
- Rotate water filters regularly; a backwash after each use extends the lifespan of the Waterdrop filter.
- Label each compartment with waterproof tags for quick identification.
- Carry a small repair kit (duct tape, needle‑thread) for on‑the‑spot fixes.
- Practice “pack‑out” drills: simulate a rapid evacuation and see if you can retrieve essential items within two minutes.
Conclusion
By following this step‑by‑step checklist one can assemble a lightweight, durable bug out bag that meets the unique demands of hiking terrain, mountains, and backcountry environments. The guide emphasizes functional organization, proper weight distribution, and the inclusion of high‑quality tools such as the Falko Tactical Backpack, Waterdrop Gravity Water Filter Straw, and other recommended gear.
Whether a reader chooses to purchase the suggested products or substitutes comparable items, the principles outlined here will ensure preparedness, comfort, and safety on any unexpected adventure.
Products Mentioned in This Guide
Waterdrop Gravity Water Filter Straw
Price: Not listed; Rating: 5‑star (based on product description)
Frequently Asked Questions
What are the top three lightweight items to include in a bug out bag for hiking?
A compact shelter (e.g., tarp or bivy), a high‑energy food supply, and a reliable water filtration system are essential and add minimal weight.
How should I organize gear in a bug out bag to stay balanced on uneven terrain?
Place heavier items close to your back and centered, and use zippered pouches or stuff sacks to keep smaller items grouped and accessible.
What type of water filter is best for backcountry emergencies?
A lightweight, pump‑less filter like a hollow‑fiber straw or squeeze filter provides fast, contaminant‑free water without extra bulk.
Can I rely on a multi‑tool instead of carrying separate knives and pliers?
Yes, a quality multi‑tool combines cutting, gripping, and repair functions, reducing the need for multiple single‑purpose tools.
How often should I rotate or replace items in my bug out bag?
Inspect and refresh food, batteries, and medical supplies every six months, and replace worn gear after each major hike.