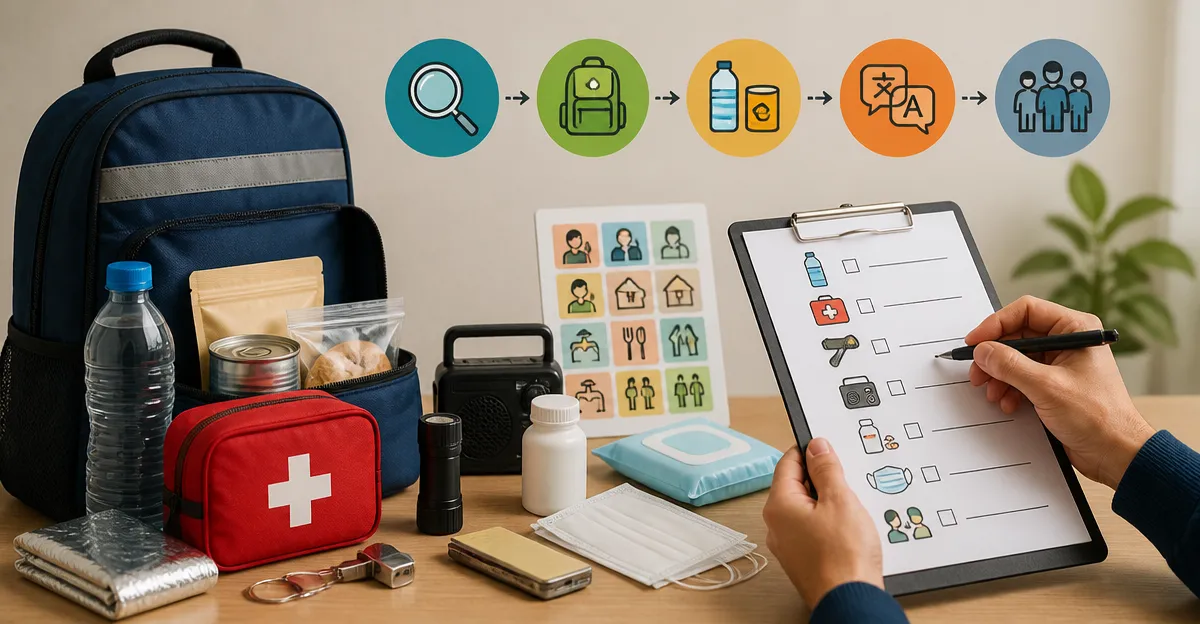
How to Prepare Emergency Kits for Non-English Speakers: A Step-by-Step Multilingual Checklist
This guide explains how to assemble emergency kits that are accessible to individuals who speak languages other than English. It demonstrates why multilingual labeling and culturally appropriate instructions improve safety outcomes during crises. Readers will learn to select appropriate supplies, translate essential information, and organize kits for homes, workplaces, and outdoor adventures. The information is valuable for families, small businesses, and community organizers who seek inclusive preparedness.
What You Will Need
- Basic first‑aid supplies (bandages, antiseptic wipes, burn gel, etc.)
- Durable containers or wall‑mounted cabinets
- Labeling materials such as waterproof stickers and printable templates
- Translation resources – professional services or reliable online tools
- Recommended products (see step recommendations)
Step 1: Assess the Audience and Environment
Identify the languages spoken by the intended users and the settings where the kit will be stored. Conduct a brief survey of household members, employees, or group participants to determine literacy levels and preferred scripts. Evaluate the physical environment – whether the kit will reside in a kitchen drawer, a wall‑mounted office cabinet, or a backpack for outdoor excursions. This assessment informs the size, portability, and labeling strategy for the final kit.
Step 2: Translate Core Instructions and Labels
Begin by translating the most critical instructions: how to open the kit, how to apply a bandage, and when to seek professional medical help. Use certified translation services for medical terminology to avoid ambiguity. Print translations on waterproof labels that can be affixed to each compartment, ensuring that color‑coding aligns with international standards such as ANSI. For example, red stickers for wound care, blue for medication, and green for hygiene items.
Step 3: Assemble Core Supplies Using Appropriate Kits
Select a base kit that matches the intended environment, then supplement it with additional items as needed. For residential use, the RHINO RESCUE First Aid Kit offers a comprehensive 240‑piece configuration that includes a thermometer, antibiotics, ice packs, and burn gel. Its functional compartments and removable middle layer enable clear categorization, which simplifies the placement of translated labels. The kit measures 7.9 × 6.5 × 4.5 inches, providing ample space while remaining portable.
For office or industrial settings, the First Aid Only SmartCompliance Kit complies with OSHA regulations and supplies 245 pieces for at least 50 individuals. The SmartTab ezRefill System alerts managers when supplies are depleted, reducing the risk of missing essential items. Priced at $99.73 and rated 4.7 out of 5 stars by 1,199 reviewers, this cabinet includes color‑coded packaging that aligns with the multilingual labeling strategy.
For outdoor enthusiasts, the EVERLIT Survival First Aid Kit provides 250 pieces in a water‑resistant MOLLE pouch. Weighing only 2 lb, it is ideal for bug‑out bags and can be attached to backpacks, vests, or vehicle panels. Its contents exceed OSHA guidelines and include a mylar blanket, tactical flashlight, and emergency rain poncho, making it a versatile solution for multilingual groups on the move. The kit is priced at $39.99 and holds a rating of 4.8 out of 5 stars from 15,616 reviews.
For businesses that require a permanent, wall‑mounted solution, the Homestockplus Wall‑Mount First Aid Kit offers 408 pieces in a heavy‑duty plastic shell. Its detachable compartments and high‑visibility labeling facilitate rapid identification, even when labels are printed in multiple languages. Although a price is not listed, the kit’s robust construction and 13.2 × 11 × 5.1 inches footprint make it suitable for corporate corridors and manufacturing floors.
Step 4: Organize and Label Compartments
Place each supply category into the designated compartment of the chosen kit. Use the functional compartments of the RHINO RESCUE kit or the detachable sections of the Homestockplus cabinet to separate wound care, medication, and emergency tools. Affix the translated waterproof stickers to the exterior of each compartment, ensuring that the text is legible from a distance. Verify that the color‑coding matches the printed legend placed on the inside lid of the kit.
Step 5: Distribute, Train, and Maintain the Kit
Conduct a brief training session in the primary languages of the users, demonstrating how to open the kit, locate supplies, and follow basic first‑aid procedures. Provide a printed quick‑reference card that mirrors the multilingual labels inside the kit. Establish a maintenance schedule – for example, a quarterly check – to replace expired items such as antibiotics, burn gel, and sterile dressings. The SmartTab ezRefill System in the First Aid Only SmartCompliance Kit can automate reorder reminders, ensuring continuous readiness.
Tips & Pro Tips
- Use pictograms alongside text to aid users with limited literacy.
- Store a spare set of translated instruction cards in a waterproof pouch.
- When possible, involve community members in the translation process to capture culturally relevant phrasing.
- Test the kit in a simulated emergency drill to confirm that all users can locate supplies quickly.
Troubleshooting
Problem: Labels become illegible after exposure to moisture.
Solution: Choose waterproof vinyl stickers and apply a clear protective laminate over the printed text.
Problem: Supplies run out before the scheduled quarterly check.
Solution: Enable the SmartTab ezRefill alerts in the First Aid Only SmartCompliance Kit and keep a backup inventory of high‑use items.
Conclusion
This guide has outlined a systematic approach to creating emergency kits that are accessible to non‑English speakers. By assessing language needs, translating essential instructions, selecting appropriate kits, and maintaining organized compartments, one can enhance safety for diverse communities. The recommended products provide reliable foundations for each environment while supporting multilingual labeling. Implement these steps today to ensure that every individual, regardless of language, can respond confidently during an emergency.
Products Mentioned in This Guide
Frequently Asked Questions
Why is multilingual labeling important in emergency kits?
It ensures non‑English speakers can quickly identify supplies, reducing confusion and improving safety during a crisis.
What basic supplies should be included in a multilingual emergency kit?
Include first‑aid items like bandages, antiseptic wipes, burn gel, plus water, non‑perishable food, flashlight, and a battery‑powered radio.
How can I create waterproof labels in multiple languages?
Use printable templates on waterproof sticker paper or order pre‑made labels from a professional service, then affix them to each item.
What translation resources are reliable for kit instructions?
Professional translation services are best, but reputable online tools such as Google Translate with native‑speaker review can also be used.
How should I organize the kit for different environments (home, workplace, outdoors)?
Store kits in durable containers or wall‑mounted cabinets, placing language‑specific instruction sheets on the outside for easy access.