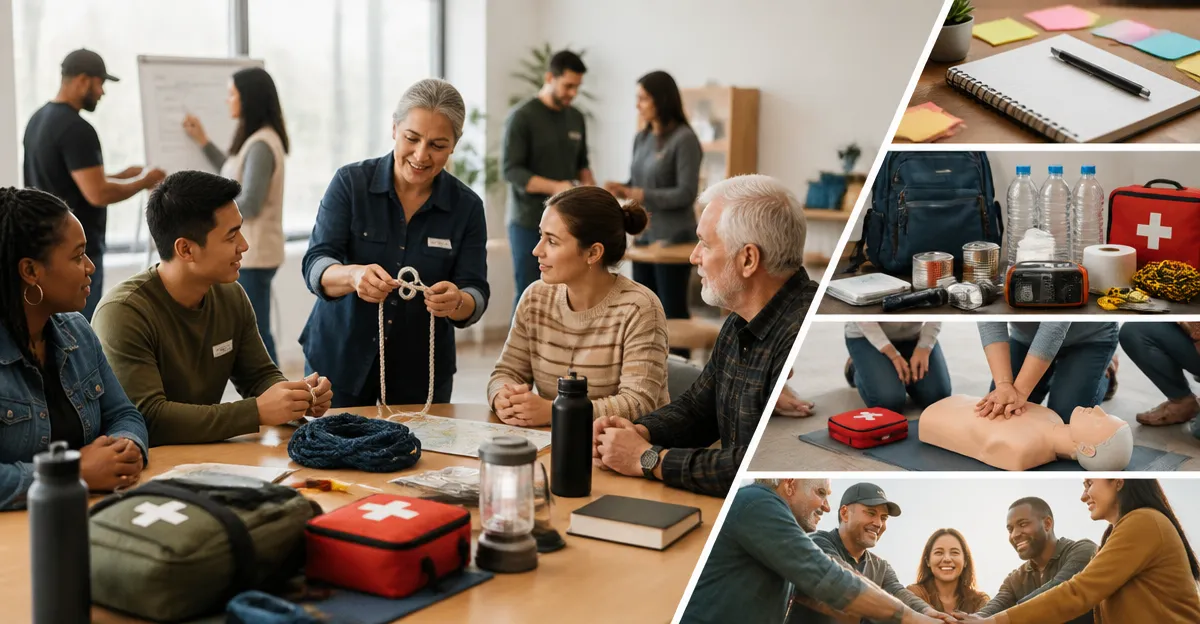
How to Organize a Disaster Skills Swap Event: The Ultimate Step‑by‑Step Guide to Hosting Community Emergency Preparedness and Skill‑Sharing
Introduction
Community members who understand basic disaster response can save lives when emergencies occur. This guide explains how to create a disaster‑skills swap event where participants teach one another essential techniques such as water purification, first aid, and emergency communication. By the end of the article, the reader will know how to plan, promote, and execute a successful swap while providing practical tools that increase safety and confidence.
The value of a skills swap lies in its collaborative nature; knowledge is shared in an informal setting, reducing the cost of formal training and fostering a resilient network. Organizers who follow the steps below will produce an event that is well‑structured, safe, and memorable for all attendees.
What You’ll Need
- Venue space (community center, school gym, or outdoor pavilion)
- Tables and chairs for demonstration stations
- Sign‑up sheets or digital registration platform
- Basic emergency supplies (see product recommendations)
- Printed handouts or QR codes linking to instructional videos
Step 1 – Define the Event Scope and Objectives
Begin by clarifying the purpose of the swap. Is the focus on water safety, shelter building, medical response, or a broad mix of skills? Write a concise objective statement that can be shared with volunteers and participants. A clear scope helps you select appropriate instructors, allocate space, and choose the right equipment.
When the objective includes water purification, consider demonstrating the LifeStraw Personal Water Filter. This ultralight straw filter removes 99.999999% of bacteria and 99.999% of parasites, providing up to 4,000 liters of clean water. At $14.99 and a 4.8‑star rating from over 100,000 reviews, it offers a reliable, low‑maintenance example for participants who need to drink from natural sources.
Document the objectives on a public board so attendees can see the planned topics at a glance. This transparency encourages early registration and helps instructors prepare focused demonstrations.
Step 2 – Secure a Suitable Venue
Select a location that offers indoor shelter and outdoor access. An indoor space protects participants from weather while an adjacent outdoor area allows hands‑on practice with shelter‑building or fire‑starting activities. Verify that the venue permits the use of portable power sources, as some emergency radios require charging.
If the venue lacks reliable electricity, the RunningSnail Hand Crank Emergency Radio can serve as a backup power source. This device provides AM/FM NOAA weather alerts, a 2000 mAh battery for phone charging, and a bright LED flashlight. Priced at $15.92 with a 4.5‑star rating, it ensures communication remains possible even during a power outage.
Confirm the venue’s capacity, accessibility for people with disabilities, and availability of restrooms. Reserve the space at least one month in advance and obtain any required permits.
Step 3 – Recruit Instructors and Gather Skill Lists
Reach out to local experts such as Red Cross volunteers, wilderness guides, and experienced preppers. Ask each instructor to submit a brief description of the skill they will teach, required materials, and an estimated time slot. Compile the information into a master schedule.
For medical demonstrations, the Mini Waterproof First Aid Kit is an ideal reference tool. Containing over 150 items—including bandages, gloves, a tourniquet, and a waterproof EVA case—this kit costs $8.99 and holds a 4.8‑star rating. Instructors can use it to illustrate proper wound care and demonstrate how to organize supplies for rapid access.
Collect contact information for each instructor and share the finalized schedule at least two weeks before the event. Provide a checklist of items they need to bring, emphasizing safety equipment such as gloves and eye protection.
Step 4 – Prepare Supplies and Safety Gear
Safety is paramount. Stock the venue with additional first‑aid kits, thermal blankets, and hydration stations. Place the Emergency Mylar Blankets in a visible area for participants to practice creating improvised shelters. Each blanket measures 82" × 52" when unfolded, retains up to 90% of body heat, and costs $5.94 with a 4.7‑star rating. Their compact size allows easy storage in backpacks or bug‑out bags.
Set up a hydration station using the LifeStraw to demonstrate real‑time filtration. Provide clean containers for participants to collect filtered water, reinforcing the importance of staying hydrated during emergencies.
Arrange a charging station for phones and radios. The FosPower NOAA Emergency Radio offers a 7400 mWh (2000 mAh) power bank, solar charging, and a built‑in flashlight. Priced at $28.46 with a 4.6‑star rating, it can serve both as a demonstration of solar power and as a backup charger for attendees.
Step 5 – Design the Layout and Schedule
Map the venue floor plan, assigning each instructor a table and clear signage. Use numbered stations to guide participants through the swap in a logical order: water purification, first aid, shelter building, and communication. Allocate 20‑minute time blocks per station, with 5‑minute transition periods.
Place the Mylar blankets near the shelter station, the LifeStraw at the water station, and the radios at the communication station. This spatial arrangement reinforces the connection between the tool and the skill being taught.
Print a master schedule and post it at the entrance. Include QR codes that link to detailed instructional videos, allowing participants to review techniques after the event.
Step 6 – Promote the Event and Manage Registrations
Use community bulletin boards, social media groups, and local newsletters to announce the swap. Emphasize the hands‑on nature of the event and the opportunity to learn life‑saving skills at no cost. Offer early‑bird registration to gauge attendance and adjust the number of stations accordingly.
Collect participant information through a simple online form. Request any accessibility needs and whether attendees will bring children, as this influences the layout and safety considerations.
Send reminder emails one week before the event, including a checklist of recommended items to bring (e.g., reusable water bottle, sturdy shoes, and a notebook for taking notes).
Step 7 – Execute the Event Day
Arrive early to set up tables, signage, and safety stations. Conduct a brief walkthrough with instructors to confirm equipment placement and timing. Ensure that each demonstration area has a first‑aid kit and a Mylar blanket within reach.
Welcome participants at the registration desk, provide name tags, and hand out a printed schedule. Encourage attendees to rotate through stations, ask questions, and practice the skills under instructor supervision.
Throughout the day, monitor crowd flow and be prepared to adjust timing if a station proves especially popular. Use the RunningSnail radio to broadcast important announcements, such as upcoming station changes or safety reminders.
Tips & Pro Tips
- Plan for weather variability: Have indoor backup spaces for outdoor demonstrations in case of rain.
- Use visual aids: Large posters or laminated cards summarizing key steps improve retention.
- Encourage documentation: Ask participants to record short videos of their practice; these can be shared later as community resources.
- Offer a take‑home kit: Provide a small bundle containing a LifeStraw straw, a Mylar blanket, and a mini first‑aid kit for a modest fee to reinforce learning.
- Safety first: Keep a fire extinguisher and a fully stocked first‑aid station at the entrance.
Troubleshooting
Problem: Radio fails to receive NOAA alerts.
Solution: Verify that the antenna is fully extended and positioned away from metal objects. If the issue persists, switch to the solar panel mode or replace the batteries if using the FosPower model.
Problem: LifeStraw flow slows after multiple uses.
Solution: Prime the filter before each session by soaking the bottom end for 20 seconds and then taking several strong sips. After use, blow air back through the straw to clear residual water and prevent clogging.
Conclusion
Organizing a disaster‑skills swap event empowers a community to act confidently during emergencies. By defining clear objectives, securing an appropriate venue, recruiting knowledgeable instructors, and providing essential tools such as the LifeStraw, Mylar blankets, first‑aid kits, and emergency radios, organizers can deliver a safe, educational, and engaging experience. Follow the step‑by‑step plan, incorporate the tips, and adapt to local needs to build a resilient network that can respond effectively when disaster strikes.
Products Mentioned in This Guide
Frequently Asked Questions
What is a disaster skills swap event?
It is a community gathering where participants teach each other essential disaster‑response skills like first aid, water purification, and emergency communication.
How do I choose a suitable venue for a disaster skills swap?
Select a space such as a community center, school gym, or outdoor pavilion that offers enough room for tables, chairs, and demonstration stations.
What essential supplies should I provide at the event?
Basic emergency items such as first‑aid kits, water‑purification filters, radios, and printed handouts are recommended.
How can I promote the event to attract participants?
Use digital registration platforms, social‑media posts, local newsletters, and flyers at schools and libraries to spread the word.
What safety measures should be in place during the swap?
Ensure clear signage, have a first‑aid station, enforce capacity limits, and brief volunteers on emergency protocols.