Introduction
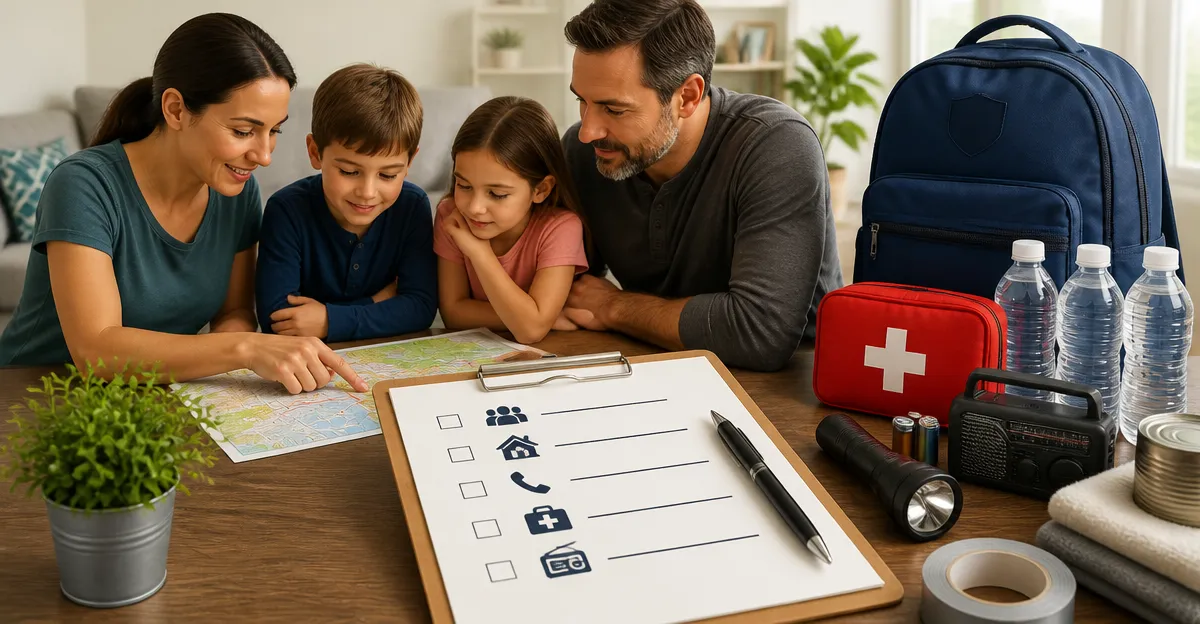
One of the most reliable ways to protect a household during a disaster is to practice a well‑structured emergency drill. This guide will teach the reader how to design a family emergency drill checklist, why each element matters, and how to turn the checklist into a repeatable routine. By following the steps, families will gain confidence, reduce panic, and improve coordination when a real event occurs. The result is a practical, printable tool that can be updated as circumstances change.
What You'll Need
- Pen and paper or a digital note‑taking app for initial brainstorming.
- Printable template (provided at the end of this guide).
- Durable reference material for disaster actions – for example, the Disaster Guide.
- Basic emergency supplies (flashlight, first‑aid kit, water bottles) to test accessibility.
- Clock or timer to measure drill duration.
Step 1: Assess Local Hazards
The first step is to identify which disasters are most likely to affect the household. Review local government resources, historical weather data, and geological reports. Common hazards include wildfire, earthquake, hurricane, flood, and power outage. Understanding the probability of each event allows the family to prioritize actions and allocate time efficiently during the drill.
During this assessment, the Disaster Guide can serve as a quick reference. It provides concise, color‑coded steps for twelve different emergencies, making it easier to determine which scenarios require immediate attention. The guide’s waterproof construction ensures it remains readable even after exposure to rain or smoke.
Step 2: Identify Critical Tasks
Next, list the actions that must be completed before, during, and after an emergency. Typical categories include communication, evacuation routes, shelter preparation, and medical care. For each category, write a brief, actionable sentence such as “Locate the nearest exit and practice the route” or “Gather the emergency supply bag and verify contents.”
Using the Disaster Guide at this stage helps to fill gaps that might be overlooked. For instance, the guide’s section on emotional wellness reminds families to incorporate calming techniques, which are often omitted from generic checklists. By integrating these expert‑backed steps, the checklist becomes both comprehensive and realistic.
Step 3: Draft the Printable Checklist Template
Transfer the critical tasks onto a printable format that can be displayed on the refrigerator or stored in a family binder. Use a table with three columns: Task, Responsible Person, and Completion Check. Keep the language simple and use verbs that convey immediate action. Example:
Task                     | Responsible | Done?
--------------------------|-------------|------
Check fire alarm battery | Parent A    | [ ]
Gather pet carriers      | Child B     | [ ]
Close all windows        | Parent B    | [ ]
Because the Disaster Guide is pocket‑sized, families can attach it to the checklist as a quick reference sheet. Its durability ensures that the reference does not tear when the checklist is handled frequently during drills.
Step 4: Assign Roles and Responsibilities
Every family member should know their specific role during an emergency. Assign tasks such as “grab the first‑aid kit,” “call the emergency contact,” or “turn off the gas valve.” Write each role next to the corresponding task on the checklist. Role clarity reduces confusion and speeds up response time when minutes matter.
The Disaster Guide reinforces role clarity by providing a step‑by‑step protocol for each disaster type. For example, its earthquake section outlines the “Drop, Cover, and Hold On” procedure, which can be assigned to younger children who may need extra guidance.
Step 5: Conduct a Practice Drill
Schedule a drill at a time when all family members can participate. Use a timer to simulate the limited time available during a real event. Follow the checklist from start to finish, marking each task as completed. Observe how long each step takes and note any bottlenecks.
During the drill, keep the Disaster Guide nearby. If a participant is unsure about a step, they can quickly flip to the relevant page for clarification. This immediate access prevents hesitation and reinforces the habit of consulting reliable resources under pressure.
Step 6: Review, Revise, and Repeat
After the drill, gather the family for a debriefing session. Discuss what worked well, what caused delays, and how emotions were managed. Update the checklist to address any identified shortcomings, such as adding a task to test the flashlight battery.
Revisiting the Disaster Guide each quarter ensures that the checklist stays aligned with the latest best practices. The guide’s expert‑backed content is periodically updated, making it a living document that grows with the family’s preparedness level.
Tips & Pro Tips
- Store the printable checklist in a laminated sheet to protect it from moisture.
- Place the Disaster Guide in a location that is easily reachable, such as the kitchen drawer or the car glove box.
- Rotate drill scenarios every month to cover a different disaster type from the guide.
- Teach children how to use the guide’s color‑coded symbols; visual cues are easier to remember than text alone.
- Consider digital backups of the checklist on a cloud service for quick access when away from home.
Troubleshooting
Problem: Family members forget their assigned roles.
Solution: Conduct a brief role‑review before each drill and use name tags on the checklist to reinforce memory.
Problem: The checklist becomes cluttered after multiple revisions.
Solution: Use a master template and create a new printable copy for each drill cycle, preserving the original for reference.
Conclusion
Creating a family emergency drill checklist is a systematic process that transforms anxiety into organized action. By assessing hazards, defining tasks, drafting a printable template, assigning roles, practicing regularly, and reviewing outcomes, families build resilience that can save lives. The inclusion of a compact, expert‑backed Disaster Guide enhances the checklist’s effectiveness, providing instant, reliable instructions during high‑stress moments. Implement these steps today, and the family will be prepared for any of the twelve disasters covered by the guide.
Products Mentioned in This Guide
Frequently Asked Questions
What is a family emergency drill checklist and why is it important?
It is a step‑by‑step list of actions for household members during a disaster, helping reduce panic and improve coordination.
What basic items do I need to create a family emergency drill?
Pen or digital app, a printable template, reference guide, essential supplies like a flashlight and water, and a timer.
How do I identify the most relevant hazards for my home?
Review local government alerts, historical disaster data, and neighborhood risk maps to pinpoint likely events.
How often should I update and practice the emergency drill checklist?
Review and rehearse the checklist at least twice a year or whenever household circumstances change.
Can I use a digital version of the checklist instead of a printable one?
Yes, a digital note‑taking app works, but keep a hard‑copy in an accessible location for power‑outage situations.