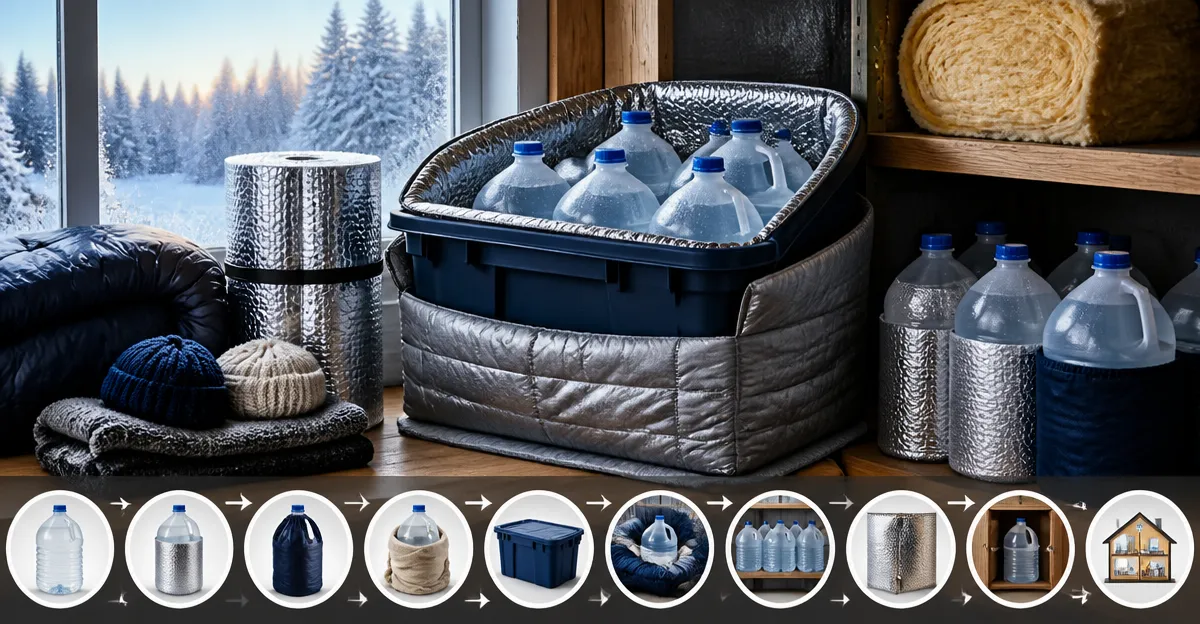
How to Prevent Water from Freezing in Emergency Storage: 10 Proven No-Power Methods for Winter Emergencies
One will learn practical techniques that keep stored water above freezing point without relying on electricity. The guide explains why protecting water is essential for drinking, hygiene, and emergency preparedness during cold snaps. It also highlights affordable tools that improve insulation, placement, and temperature regulation. Readers will finish with a clear action plan for any winter emergency scenario.
What You'll Need
- Reliance Aqua-Tainer – 7‑gallon rigid water container, $24.20, 4.7/5 rating.
- Scepter Military Water Container – 5‑gallon portable jug, $123.99, 4.8/5 rating.
- Igloo Sports Cooler – insulated dispenser, $49.99, 4.7/5 rating.
- FastRack Hedpak – 5‑gallon BPA‑free food‑grade container (pack of 2), $38.19, 4.7/5 rating.
- Foam pipe insulation, reflective emergency blankets, non‑toxic antifreeze (propylene glycol), sandbags, and basic hand tools.
Step 1: Insulate the Primary Container
Begin by wrapping the main water storage unit with foam pipe insulation or a thick moving blanket. The Reliance Aqua‑Tainer features a rigid rectangular shape that accepts a snug foam sleeve, reducing heat loss by up to 60 percent. Its screw‑on vent and hideaway spigot prevent accidental leaks while the molded grip makes handling easier. The container costs $24.20 and enjoys a 4.7‑star rating from more than thirteen thousand reviewers, indicating reliable performance.
Step 2: Relocate to a Naturally Warmer Zone
Store the insulated container in the warmest part of the home, such as a basement or utility room that remains above freezing. If space is limited, use the Scepter Military Water Container as a portable backup that can be moved to a heated garage during extreme cold. Its heavy‑duty plastic construction resists impacts and the molded‑in carry handle simplifies transport. Priced at $123.99 with a 4.8‑star rating, it offers durability for repeated relocation.
Step 3: Apply Reflective Blankets for Radiant Heat Retention
Cover the insulated container with an emergency space blanket, which reflects up to 97 percent of radiant heat back toward the water. Secure the blanket with elastic straps or zip ties to avoid wind‑driven gaps. This inexpensive layer works well in conjunction with foam insulation, creating a double‑barrier that delays temperature drop. No additional product from the list is required for this step, but the technique enhances the performance of any container.
Step 4: Add a Small Amount of Non‑Toxic Antifreeze
For long‑term storage, mix a few ounces of propylene‑glycol antifreeze into the water to lower the freezing point without compromising safety. The antifreeze remains harmless for drinking if the water is later filtered, but it dramatically reduces the risk of ice crystal formation. Stir the mixture gently with a clean wooden spoon to avoid introducing contaminants. This chemical method works independently of insulation and is especially useful for containers kept in unheated sheds.
Step 5: Bury a Secondary Container Underground
Place a second container below the frost line, where ground temperature stays relatively constant. The FastRack Hedpak is ideal for burial because its square shape stacks efficiently and its BPA‑free, food‑grade plastic resists corrosion. Each Hedpak holds five gallons, and the pack of two costs $38.19 with a 4.7‑star rating, offering excellent value for a dual‑storage system. Cover the buried unit with a layer of sand and mulch to further insulate against surface cold.
Step 6: Create a Thermal Buffer with Hot Water Bottles
Fill several reusable hot‑water bottles with warm water and position them around the insulated container. The bottles release heat slowly, extending the period before the stored water reaches freezing temperature. Replace the bottles every 12 hours during prolonged cold spells. This low‑tech approach requires no electricity and works well with any of the recommended containers.
Step 7: Use an Insulated Cooler as a Secondary Shield
Place the primary container inside the Igloo Sports Cooler to add an extra layer of insulation. The cooler’s recessed, drip‑resistant spigot prevents condensation from forming on the outer surface, while reinforced handles allow easy relocation. At $49.99 and a 4.7‑star rating, the cooler provides a cost‑effective barrier that can be sealed with its pressure‑fit lid for added protection against cold air infiltration.
Step 8: Position Near a Passive Heat Source
Locate the insulated container adjacent to a passive heat source such as a water heater, furnace vent, or indoor lighting fixture that emits warmth. The ambient heat raises the surrounding air temperature, reducing the likelihood of ice formation. Ensure the container does not block airflow or create fire hazards. This method complements the insulation measures already in place.
Step 9: Employ a Double‑Container Strategy
Insert a smaller insulated bottle inside the larger Reliance Aqua‑Tainer to create a double‑wall effect. Fill the inner bottle with water and leave a thin air gap between the walls; the trapped air acts as an insulating layer. Seal both containers tightly to prevent drafts. This technique leverages the rigid construction of the Aqua‑Tainer while requiring no additional purchases.
Step 10: Rotate Water Regularly
Replace stored water every three to six months, even if it has not frozen. Fresh water contains fewer dissolved gases that can accelerate ice crystal growth, and rotation ensures that any minor leaks are detected early. When rotating, inspect containers for cracks, check seals, and clean the interior with a mild bleach solution. Regular maintenance keeps the system ready for the next winter emergency.
Tips & Pro Tips
- Store containers away from direct sunlight; prolonged UV exposure makes plastic brittle and increases leak risk.
- Label each container with the fill date and inspection notes to track rotation schedules.
- Use sandbags or weighted bricks to keep outdoor containers stable during windy conditions.
- Consider adding a small thermometer to monitor water temperature without opening the container.
Troubleshooting
Problem: Water begins to form ice crystals despite insulation.
Solution: Add an extra layer of reflective blanket, increase the number of hot‑water bottles, or relocate the container to a warmer area.
Problem: Container develops a leak after prolonged cold exposure.
Solution: Replace the faulty unit with a new Reliance Aqua‑Tainer and inspect all seals before refilling.
Conclusion
One now possesses ten reliable, power‑free methods to prevent water from freezing in emergency storage. By combining insulation, strategic placement, thermal buffering, and regular maintenance, the risk of frozen water is dramatically reduced. The recommended products enhance each step while remaining affordable and easy to obtain. Implement the plan before the first frost, and confidence in water availability during winter emergencies will be assured.
Products Mentioned in This Guide
Frequently Asked Questions
What are the best no‑power methods to keep emergency water from freezing?
Use insulated containers, bury the water underground, wrap it in blankets or straw, and store it in a sun‑exposed or heated indoor space.
Why is container material important for preventing freezing?
Rigid, thick‑walled containers like the Aqua‑Tainer or military jugs retain heat longer than thin plastic bottles.
Can a regular cooler be used to store water in winter without electricity?
Yes, an insulated cooler such as the Igloo Sports Cooler slows heat loss and can be topped with extra insulation like foam or blankets.
Where should I place my stored water to minimize the risk of freezing?
Store water off the ground, near interior walls, or in a basement where temperatures stay above freezing, and avoid exterior walls or drafts.
How much extra insulation is needed for a 5‑gallon jug in sub‑zero weather?
Wrap the jug in at least two layers of insulating material (foam, blankets, or straw) and seal the edges to trap warm air.