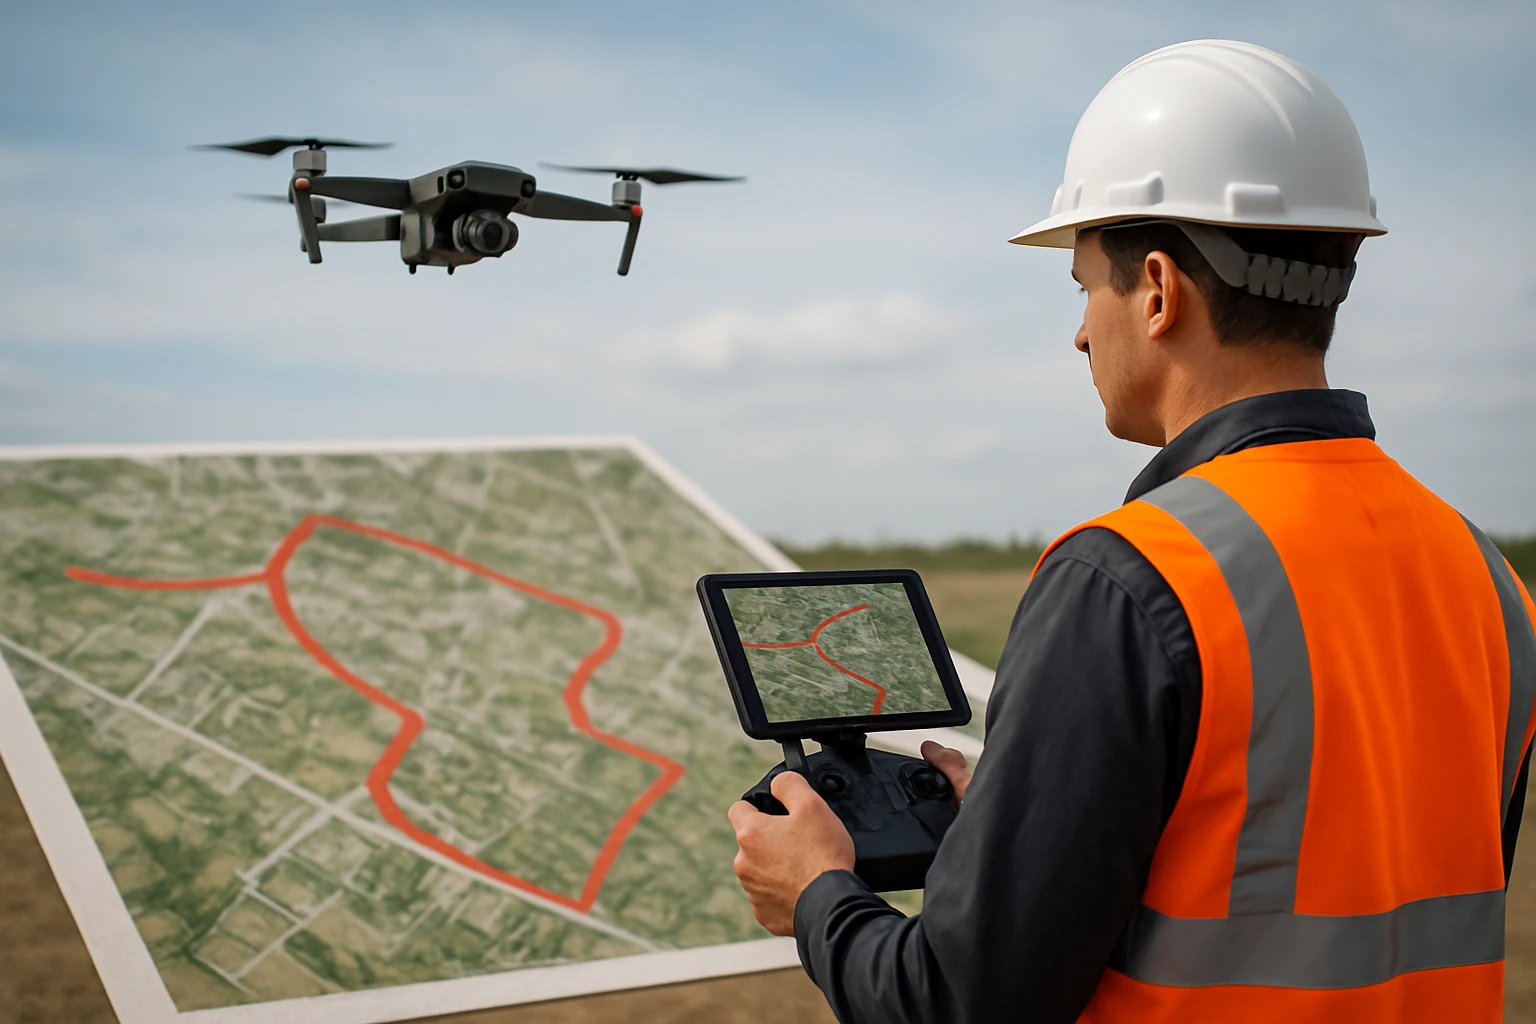

How to Use Drones to Map Evacuation Routes: Step‑by‑Step Guide for Emergency Planning
Introduction
Emergency planners require accurate, up‑to‑date maps of evacuation routes to protect communities during crises. This guide explains how to employ aerial drones, high‑performance LiDAR, and advanced sensor‑fusion techniques to generate reliable route maps. Readers will learn to plan missions, capture high‑resolution data, process point clouds, and produce actionable GIS layers. The information presented is valuable whether the reader owns professional equipment or relies on basic tools.
What You’ll Need
- A reliable aerial platform capable of stable flight and 4K video capture. The Oddire 4K GPS Drone satisfies these requirements.
- A high‑precision LiDAR sensor for dense point‑cloud generation. The Livox Avia LiDAR Sensor provides up to 450 m detection range.
- Reference material on sensor fusion and continual learning for advanced data interpretation. The Neuromorphic Systems for Drones & Radar offers in‑depth guidance.
- Standard safety equipment, spare batteries, SD cards, and a laptop with GIS software (e.g., QGIS or ArcGIS).
Step‑by‑Step Instructions
1. Define the Mapping Objectives and Flight Area
Begin by consulting local emergency management agencies to identify critical evacuation corridors, assembly points, and potential obstacles. Use existing topographic maps to outline the boundaries of the intended flight area. Document the required resolution; a ground sampling distance of 5 cm per pixel is typical for route verification. This preparation ensures that the subsequent drone mission captures the necessary detail.
2. Conduct a Site Survey and Risk Assessment
Visit the target area to assess airspace restrictions, weather patterns, and potential electromagnetic interference. Record any no‑fly zones, power lines, or dense foliage that could affect flight safety. Prepare a risk mitigation plan that includes emergency landing sites and a communication protocol with ground personnel. A thorough risk assessment reduces the likelihood of mission aborts and data loss.
3. Prepare the Oddire 4K GPS Drone for Flight
The Oddire 4K GPS Drone features an intelligent GPS module, brushless motor, and up to 48 minutes of total flight time with two 7.7 V 1800 mAh batteries. Its 5G real‑time transmission ensures a stable link up to 500 m, which is essential for maintaining control over complex evacuation corridors. Before launch, update the firmware, calibrate the compass, and verify that the adjustable 4K UHD camera is set to a 110° wide‑angle lens for comprehensive coverage. Attach a high‑capacity microSD card (minimum 64 GB) to store the captured video and images.
4. Integrate the Livox Avia LiDAR Sensor with the Drone
The Livox Avia LiDAR Sensor weighs only 498 g and offers dual‑scanning modes that can be selected based on terrain complexity. Mount the sensor on the drone’s underside using the M12 circular connector, ensuring that the field of view (70.4° × 77.2°) remains unobstructed. Select the non‑repetitive circular scanning mode for broad coverage of open evacuation routes, and switch to repetitive line scanning when high‑precision data is required near narrow passages. The sensor’s built‑in IMU provides real‑time attitude data, which synchronises with the drone’s GPS for accurate georeferencing.
5. Plan the Flight Path Using Waypoint and Follow‑Me Features
Utilise the drone’s GPS waypoint capability to program a flight corridor that follows the planned evacuation route. Set altitude waypoints at 50 m above ground level to balance coverage and safety. Enable the GPS Follow mode to allow the drone to track a ground‑based operator who carries a handheld controller, which is useful for dynamic adjustments in congested urban environments. The drone’s auto‑return function will bring the aircraft back to the launch point if battery levels drop below the safe threshold.
6. Execute the Flight and Capture Data
Launch the drone from a clear area and verify that the live video feed displays correctly on the controller screen. Initiate simultaneous recording of 4K video from the camera and point‑cloud data from the LiDAR sensor. Monitor battery levels and signal strength; the Oddire drone will automatically return home if the connection is lost, protecting the equipment. Fly the entire route at a constant speed of 5 m/s to ensure uniform overlap between images, which facilitates later photogrammetric processing.
7. Transfer and Organise Collected Data
After landing, power down the drone and remove the microSD card. Copy the video files, raw images, and LiDAR point‑cloud files to a dedicated folder on the laptop. Create sub‑folders for each data type (e.g., "Images", "LiDAR", "Logs") to streamline subsequent processing. Verify file integrity by checking MD5 hashes, especially for large LiDAR datasets that may be prone to corruption.
8. Process the Photogrammetry and LiDAR Data
Import the 4K images into photogrammetry software such as Agisoft Metashape to generate a dense point cloud and orthomosaic. Simultaneously, load the Livox Avia point‑cloud files into a LiDAR processing tool like CloudCompare. Align the two datasets using the built‑in GPS coordinates and the IMU data provided by the sensor. The result is a high‑resolution, geo‑referenced model that combines visual detail with precise distance measurements.
9. Generate the Evacuation Route GIS Layer
Export the combined point cloud as a raster DEM (digital elevation model) and overlay it onto existing GIS layers. Trace the optimal evacuation corridors, marking obstacles, slope grades, and safe assembly zones. Apply symbology that highlights areas of concern, such as steep inclines or low‑visibility sections. Save the final map as a shapefile or GeoPackage for distribution to emergency response teams.
10. Validate the Map with Ground Truthing
Conduct a field verification walk‑through of the mapped route to confirm that the digital representation matches on‑the‑ground conditions. Use a handheld GPS receiver to record waypoints at critical locations and compare them with the GIS layer. Adjust the map where discrepancies are observed, and document the changes for future reference. Validation ensures that the evacuation plan remains reliable during actual emergencies.
11. Disseminate the Final Map to Stakeholders
Prepare a concise briefing package that includes the GIS layer, an executive summary, and clear instructions for use. Distribute the package via secure cloud storage or an internal emergency management portal. Offer a brief training session for responders to familiarize them with the map’s symbology and navigation features. Ongoing communication guarantees that the map will be effectively employed when needed.
12. Review and Archive Project Documentation
Compile all mission logs, battery usage reports, and processing scripts into a single archive. Store the archive in a version‑controlled repository to enable future updates and audits. Periodically revisit the map to incorporate changes in infrastructure, vegetation growth, or new construction. Maintaining an up‑to‑date archive reduces the workload for subsequent mapping cycles.
Tips & Pro Tips
- Schedule flights during early morning or late afternoon to minimise shadows that can affect photogrammetry.
- Carry spare 7.7 V batteries for the Oddire drone; swapping batteries mid‑mission extends total coverage time.
- When mapping dense urban canyons, prefer the LiDAR sensor’s triple‑return mode to penetrate through partial occlusions.
- Leverage the open‑source SDK provided with the Livox Avia to automate data capture and integrate directly with ROS for real‑time processing.
- Consult the Neuromorphic Systems for Drones & Radar book for advanced sensor‑fusion algorithms that improve point‑cloud accuracy in cluttered environments.
Troubleshooting
Problem: Drone loses GPS signal near tall buildings.
Solution: Activate the drone’s GPS Follow mode and position a ground‑based controller at a higher elevation to maintain line‑of‑sight communication.
Problem: LiDAR data appears sparse in shadowed areas.
Solution: Switch to the sensor’s dual‑scanning mode and increase the laser pulse frequency; alternatively, supplement with additional aerial images captured from a slightly offset angle.
Problem: Battery depletion occurs before mission completion.
Solution: Pre‑flight, calculate total flight time based on waypoint distance and reduce speed to conserve power. Carry extra batteries and plan for a mid‑mission swap.
Conclusion
This guide has outlined a systematic approach for using drones, LiDAR, and sensor‑fusion techniques to map evacuation routes accurately. By following the defined steps, emergency planners can produce reliable GIS layers that enhance public safety during crises. The recommended tools—Oddire 4K GPS Drone, Livox Avia LiDAR Sensor, and the neuromorphic reference book—provide a balanced mix of affordability, performance, and advanced capabilities. Continuous updates and validation will keep the evacuation maps relevant for future incidents.
Products Mentioned in This Guide
Frequently Asked Questions
What equipment is needed to map evacuation routes with drones?
You need a stable aerial platform with 4K video, a high‑precision LiDAR sensor, and reference material on sensor‑fusion techniques.
How does LiDAR improve the accuracy of drone‑generated evacuation maps?
LiDAR creates dense point‑clouds that capture precise terrain and obstacle details, resulting in more reliable route maps.
What are the basic steps for planning a drone mission for evacuation mapping?
Define the area, set flight paths with adequate overlap, calibrate sensors, conduct the flight, and verify data completeness.
How can the captured data be processed into usable GIS layers?
Import the point‑cloud into GIS software, filter noise, generate contours or orthomosaics, and export the layers in standard formats like shapefile or GeoJSON.
Can beginners use basic drones for evacuation mapping, or is professional gear required?
Basic drones can collect visual data, but professional LiDAR‑equipped drones provide the precision needed for critical emergency planning.