How to Cook Without Power During a Blackout: 12 Safe, Easy Emergency Cooking Methods (No Electricity Needed)
Introduction
When a blackout strikes, the ability to prepare warm meals can become a critical factor in maintaining morale and health. This guide explains twelve practical methods that require no electrical power, allowing one to feed oneself and one’s family safely and efficiently. Each method is described with clear, actionable steps and includes recommendations for tools that enhance reliability. By following these instructions, one will be prepared to cook during any extended outage.
What You'll Need (Optional)
- Portable propane stove or backpacking stove (see product recommendations below)
- Fuel canisters compatible with the chosen stove
- Lightweight cookware such as pots, pans, and a Dutch oven
- Fire‑starting supplies: matches, lighter, or firesteel
- Heat‑resistant gloves and a windscreen for windy conditions
- Basic kitchen utensils: spoon, spatula, cutting board
Step 1: Use a Compact Backpacking Stove
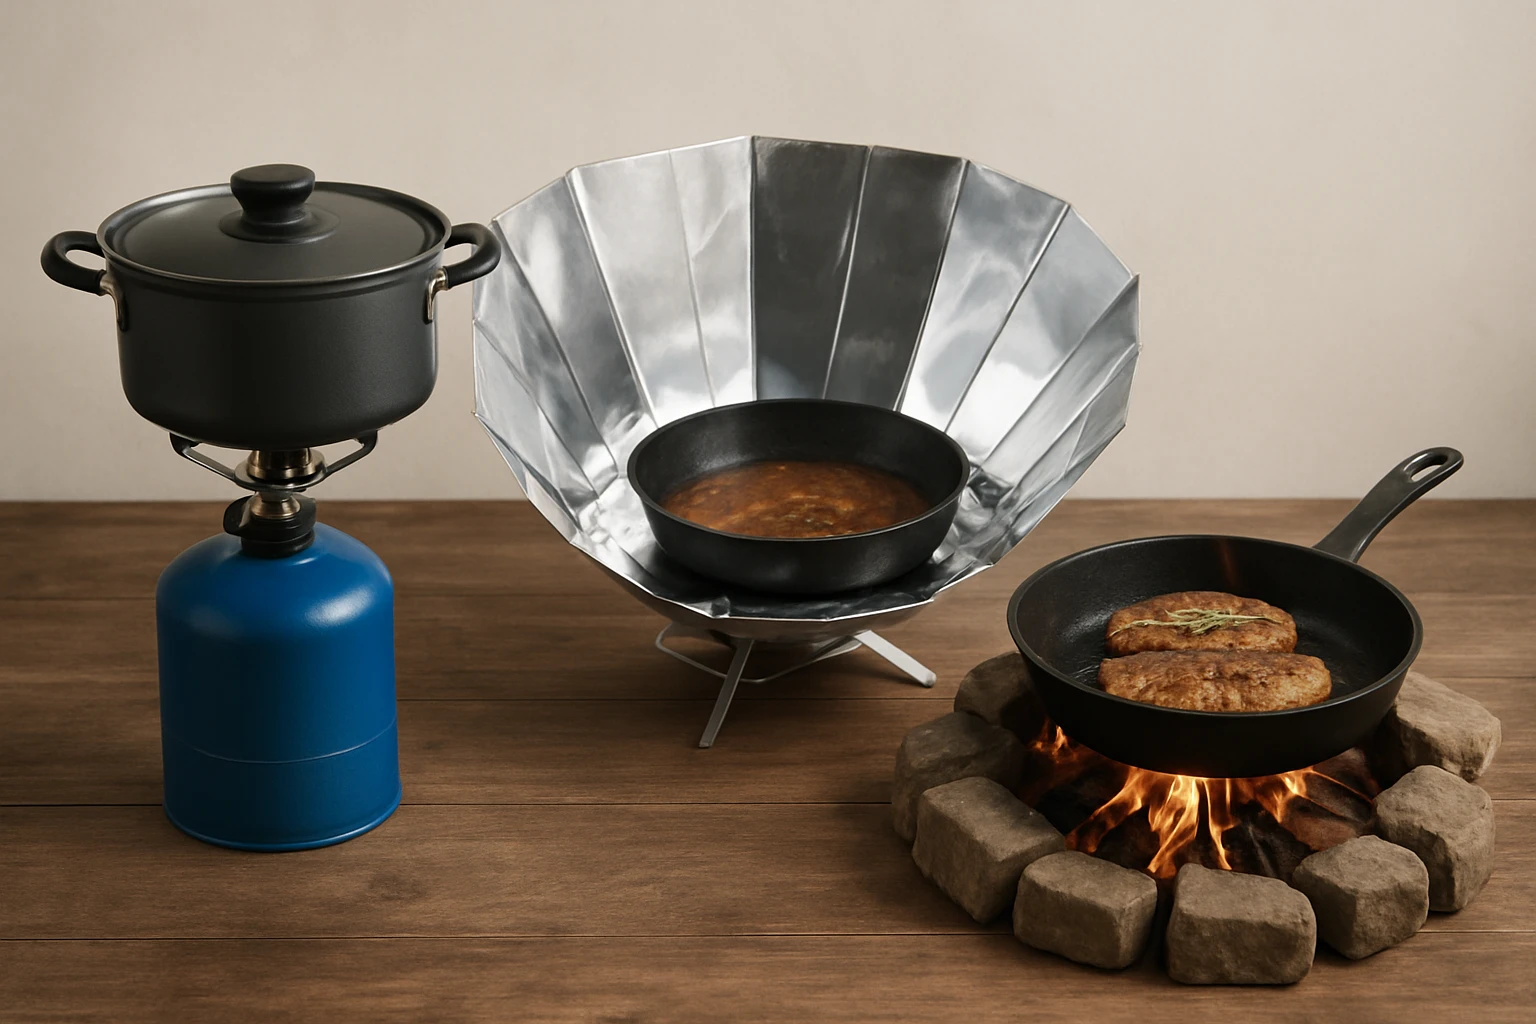
One of the most efficient ways to cook without electricity is to employ a compact propane backpacking stove. The Fire-Maple Fixed Star 1 combines a 1‑liter hard‑anodized aluminum pot with an integrated piezoelectric ignitor, allowing instant ignition and precise flame control. Its industry‑leading heat‑exchange technology reduces boiling time by up to thirty percent, which is valuable when fuel supplies are limited. At a price of $39.95 and a rating of 4.5 stars from 3,427 reviews, this stove offers a reliable, lightweight solution for emergency cooking.
To use the stove, attach the fuel canister to the base, ensure the windscreen is positioned correctly, and ignite the burner with the built‑in ignitor. Place the pot on the stove, add water or food, and adjust the regulator knob to achieve the desired temperature. Because the pot and stove are a single integrated unit, storage is simplified and the overall weight remains only eighteen ounces.
Step 2: Deploy a Dual‑Burner Propane Cooktop
For households that require simultaneous cooking of multiple dishes, a larger propane cooktop provides greater flexibility. The Coleman Triton 2‑Burner Propane Stove delivers twenty‑two thousand BTUs of power across two adjustable burners, each protected by wind guards. Priced at $107.97 with a 4.7‑star rating from 3,553 reviewers, this unit is built for durability and ease of cleaning thanks to its removable chrome‑plated grate.
Set up the Triton on a stable, flat surface, connect a compatible propane tank, and open the heavy‑duty latch to secure the stove when not in use. Use the improved knob rotation to fine‑tune temperature for simmering soups on one burner while boiling pasta on the other. The dual‑burner configuration reduces cooking time and allows one to prepare a balanced meal even during a prolonged outage.
Step 3: Harness Solar Energy with a Portable Solar Cooker
When fuel is unavailable or fire risk is high, solar cooking offers a safe, flame‑free alternative. The HIOSUNSTOVE Solar Cooker features a five‑liter insulated cooking chamber and a built‑in thermometer, enabling one to monitor temperature precisely. At $187.99 and a rating of 4.3 stars from twenty‑nine reviews, this cooker is designed for families who value safety and portability.
Position the solar cooker in direct sunlight, adjust the reflective panels to concentrate solar rays onto the cooking area, and place food inside the insulated pot. Depending on ambient conditions, the cooker can reach temperatures sufficient to bake casseroles, steam vegetables, or boil water for tea. Because no fuel is consumed, this method is ideal for extended emergencies where resupply is uncertain.
Step 4: Build a Simple Campfire in a Fire Pit
Traditional campfires remain a dependable method for heating water and cooking simple meals. Choose a designated fire pit or clear a safe area away from flammable materials, then surround the fire base with a ring of stones to contain embers. Use dry tinder, kindling, and larger logs to establish a steady flame, and employ a sturdy grill grate to hold pots or pans above the coals.
One should always keep a bucket of water or sand nearby for emergency extinguishment. Cooking over a campfire imparts a smoky flavor that can enhance stews, roasted vegetables, and grilled proteins. This method requires no specialized equipment beyond basic fire‑starting tools.
Step 5: Utilize a Charcoal Grill
Charcoal grills provide consistent, high heat and are well suited for grilling meats, vegetables, and even baking flatbreads. Arrange charcoal briquettes in a pyramid, ignite them with a fire starter, and allow the coals to ash over before placing the cooking grate. The grill’s lid can be closed to create an oven‑like environment for casseroles or baked potatoes.
Because charcoal produces minimal flame and controllable heat, it is safer for indoor use when ventilation permits. One should monitor carbon monoxide levels and ensure adequate airflow to prevent hazardous buildup.
Step 6: Operate a Portable Alcohol Stove
Alcohol stoves are lightweight, inexpensive, and function with denatured alcohol or ethanol, which are often available in household supplies. A simple metal canister with a wick and a vented base provides a clean, flameless flame that can boil water quickly. The stove can be placed on a stable surface, and the flame can be adjusted by regulating the airflow.
While the heat output is lower than propane, alcohol stoves are ideal for boiling water for tea, rehydrating freeze‑dried meals, or heating soup. One should store fuel in a sealed container and keep it away from open flames when not in use.
Step 7: Cook with a Dutch Oven Over Coals
A cast‑iron Dutch oven placed among hot coals creates an even, radiant heat source suitable for stews, breads, and casseroles. Begin by lighting a fire in a fire pit, then arrange a layer of coals on each side and a thick layer on top of the oven lid. Place the prepared ingredients inside the Dutch oven, cover, and rotate the pot periodically to ensure uniform cooking.
This method retains heat exceptionally well, allowing one to cook for extended periods without adding additional fuel. The Dutch oven also doubles as a serving vessel, reducing the number of dishes that require cleaning.
Step 8: Use a Sterno Canister Heater
Sterno fuel cans produce a steady, low‑intensity flame that can warm a small pot or heat water for tea. Place the can on a heat‑resistant surface, ignite it with a match, and position a lightweight pot directly above the flame. Because Sterno fuel is designed for catering and emergency use, it is safe for short‑term cooking.
One should never leave the can unattended and must ensure adequate ventilation to avoid carbon monoxide accumulation. This method is particularly useful in confined indoor spaces where larger stoves cannot be safely operated.
Step 9: Construct a Rocket Stove
A rocket stove is a highly efficient wood‑burning device that uses a vertical combustion chamber to achieve complete fuel combustion. Build a simple rocket stove using metal cans or bricks, ensuring a narrow air intake and a vertical exhaust. Load dry twigs or small branches into the combustion chamber, ignite, and allow the flame to rise into the vertical chimney.
Place a pot on the top of the chimney to harness the intense heat. Rocket stoves consume less wood than open fires and produce less smoke, making them suitable for indoor or semi‑enclosed environments when ventilation is adequate.
Step 10: Apply the Hot‑Water‑Bottle Method
When fuel is scarce, heating water in a pot on any of the above heat sources and transferring it to an insulated bottle can provide warm meals for several hours. Boil water, add dehydrated meals or instant noodles, seal the container, and allow the residual heat to continue cooking.
This technique reduces the need for repeated heating cycles and conserves fuel. One should use a bottle with a tight‑fitting lid to prevent heat loss.
Step 11: Use a Battery‑Powered Immersion Heater
Battery‑powered immersion heaters are compact devices that heat water directly in a container using electrical energy from rechargeable batteries. While they still require electricity, they operate independently of the home grid and can be charged in advance with solar panels or a car charger.
Insert the heater into a pot of water, activate the switch, and wait for the water to reach the desired temperature. This method is useful for quickly heating small quantities of water for tea or infant formula during a short outage.
Step 12: Combine a Pressure Cooker with a Portable Stove
Using a pressure cooker on a propane backpacking stove dramatically reduces cooking time for beans, rice, and tougher cuts of meat. The sealed environment raises the boiling point of water, allowing food to cook faster while preserving nutrients.
Place the pressure cooker on the Fire‑Maple Fixed Star 1 stove, bring the contents to pressure, then reduce the flame to maintain steady pressure. Always follow manufacturer safety guidelines to release pressure safely.
Tips & Pro Tips
- Always keep a windscreen handy for propane stoves; it improves fuel efficiency by up to thirty percent.
- Store extra fuel canisters in a cool, dry place to prevent pressure loss.
- When using solar cooking, position the cooker early in the day to maximize exposure and avoid cloud cover.
- Maintain a fire‑extinguishing kit (water, sand, or a fire extinguisher) within arm’s reach.
- Rotate cookware on coals or grills regularly to prevent hot spots and ensure even cooking.
Troubleshooting
Problem: Propane stove will not ignite.
Solution: Verify that the fuel canister is properly attached and not empty. Check the piezoelectric ignitor for debris; clean with a dry cloth. If the ignitor fails, use a long match or lighter as a manual ignition method.
Problem: Solar cooker does not reach desired temperature.
Solution: Adjust the reflective panels to focus sunlight more directly onto the cooking chamber. Ensure the cooker is positioned at the optimal angle relative to the sun’s path, typically around thirty degrees from horizontal.
Conclusion
By mastering these twelve electricity‑free cooking techniques, one can maintain nutrition, morale, and safety during any blackout situation. The recommended tools—such as the Fire‑Maple Fixed Star 1 backpacking stove, the Coleman Triton 2‑Burner Propane Stove, and the HIOSUNSTOVE Solar Cooker—provide reliable performance while remaining portable and easy to operate. One should assess the available resources, select the most appropriate method, and practice these skills before an emergency occurs.
Products Mentioned in This Guide
Frequently Asked Questions
What are the safest emergency cooking methods during a blackout?
Use portable propane or backpacking stoves, a campfire with a Dutch oven, or a solar cooker, each requiring minimal setup and no electricity.
Do I need special cookware for cooking without power?
Lightweight pots, pans, and a Dutch oven work best, as they heat quickly on small burners or open flames.
How can I start a fire safely when the power is out?
Use matches, a lighter, or a firesteel along with dry tinder, and always cook in a well‑ventilated area away from flammable materials.
What fuel should I keep on hand for a propane or backpacking stove?
Store compatible fuel canisters or small propane cartridges in a cool, dry place, checking expiration dates regularly.
Can I cook food using only sunlight?
Yes, a solar cooker can heat meals in direct sun, though it works best on clear days and may take longer than flame‑based methods.