
How to Create an Emergency Food Rotation Spreadsheet Template: Step-by-Step Guide + Free Template
Introduction
Effective emergency preparedness begins with a systematic approach to food storage. One of the most reliable methods is to maintain a rotation spreadsheet that tracks expiration dates, quantities, and storage locations. This guide will teach the reader how to design a comprehensive spreadsheet, populate it with accurate data, and keep the system functional over years of use. By following the steps, one can reduce waste, ensure nutritional adequacy, and gain confidence that the household is ready for unforeseen events.
The guide also integrates practical tools such as durable containers and removable labels, which simplify the physical organization of supplies. While the spreadsheet itself is the core of the system, the recommended products act as enablers that streamline data entry and visual identification. Readers who prefer a low‑cost approach can still implement the method using household items, but the suggested tools provide measurable efficiency gains.
What You'll Need
- Computer or tablet with spreadsheet software (Microsoft Excel, Google Sheets, or LibreOffice Calc).
- Durable food storage containers for bulk items.
- Removable, waterproof labels for clear identification.
- Pen or marker for writing on labels.
- Internet access to download the free template.
For the physical storage components, the following products are highly regarded and will be referenced in the steps below:
- Rubbermaid Brilliance 44-Piece Food Storage Set
- Promoze 50-Pack Meal Prep Containers
- Sinoome 1200 Removable Food Labels
Step 1: Assess Your Current Food Inventory
The first action is to perform a thorough audit of all stored food items. Remove each product from its current location, examine the packaging for expiration dates, and note the quantity in a notebook. This manual inspection prevents hidden spoilage and creates a baseline for the spreadsheet. It is advisable to group items by category—canned goods, dried legumes, freeze‑dried meals, and so forth—because the spreadsheet will later reflect these categories.
During the audit, place items that require immediate consumption in a temporary holding area. This prevents accidental duplication of entries and ensures that the spreadsheet reflects only items that will remain in storage for the foreseeable future.
Step 2: Choose Your Spreadsheet Platform
Select a platform that you can access from multiple devices, especially during power outages. Google Sheets offers cloud‑based access and automatic saving, while Microsoft Excel provides advanced functions for conditional formatting. LibreOffice Calc is a free, offline alternative that supports most Excel formulas.
Once the platform is chosen, create a new workbook titled “Emergency Food Rotation.” Save the file in a folder that is backed up to an external drive or cloud storage. This redundancy safeguards the data against hardware failure.
Step 3: Define Columns and Categories
Design the spreadsheet with clear column headings that capture essential information. A recommended column set includes:
- Item Name
- Category (e.g., canned, dry, frozen)
- Quantity (units or weight)
- Purchase Date
- Expiration Date
- Storage Location (e.g., pantry shelf 2)
- Notes (e.g., “rotate first”)
Apply data validation to the Category column so that only predefined categories can be selected. This reduces typographical errors and facilitates sorting later on.
Use conditional formatting to highlight items that are within 30 days of expiration. For example, set the cell background to orange when the expiration date is less than 30 days away, and red when it is past due. This visual cue streamlines the rotation process.
Step 4: Populate the Spreadsheet Using Your Storage Containers
Now that the spreadsheet structure is ready, begin entering the data collected in Step 1. For each entry, record the exact expiration date as printed on the packaging. Consistency in date format (YYYY‑MM‑DD) ensures that formulas calculate correctly.
To simplify data entry, store items in uniform containers that make identification straightforward. The Rubbermaid Brilliance 44-Piece Food Storage Set provides airtight, leak‑proof containers with clear Tritan plastic, allowing you to see contents without opening the lid. The set includes a variety of sizes, enabling you to allocate dry goods, canned items, and freeze‑dried meals in appropriately sized bins. Because the containers are freezer‑safe, you can keep perishable items in the same set, reducing the need for multiple storage systems.
Key features of the Rubbermaid set include a 4.7‑star rating from over 73,000 reviewers, BPA‑free construction, and built‑in steam vents for microwave reheating. Priced at $129.99, the set offers long‑term durability, which justifies the upfront cost compared with cheaper, non‑stackable alternatives. By placing each food category in a dedicated container, you can quickly locate the correct row in the spreadsheet and verify that the physical location matches the digital record.
Step 5: Label Containers for Quick Identification
Accurate labeling bridges the gap between the spreadsheet and the physical storage area. Write the item name, quantity, and expiration date on a label, then affix it to the corresponding container. This practice eliminates the need to cross‑reference the spreadsheet constantly.
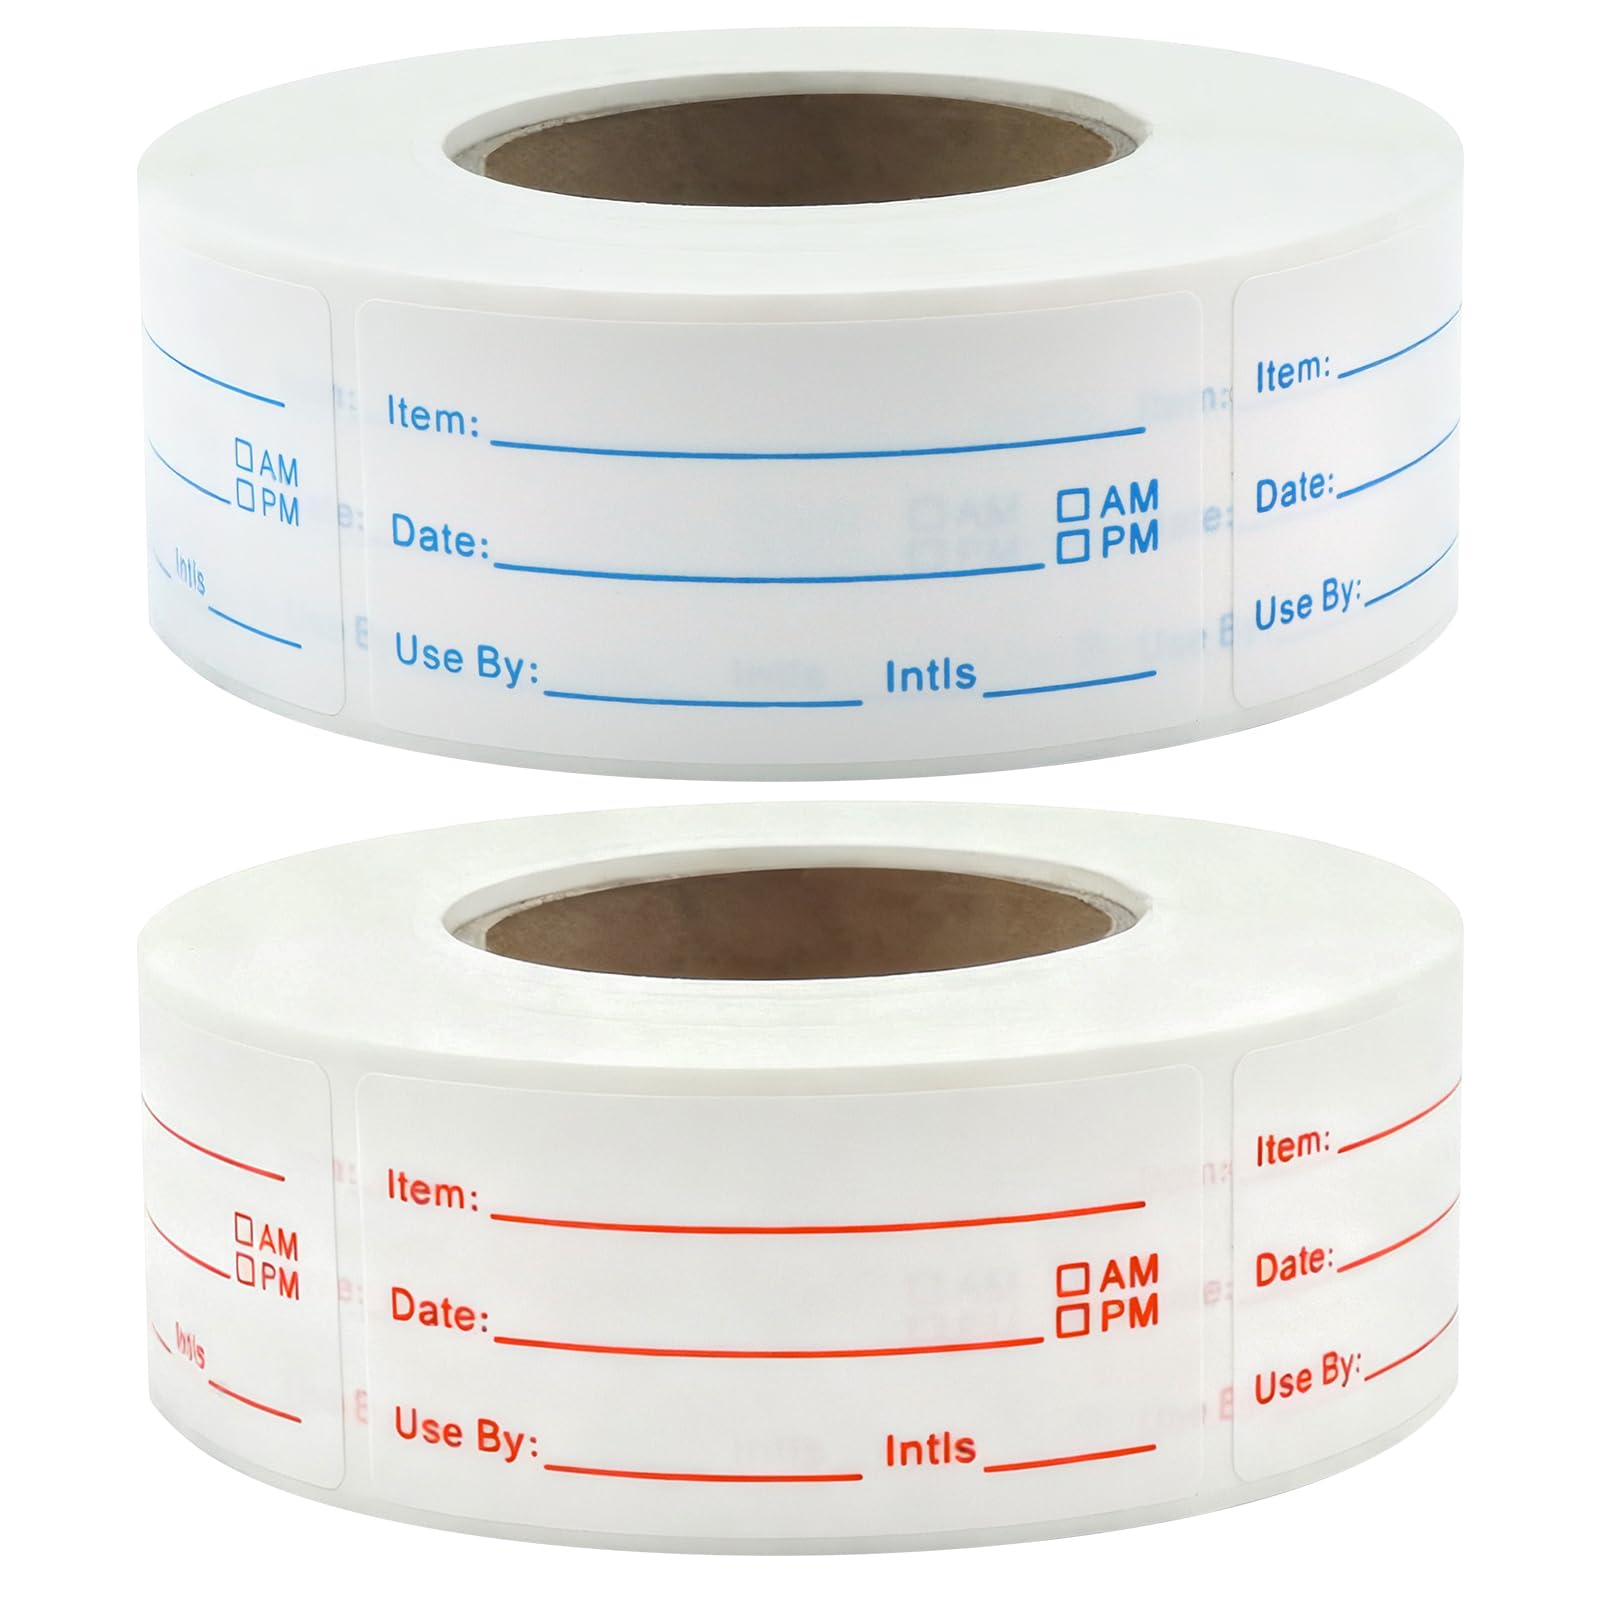
The Sinoome 1200 Removable Food Labels are designed specifically for kitchen organization. Each roll contains 600 labels in red or blue, each measuring 1×2 inches, providing ample space for clear handwriting. The labels are waterproof, oil‑resistant, and removable without leaving residue, which is essential for containers that may move between the pantry and freezer. With a rating of 4.7 stars from 41 reviewers and a price of $9.49, they present an economical solution for maintaining a tidy storage system.
When applying the labels, use a ballpoint pen for crisp, legible text. Write the item name on the first line, the expiration date on the second line, and any special notes (e.g., “rotate first”) on the third line. Because the labels are peel‑and‑stick, you can reposition them if you rearrange containers, preserving the integrity of the spreadsheet.
Step 6: Set Rotation Alerts and Review Schedule
Automation reduces the mental load of remembering to rotate supplies. In Google Sheets, create a script that sends an email reminder when an item approaches its expiration date. In Excel, use the TODAY() function combined with conditional formatting to flag imminent dates.
Schedule a quarterly review of the spreadsheet. During each review, verify that the physical inventory matches the digital record, update quantities after consumption, and move newly purchased items to the appropriate “new” row. This regular maintenance prevents “dead stock” from accumulating unnoticed.
If you prefer a low‑tech approach, place a dry‑erase board near the storage area and write the next rotation date for each container. The board serves as a visual reminder and can be updated without altering the spreadsheet.
Step 7: Download and Use the Free Template
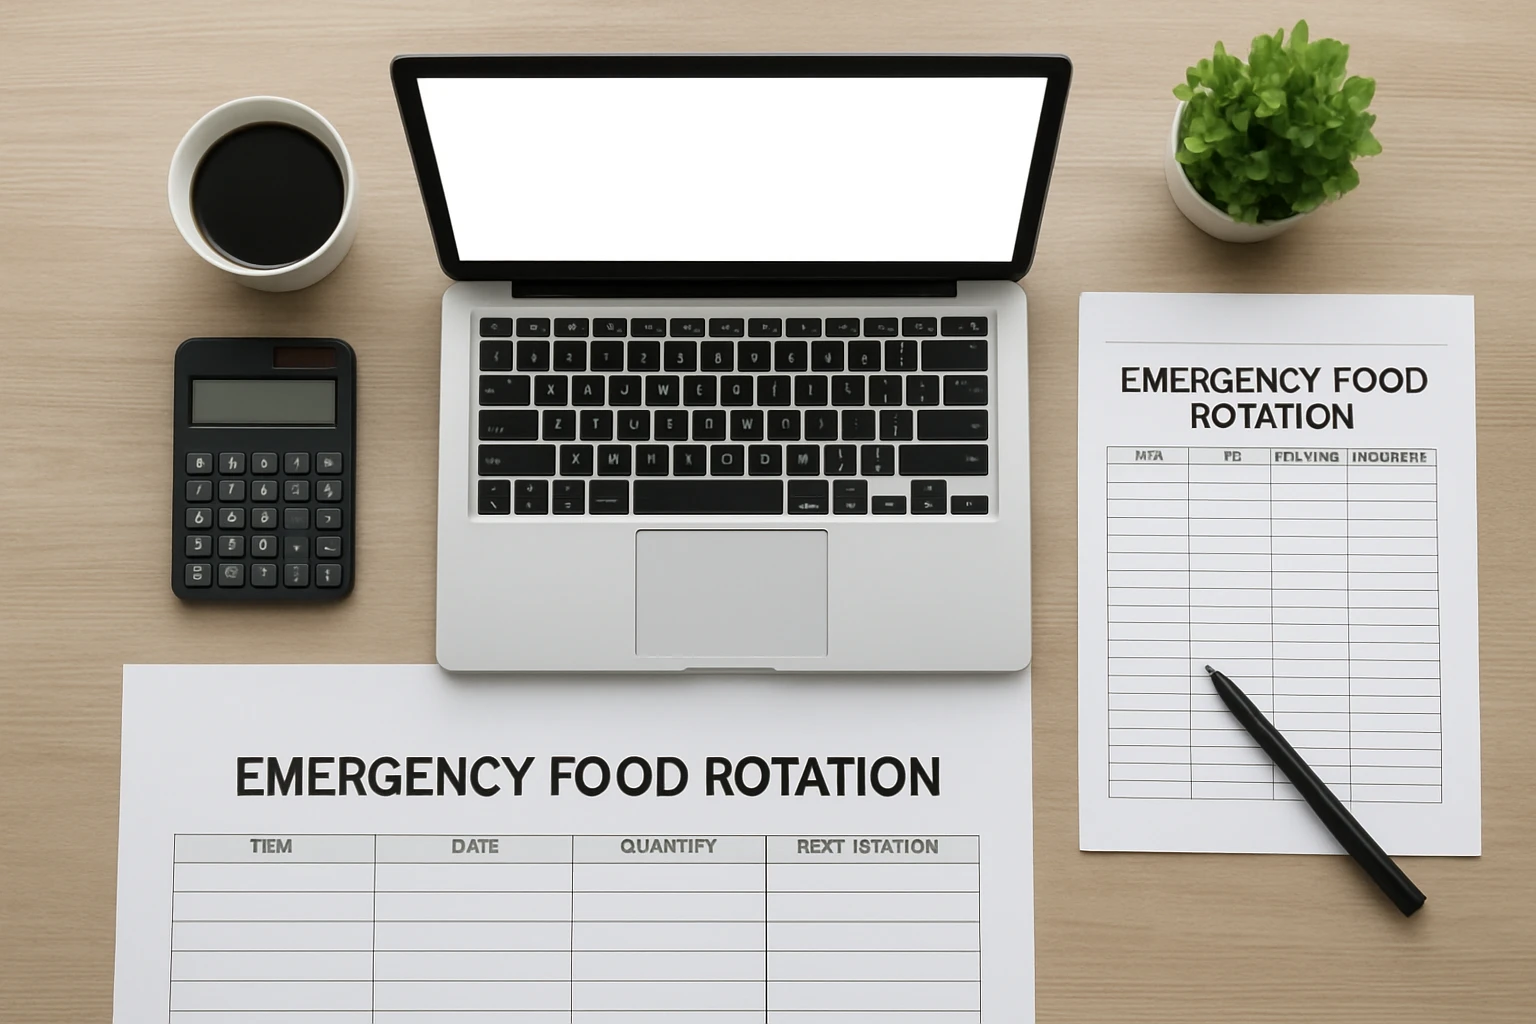
To accelerate implementation, download the free emergency food rotation spreadsheet template provided at the end of this guide. The template includes pre‑filled column headers, conditional formatting rules, and sample data to illustrate best practices.
Open the template in your chosen spreadsheet program, save a copy to your personal folder, and begin populating it with your inventory. The template also contains a hidden sheet that calculates the total weight of stored food, which is useful for meeting recommended emergency food quantities (e.g., 2,000 calories per person per day).
By using the template, you avoid the time‑consuming task of setting up formulas from scratch, allowing you to focus on accurate data entry and regular rotation.
Tips & Pro Tips
- Standardize container sizes. Using the same size for similar items simplifies stacking and visual scanning.
- Color‑code labels. Assign red labels to items that expire within 60 days and blue labels to long‑term supplies.
- Utilize the built‑in steam vents. The Rubbermaid Brilliance containers allow microwave reheating without removing the lid, saving time during emergencies.
- Batch‑label during initial setup. Label all containers in one sitting to avoid repetitive trips to the computer.
- Keep a backup copy offline. Store the spreadsheet on a USB drive that can be accessed without internet.
Troubleshooting
Problem: Conditional formatting does not highlight expiring items.
Solution: Verify that the expiration dates are entered in the correct date format (YYYY‑MM‑DD) and that the formula range includes all relevant cells. Refresh the sheet or reopen the file to apply the rules.
Problem: Labels peel off in the freezer.
Solution: Ensure the container surface is clean and dry before applying the Sinoome 1200 Removable Food Labels. If the issue persists, consider using a thin layer of clear packing tape over the label edge for added adhesion.
Conclusion
Creating an emergency food rotation spreadsheet empowers households to manage supplies efficiently, reduce waste, and maintain readiness for crises. By following the seven steps outlined—assessing inventory, selecting a platform, defining columns, populating data with the aid of durable containers, labeling with removable stickers, setting alerts, and using a free template—one establishes a robust system that endures over time. The recommended products enhance each phase of the process, but the methodology remains effective even with existing household items.
Implement the system today, conduct the first quarterly review within one month, and adjust as needed. A well‑maintained rotation spreadsheet translates into peace of mind, knowing that food supplies are fresh, organized, and readily accessible when needed.
Products Mentioned in This Guide
Frequently Asked Questions
What information should I include in an emergency food rotation spreadsheet?
Track item name, quantity, expiration date, storage location, and any special dietary notes.
Can I use free spreadsheet software for the template?
Yes, Google Sheets or LibreOffice Calc work perfectly and are accessible on most devices.
How often should I update the spreadsheet to keep it accurate?
Review and update the sheet whenever you add, use, or rotate supplies, at least once a month.
What are the best labeling methods for physical food storage?
Use removable, waterproof labels or color‑coded stickers that match the spreadsheet entries.
How does a rotation spreadsheet help reduce food waste?
It alerts you to upcoming expirations, prompting you to use items before they spoil and keep stock fresh.