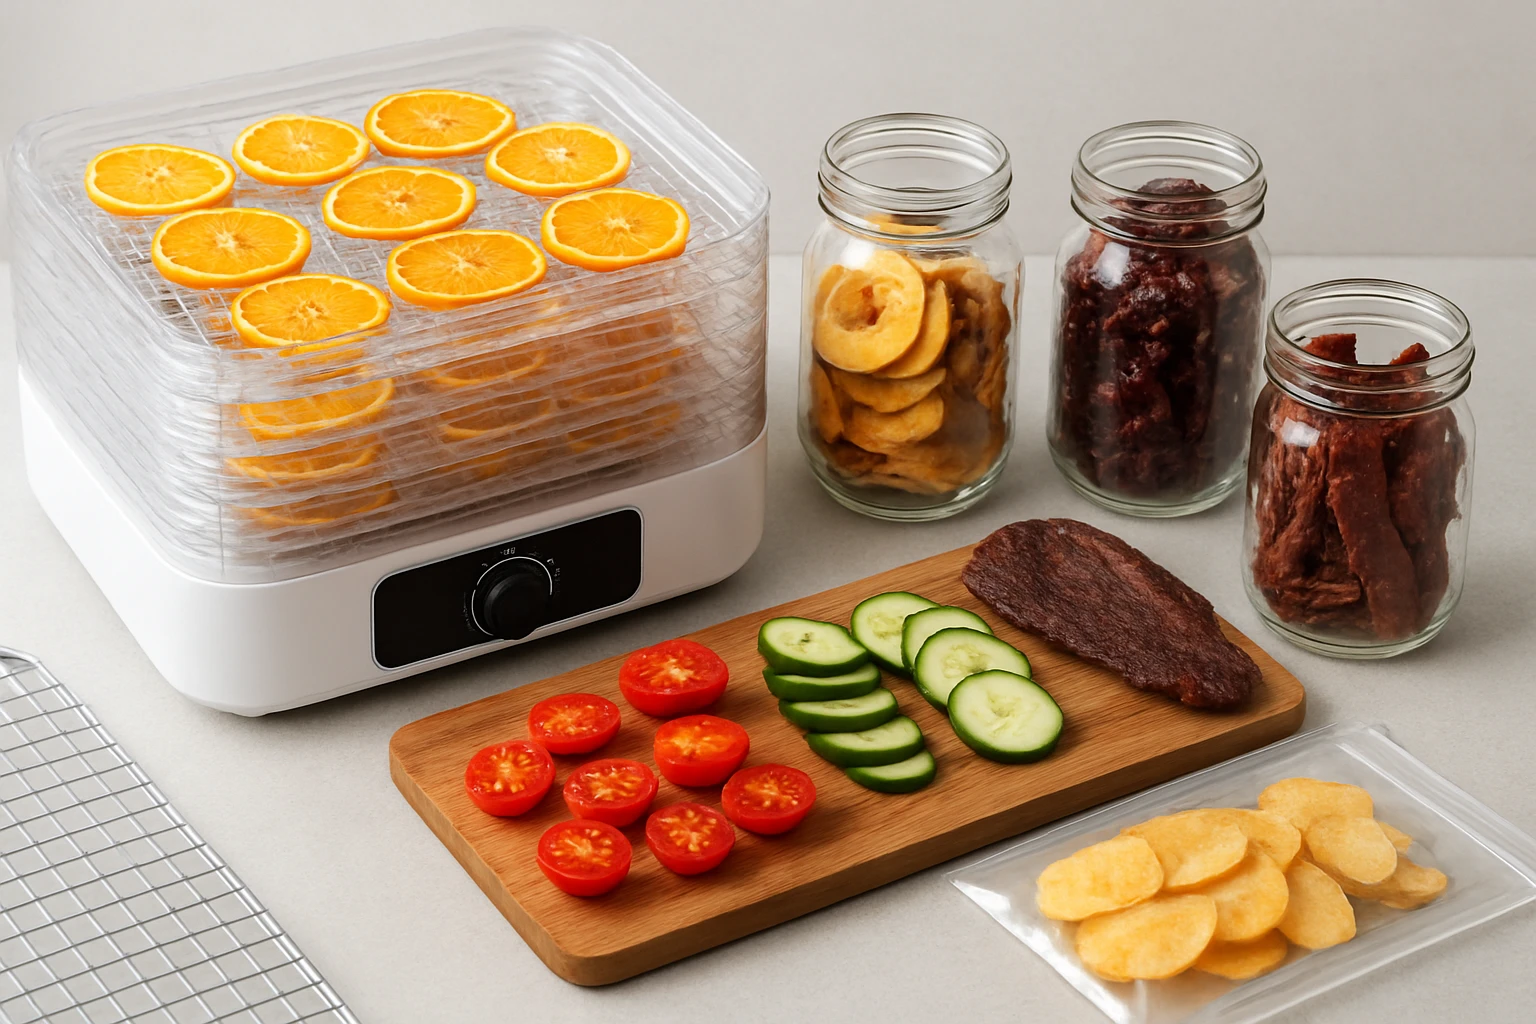
How to Dehydrate Food at Home for Long-Term Storage: Step‑by‑Step Guide to Drying, Packaging, and Maximizing Shelf Life
Introduction
One will learn how to transform fresh produce into stable, lightweight food that can be stored for months or years. The guide explains the science behind moisture removal, the equipment that simplifies the process, and the packaging techniques that protect nutrients. By following each step, one can create nutritious snacks, emergency meals, and cost‑effective pantry staples without waste. The value of this knowledge becomes evident during seasonal surpluses, power outages, or long‑term travel plans.
What You’ll Need
- Magic Mill Food Dehydrator – 10‑tray stainless steel unit, 700 W, temperature range 95‑167 °F, $127.49, 4.6/5 rating.
- COSORI Food Dehydrator – 5‑tray compact unit, 350 W, max 165 °F, $35.23, 4.6/5 rating.
- ZRLEI Oxygen Absorbers – 400 cc packs, 100 pieces, $8.54, 4.7/5 rating.
- Lova Silicone Dehydrator Sheets – 12 reusable mesh liners, $14.98, 4.8/5 rating.
- Food‑grade Mylar bags, vacuum sealer or heat sealer, and a sharp knife for trimming.
Step 1: Select and Prepare Fresh Produce
One should begin with high‑quality fruits, vegetables, or lean meats that are free of bruises or spoilage. Wash each item under running water, then pat dry with a clean cloth to remove surface moisture. For fruits and vegetables, slice uniformly to 1/8‑inch thickness; uniformity ensures even drying and predictable drying times. For meats, trim excess fat, slice against the grain, and consider marinating for flavor enhancement. Blanching leafy greens for 1‑2 minutes in boiling water, followed by an ice‑water shock, preserves color and nutrients before dehydration.
Step 2: Arrange the Dehydrator and Set Temperature
One must place the dehydrator on a stable, heat‑resistant surface with adequate clearance for airflow. The Magic Mill Food Dehydrator offers a rear‑mounted fan that circulates air evenly across ten extra‑large trays, eliminating the need to rotate trays manually. Its digital control permits precise temperature selection between 95 °F and 167 °F, which is essential for different food categories: 135 °F for herbs, 145 °F for fruits, and 155 °F for jerky. The unit’s 48‑hour timer and automatic shut‑off provide safety and convenience.
If kitchen space is limited, the COSORI Food Dehydrator provides a compact footprint with stackable trays. Although it has a lower wattage of 350 W, it reaches a maximum of 165 °F and includes an adjustable height feature that accommodates thicker cuts. Its quiet operation (under 47 dB) makes it suitable for overnight drying.
Set the temperature according to the food type, then preheat the machine for five minutes to stabilize airflow. This step reduces initial condensation and shortens overall drying time.
Step 3: Line Trays with Silicone Sheets
Sticky residue and torn pieces are common complaints when using bare metal trays. The Lova Silicone Dehydrator Sheets are non‑stick mesh liners that lift foods cleanly while allowing unrestricted airflow. Each 14 × 14 inch sheet can be trimmed to fit any tray size, making them compatible with both Magic Mill and COSORI units. Because the sheets are dishwasher safe, cleanup is rapid and does not require abrasive scrubbing.
Place a sheet on each tray, then arrange the sliced produce in a single layer, leaving a small gap between pieces. Overcrowding traps moisture and extends drying time, whereas proper spacing promotes uniform dehydration.
Step 4: Monitor Drying Progress and Adjust Settings
One should inspect the food at regular intervals, typically every 2‑4 hours for fruits and 4‑6 hours for meats. The transparent door on the Magic Mill unit allows visual monitoring without opening the chamber, which preserves heat. If the food appears to dry unevenly, rotate the trays manually; this is rarely necessary due to the rear‑mounted fan but can be helpful for dense items.
Dryness can be assessed by the bend‑test for fruits (they should be pliable but not sticky) and the snap‑test for jerky (it should break cleanly without tearing). When the desired texture is achieved, activate the keep‑warm function for up to 24 hours to prevent re‑absorption of ambient moisture.
Step 5: Condition the Dehydrated Food
Conditioning equalizes residual moisture across the batch. Transfer the cooled pieces to a clean, airtight glass jar and shake gently once daily for one week. If condensation appears on the jar walls, return the food to the dehydrator for an additional hour. Proper conditioning reduces the risk of mold during long‑term storage.
Step 6: Package with Oxygen Absorbers for Long‑Term Storage
Oxygen accelerates oxidative rancidity and microbial growth. The ZRLEI Oxygen Absorbers each remove 400 cc of oxygen, which is sufficient for a one‑gallon Mylar bag containing up to 5 lb of dried goods. Place the appropriate number of absorbers (typically one per gallon) into the bag before sealing.
Fill the Mylar bag with the conditioned food, leaving a small headspace, then use a heat sealer to close the bag. For added protection, store the sealed bag in a cool, dark pantry or freezer. The absorbers remain active for years, maintaining an oxygen‑free environment that extends shelf life well beyond twelve months.
Tips & Pro Tips
- Pre‑dry very wet items such as tomatoes on a rack for 30 minutes before placing them in the dehydrator.
- Use a digital kitchen scale to record the weight before and after drying; a 75‑80 % weight loss indicates proper dehydration.
- When drying herbs, set the temperature to the lowest possible setting (95‑105 °F) to preserve volatile oils.
- Store dried foods in portions that match typical meal sizes; this reduces the need to open large containers repeatedly.
- Label each sealed bag with the food type, date of dehydration, and batch number for easy inventory management.
Troubleshooting
| Problem | Possible Cause | Solution |
|---|---|---|
| Food remains sticky after the recommended time | Insufficient temperature or humidity in the room | Increase temperature by 5 °F and extend drying time; ensure the dehydrator door is fully closed. |
| Mold appears during storage | Residual moisture or exposure to oxygen | Re‑condition the batch, add additional oxygen absorbers, and verify seal integrity. |
| Uneven drying across trays | Obstructed airflow or overloaded trays | Check that the rear fan is not blocked; redistribute items to allow airflow. |
Conclusion
One now possesses a complete, professional method for dehydrating food, packaging it with oxygen absorbers, and storing it for long‑term use. By selecting appropriate equipment, controlling temperature, and employing proper sealing techniques, one can create a reliable supply of nutritious foods that withstand months of storage. The process not only reduces food waste but also provides peace of mind during emergencies.
Products Mentioned in This Guide
Frequently Asked Questions
What temperature should I use to dehydrate most fruits and vegetables?
Set the dehydrator between 125‑135 °F (52‑57 °C) for most produce; higher temperatures are used for meats.
How long can dehydrated foods be stored safely?
When properly dried and sealed, most items last 6‑12 months in a cool, dark pantry, and up to several years in vacuum‑packed containers.
Do I need to pre‑blanch vegetables before drying them?
Yes, blanching 2‑5 minutes helps preserve color, flavor, and nutrients for most vegetables.
What is the best way to package dehydrated foods for long‑term storage?
Use airtight containers such as Mylar bags with oxygen absorbers, or vacuum‑seal bags, then store in a dark, low‑humidity area.
Can I use a regular oven instead of a food dehydrator?
An oven set to its lowest setting (around 150 °F/65 °C) with the door slightly ajar can work, but it consumes more energy and may dry unevenly.