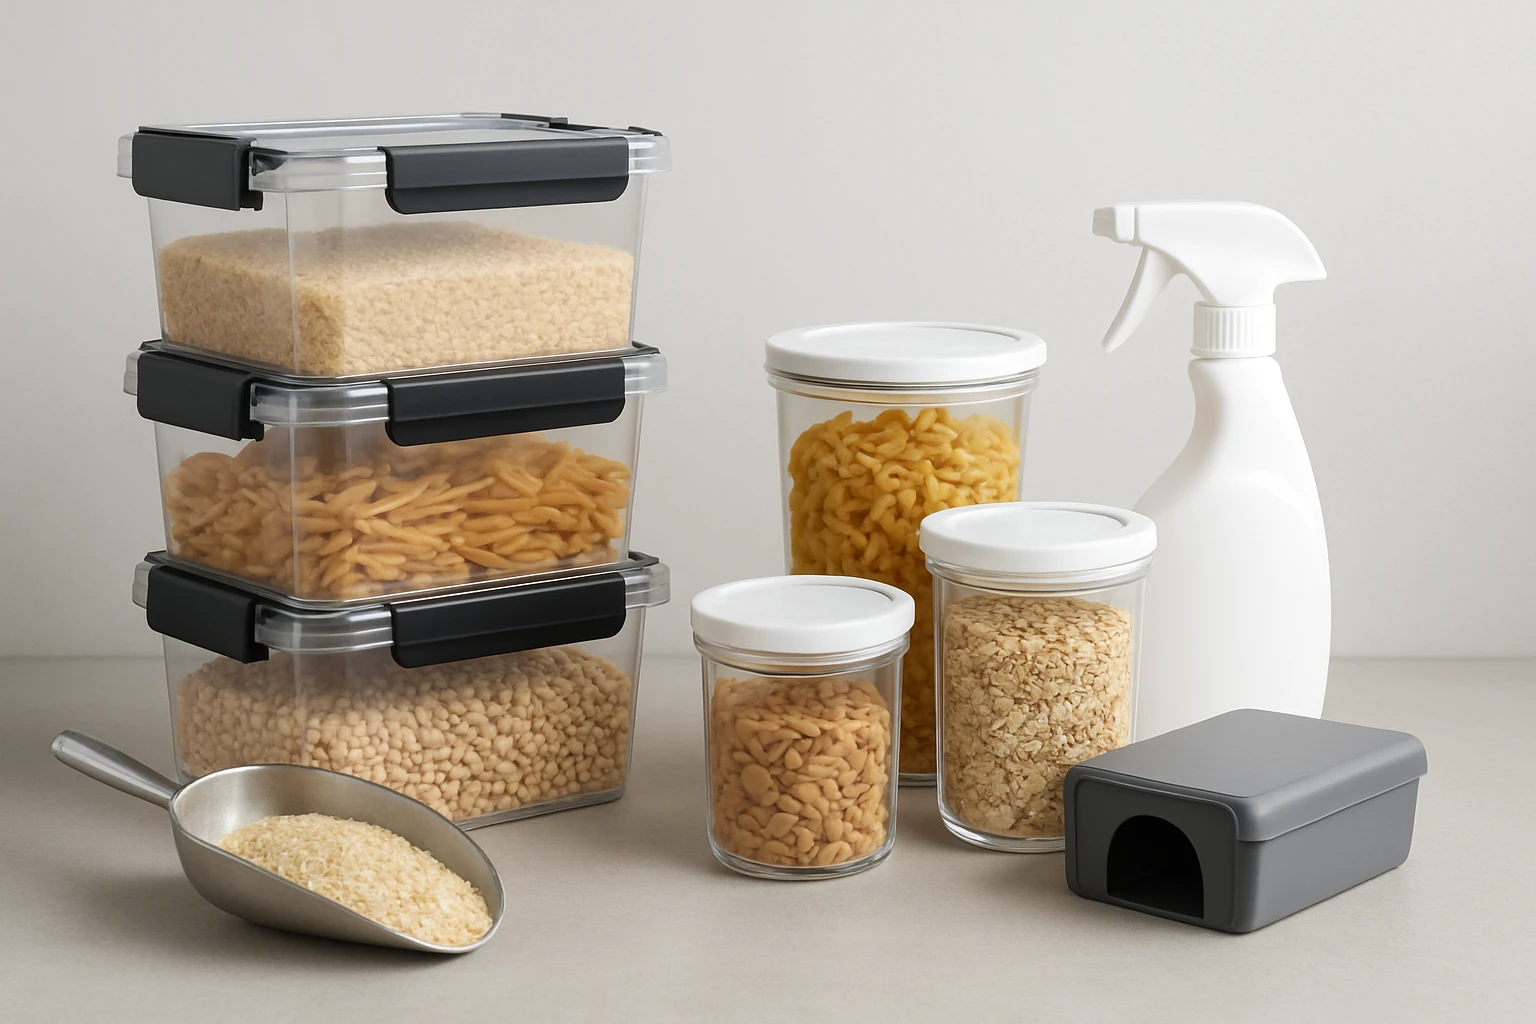

How to Pest-Proof Your Emergency Food Storage: 12 Essential Tips
Introduction
In emergency preparedness, food safety is as critical as food quantity. Unwanted pests can compromise nutrition, create unpleasant odors, and render supplies unusable. This guide will teach the reader twelve essential techniques to safeguard emergency food reserves from insects, rodents, and other intruders. By following these steps, one will create a resilient storage environment that remains secure for months or even years.
The information presented combines best‑practice principles with specific product recommendations that function as tools rather than focal points. The reader will gain confidence in selecting containers, arranging spaces, and monitoring conditions, thereby extending the shelf life of valuable provisions.
What You'll Need
- Clear, stackable storage containers such as Rubbermaid Clear Storage Bins
- Heavy‑duty, gasket‑sealed containers such as IRIS WeatherPro Storage Bins
- Silica gel packets or moisture absorbers
- Food‑grade vacuum sealer and bags
- Label maker or waterproof markers
- Basic tools for inspection (flashlight, magnifying glass)
Step 1: Choose the Right Container Material
The first decision influences every subsequent measure. One should prefer containers made from BPA‑free, food‑grade plastic that resist cracking and do not leach chemicals. The Rubbermaid Clear Storage Bins offer a transparent design, a load capacity of 10.8 pounds, and a volume of 17 quarts per bin. Their clear walls enable quick visual inspection, reducing the need to open each container and thereby limiting exposure to pests.
In contrast, the IRIS WeatherPro Storage Bins provide a robust gasket seal that creates a vacuum‑like barrier against moisture and dust. Their larger 74‑quart capacity is suitable for bulk staples such as rice or beans. Selecting the appropriate size and seal type aligns with the volume of each food category.
Step 2: Seal Containers Properly
Even the most durable plastic can admit pests if the lid is not secured. The Rubbermaid bins feature handles that latch firmly to the base, preventing accidental opening. The IRIS bins employ a multi‑buckle latch system that tightens the lid around a rubber gasket, forming an airtight seal. One should engage every latch point and verify that the lid sits flush with the container rim before storing any food.
Sealing correctly also mitigates moisture ingress, which attracts mold‑loving insects. A sealed environment discourages both ants and pantry moths, which rely on humidity to thrive.
Step 3: Store in a Cool, Dry Location
Temperature fluctuations and humidity are primary drivers of pest activity. One should locate storage containers in a basement, garage, or pantry that remains below 75°F (24°C) and maintains relative humidity below 60 percent. If the chosen area is prone to dampness, place silica gel packets on top of each container to absorb excess moisture.
Stackable designs, such as those of the Rubbermaid bins, allow the user to elevate containers off the floor, further reducing exposure to ground‑dwelling pests.
Step 4: Elevate and Space Containers
Rodents can gnaw through thin plastic, but they are less likely to climb onto elevated platforms. Using the recessed lid design of the Rubbermaid bins, one can stack containers safely while leaving a small air gap between layers. This gap creates a visual barrier and makes it more difficult for insects to travel vertically.
For larger IRIS bins, the grooved lid and body allow stable stacking. However, it is advisable to leave a one‑inch clearance between stacks to promote airflow and discourage hidden infestations.
Step 5: Rotate Stock Regularly
Even the most pest‑proof environment can become vulnerable if food sits untouched for years. Implement a first‑in, first‑out (FIFO) system by labeling each container with the purchase date and a “use by” reminder. The clear visibility of the Rubbermaid bins simplifies this process, as one can see the contents without opening the lid.
When rotating, inspect each container for signs of infestation, such as webbing, holes, or unusual odors. Promptly discard any compromised items to prevent cross‑contamination.
Step 6: Use Vacuum Sealing for Bulk Items
Vacuum‑sealed bags remove air, depriving insects of the oxygen needed for survival. Place bulk staples inside a food‑grade vacuum bag, remove the air, and then store the sealed bag inside a Rubbermaid or IRIS bin for double protection.
This layered approach combines the mechanical barrier of the container with the chemical barrier of reduced oxygen, providing a formidable defense against pantry pests.
Step 7: Keep the Storage Area Clean
Spills and crumbs serve as an invitation to pests. Sweep the floor, wipe down shelves, and remove any packaging debris before placing containers. A clean environment also makes it easier to spot the early signs of infestation.
When cleaning, use a mild detergent and avoid harsh chemicals that could degrade plastic over time. Rinse containers with water and allow them to dry completely before restocking.
Step 8: Install Physical Barriers
For locations with known rodent activity, consider adding metal mesh or hardware cloth around the storage area. The mesh should have openings no larger than 1/4 inch to block entry by mice and rats.
Physical barriers complement the airtight seals of the IRIS WeatherPro bins, creating a multi‑layered defense system that addresses both entry points and internal containment.
Step 9: Monitor with Traps and Sensors
Strategically placed snap traps or live‑catch traps can alert the user to rodent presence before damage occurs. Additionally, humidity sensors placed near the containers provide real‑time data on moisture levels, enabling prompt corrective action.
When a trap is triggered, inspect nearby containers for gnaw marks. Promptly replace any compromised lids, especially on the Rubbermaid bins, which rely on latch integrity for pest protection.
Step 10: Avoid Direct Sunlight
Ultraviolet light degrades plastic over time, creating micro‑cracks that pests can exploit. Store containers in a shaded area, away from windows or skylights. The opaque exterior of the IRIS bins already offers some protection, but the clear Rubbermaid bins benefit from additional shielding.
Covering the storage area with a light‑blocking tarp adds an extra layer of defense while also stabilizing temperature.
Step 11: Use Natural Repellents Wisely
Bay leaves, cedar chips, or essential oil sachets can deter insects when placed around the perimeter of the storage area. These repellents should not be placed inside food containers, as they may affect flavor.
Combine natural repellents with the airtight seal of the IRIS bins for a comprehensive strategy that attacks pest attraction on multiple fronts.
Step 12: Conduct Periodic Audits
At least once every three months, perform a thorough audit of the storage system. Verify that each lid remains latched, that seals are intact, and that moisture absorbers have not saturated. Replace any worn components, such as rubber gaskets on the IRIS bins, to maintain optimal protection.
Document findings in a logbook, noting any pest sightings, temperature readings, and corrective actions taken. This record supports continuous improvement and accountability.
Tips & Pro Tips
- Label each container with both the food type and the date of purchase; use waterproof ink to prevent smudging.
- When stacking, place the heaviest bins at the bottom to avoid crushing lighter containers.
- Consider adding a thin layer of food‑grade diatomaceous earth at the base of the storage area; it acts as a mechanical insecticide without contaminating food.
- For long‑term storage beyond five years, replace vacuum‑sealed bags annually to maintain seal integrity.
Troubleshooting
Problem: Persistent ant trails near the storage area.
Solution: Inspect the floor for cracks and seal them with silicone caulk. Relocate containers to a raised platform and apply a thin line of petroleum jelly on the underside of each container foot.
Problem: Moisture buildup inside a container.
Solution: Remove the lid, dry the interior with a clean cloth, and replace the silica gel packet. Verify that the gasket on the IRIS bin is not deformed.
Conclusion
By implementing these twelve essential steps, one can create a pest‑proof environment that preserves the nutritional value and safety of emergency food supplies. The combination of proper container selection, diligent sealing, strategic placement, and ongoing monitoring provides a robust defense against insects and rodents. Readers are encouraged to apply these practices, adapt them to their specific circumstances, and maintain vigilance to ensure preparedness remains uncompromised.
Products Mentioned in This Guide
Rubbermaid Clear Storage Bins
Price: Not listed
Rating: 4.4/5.0 (2,906 reviews)
Features: 17 qt capacity, clear design for easy identification, secure latch handles, stackable recessed lid, BPA‑free, made in USA.
IRIS WeatherPro Storage Bins
Price: $129.99
Rating: 4.1/5.0 (1,301 reviews)
Features: 74 qt capacity, gasket seal creates vacuum‑like barrier, multi‑buckle latch, stackable design, BPA‑free, acid‑free, made in USA.
Frequently Asked Questions
What type of containers are best for pest‑proof emergency food storage?
Use clear, stackable bins for visibility and heavy‑duty, gasket‑sealed containers to block insects and rodents.
How should food items be arranged to deter pests?
Store items off the floor, on pallets, and keep a gap between containers for airflow and inspection.
What temperature and humidity levels help prevent pest infestations?
Maintain cool, dry conditions—ideally below 70 °F and under 60 % relative humidity—to discourage mold and insects.
Are natural repellents effective for long‑term storage?
Lavender, peppermint oil, and cedar chips can deter pests, but they should be refreshed regularly and not replace sealed containers.
How often should I inspect my emergency food cache for pests?
Perform a visual check every 3–6 months and look for signs such as droppings, chew marks, or unusual odors.
