How to Start a Neighborhood Mutual Aid Prep Group: Step‑by‑Step Guide to Building Local Emergency Preparedness
Introduction
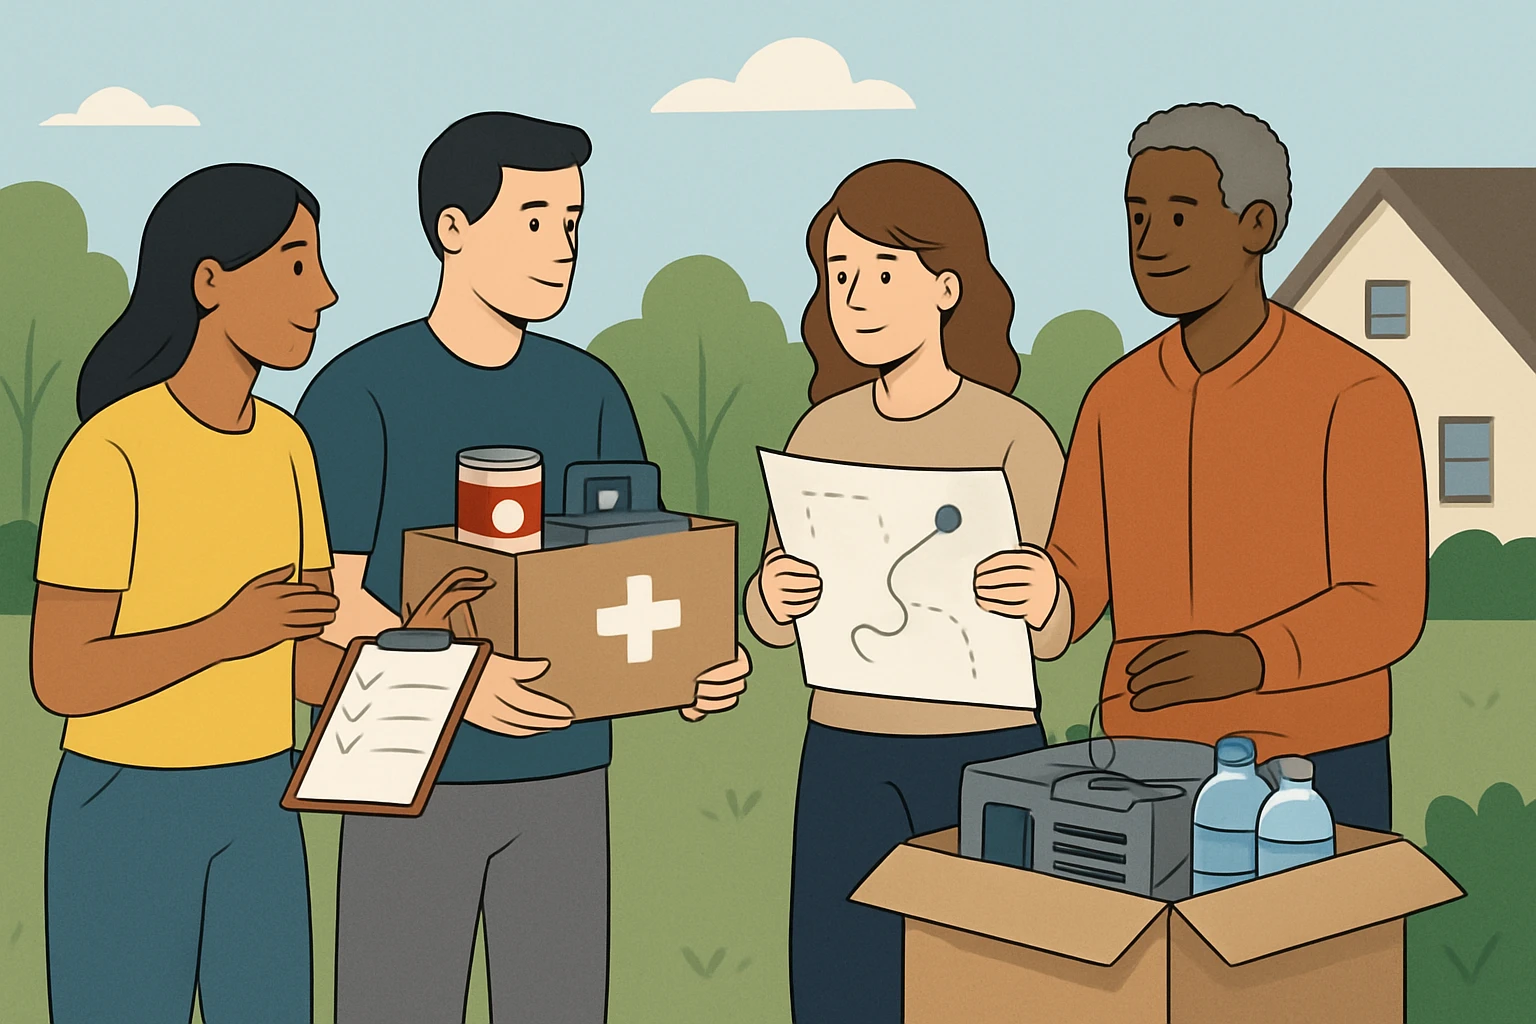
One will discover how to transform a casual neighborhood conversation into a resilient mutual‑aid network that can respond to power outages, natural disasters, or other emergencies. This guide explains the core principles of community preparedness, outlines the organizational steps required, and recommends practical tools that enhance reliability. By following the instructions, one can foster trust, share resources, and ensure that every household has access to essential supplies. The value of a prepared neighborhood lies in reduced response time, shared expertise, and collective security.
What You’ll Need
- Communication platform (e.g., group messaging app or email list)
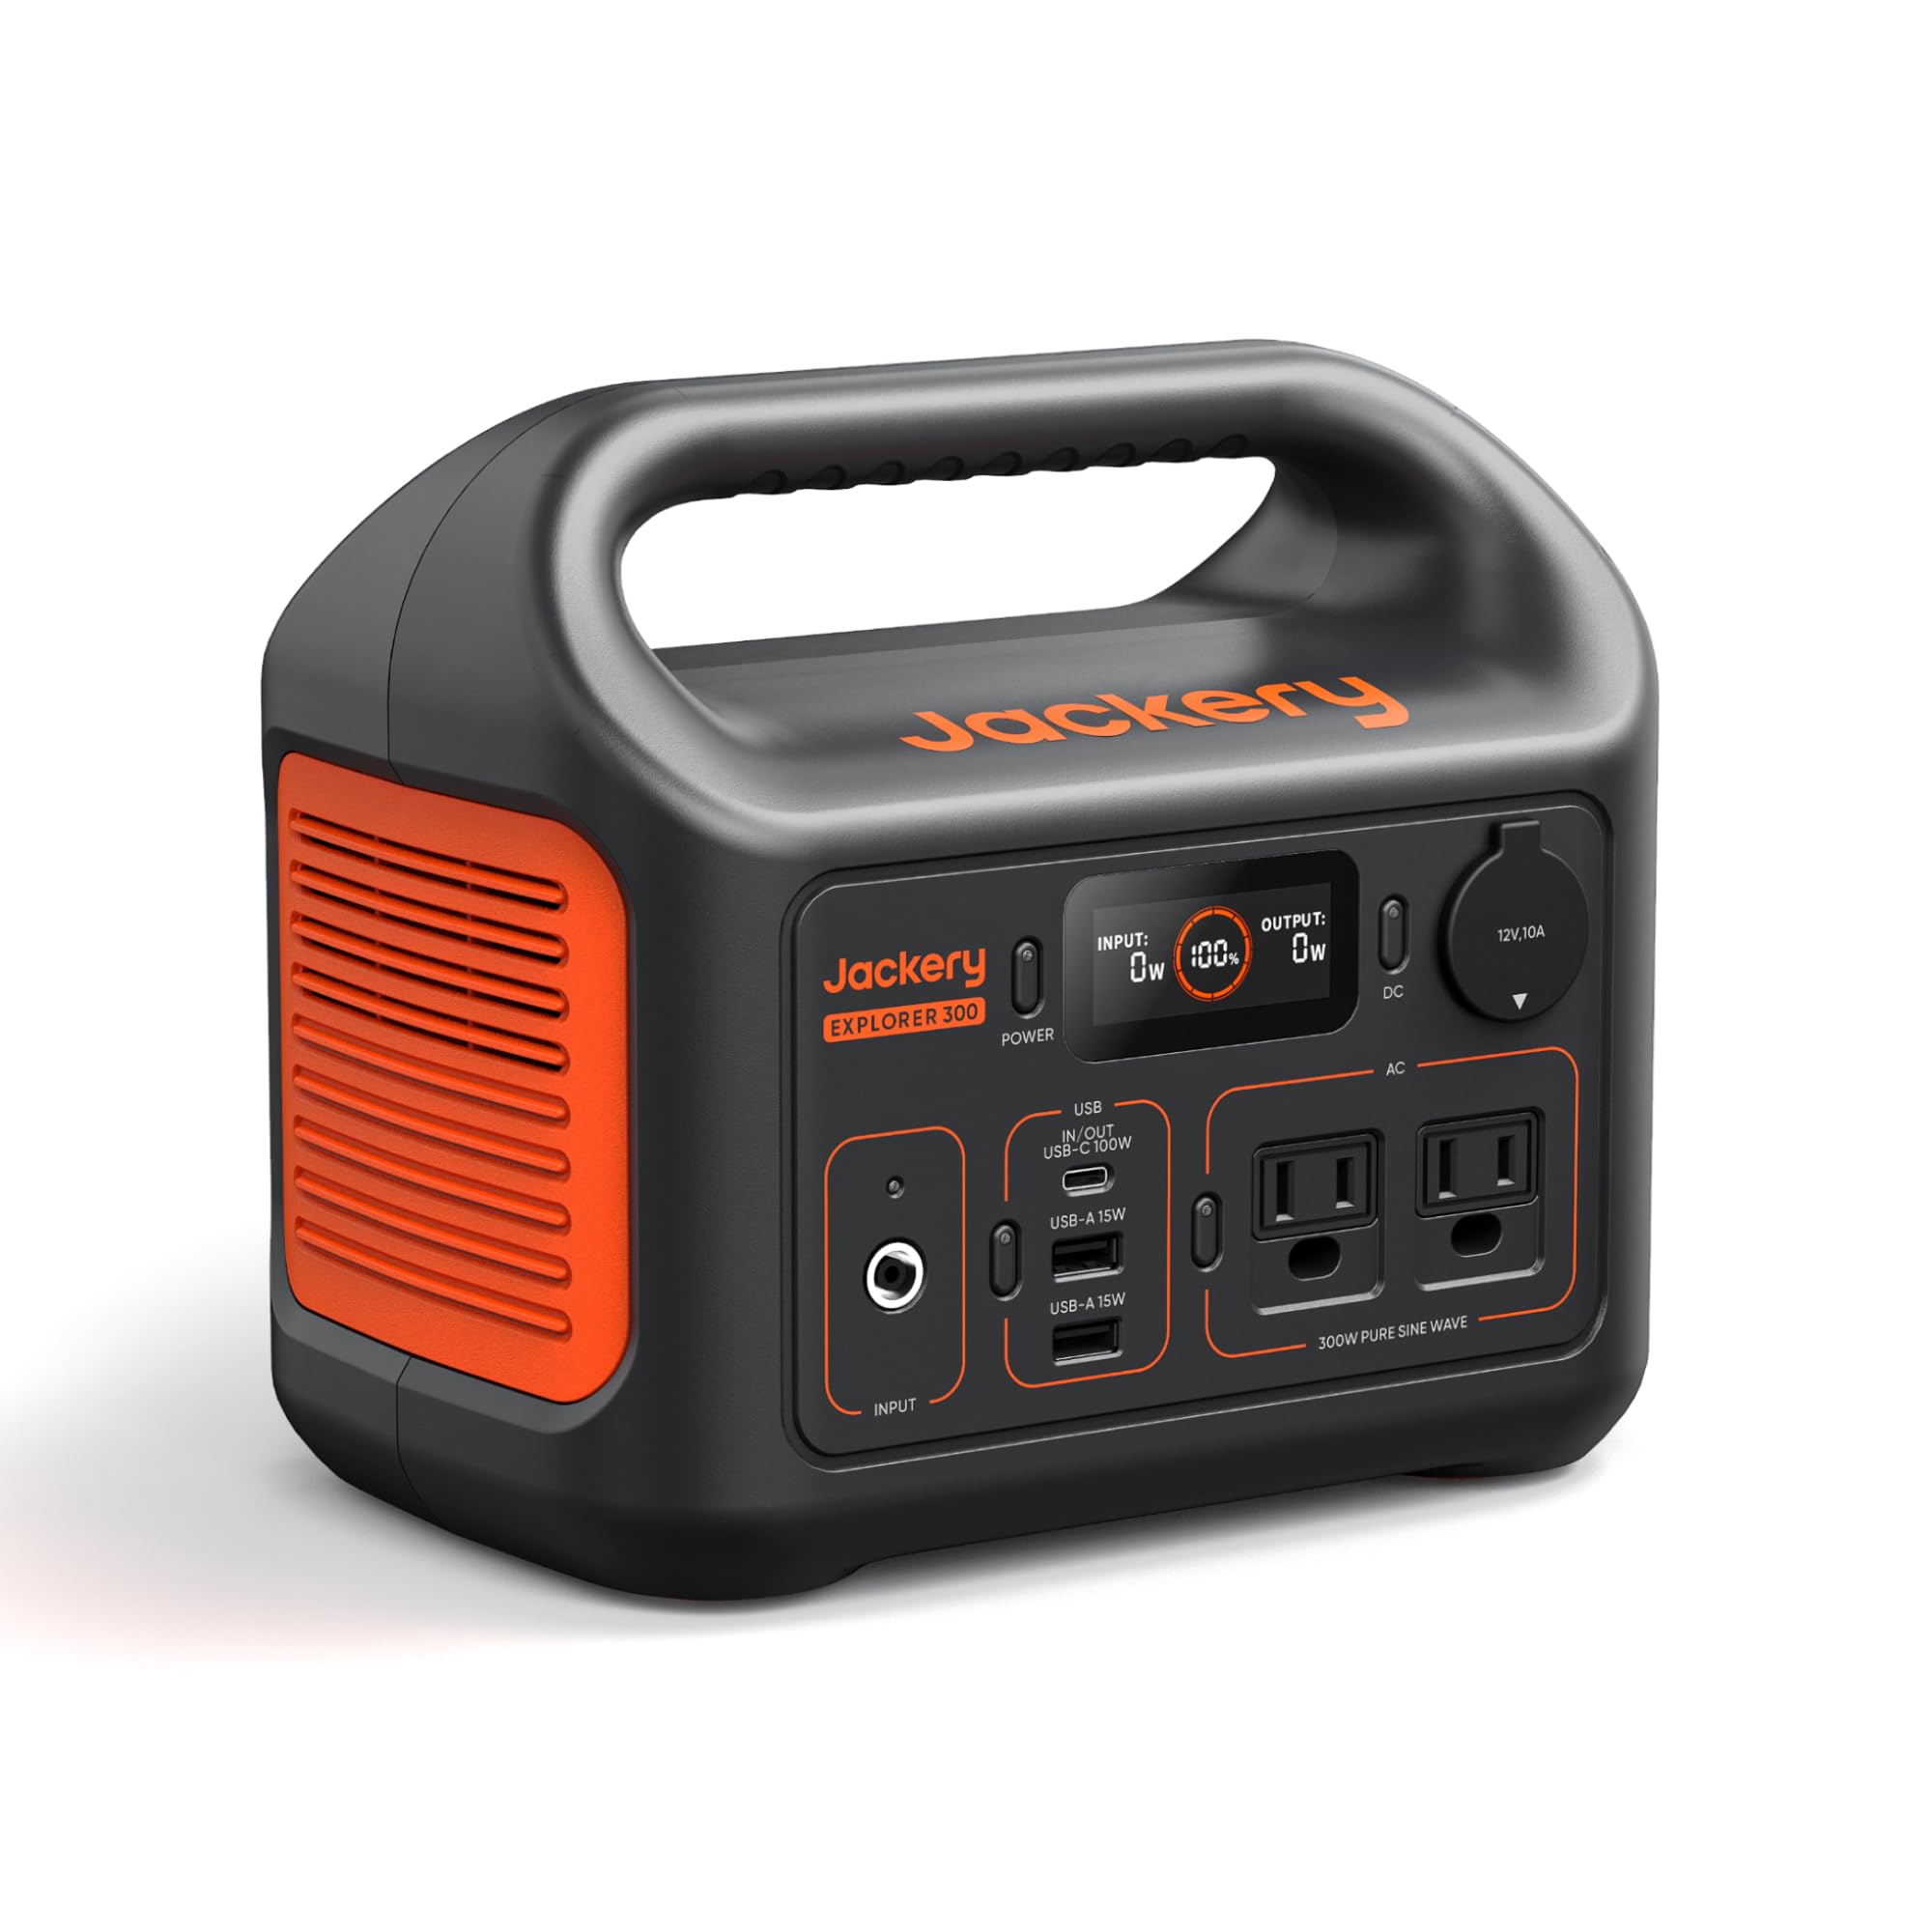
- Basic emergency power source – Jackery Explorer 300
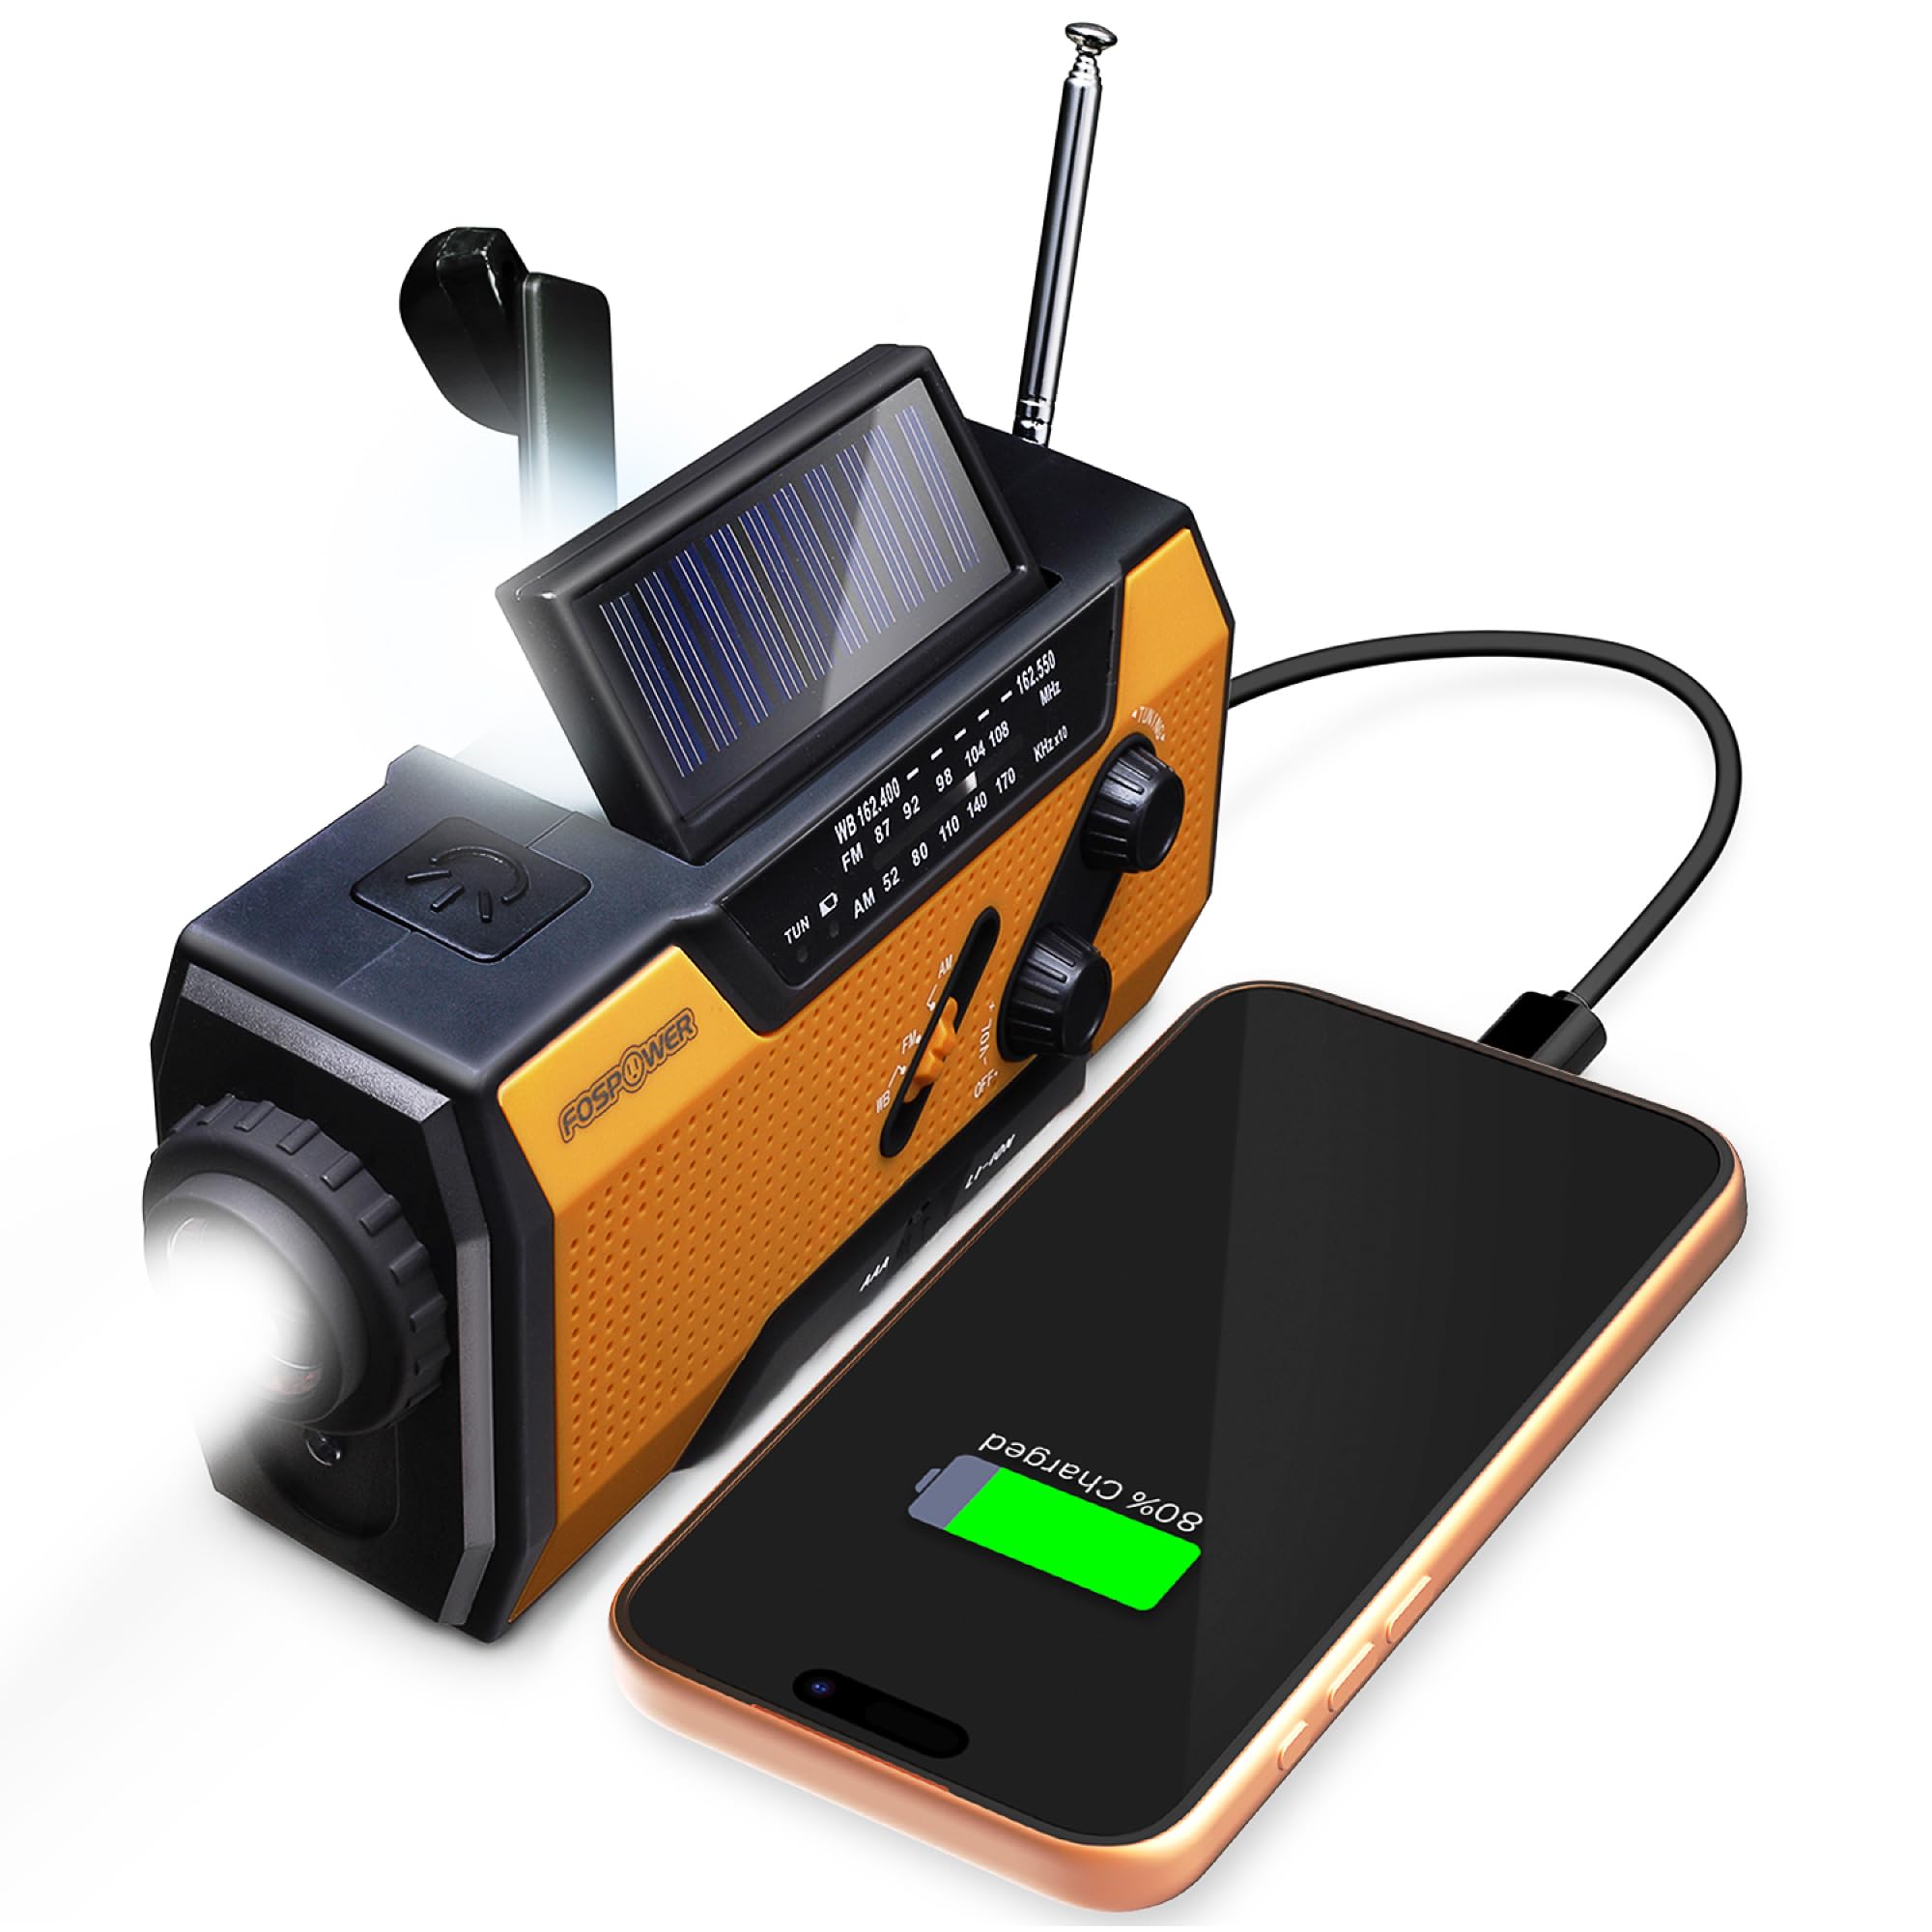
- Portable weather radio with backup power – FosPower Emergency Weather Radio
- First‑aid kit suitable for outdoor and indoor incidents – Carlebben EMT MOLLE First Aid Pouch
- Documentation supplies (notebooks, pens, printable checklists)
Step 1: Assess Community Interest and Identify Leaders
The first major step is to gauge interest among neighbors and select a small group of volunteers who can serve as coordinators. One should host an informal meeting at a local park or community center, explaining the purpose of mutual aid and the benefits of collective preparedness. During the meeting, distribute a short survey to capture each household's skills, resources, and preferred communication method. The results will help form a leadership team that represents diverse abilities, such as medical knowledge, technical expertise, or logistical coordination.
Step 2: Establish Communication Channels
Effective communication is the backbone of any preparedness network; therefore, one must select a reliable platform that all members can access. Options include group messaging apps, neighborhood listservs, or a dedicated Slack channel, each offering instant alerts and file sharing. It is advisable to create a hierarchy of alerts: a daily check‑in, a medium‑priority weather warning, and a high‑priority emergency activation. Document the channel guidelines in a shared Google Doc so that newcomers can quickly understand the protocol.
Step 3: Conduct a Risk Assessment and Create an Action Plan
One should evaluate the most likely hazards in the area—such as hurricanes, winter storms, or power grid failures—and rank them by probability and impact. Use publicly available hazard maps, local government alerts, and historical data to inform the assessment. After identifying the top three risks, develop a concise action plan that outlines evacuation routes, shelter locations, and resource distribution points. The plan must assign specific responsibilities to each leader, ensuring that every task has a clear owner.
Step 4: Secure Reliable Power for Communication and Essential Devices
During an outage, the ability to charge phones, radios, and medical equipment becomes critical; therefore, one should acquire a portable power station. The Jackery Explorer 300 provides 292 Wh of LiFePO4 battery capacity, weighs only 7.5 lb, and includes multiple output ports (2 AC, 100 W USB‑C PD, 2 USB‑A, 120 W car). Its 300 W rated output can run laptops, a small fridge, or a CPAP machine, while the 600 W surge capacity handles short‑term high‑draw devices. The unit offers over 4,000 charge cycles, translating to more than a decade of dependable service, and it recharges quickly via a 100 W solar panel (80 % in 2.8 hours). By placing one Explorer 300 at the neighborhood hub, the group ensures that communication devices remain operational throughout an emergency.
Step 5: Provide Reliable Weather and Alert Information
Accurate weather updates and emergency broadcasts are essential for timely decision‑making. The FosPower Emergency Weather Radio combines NOAA alerts, AM/FM reception, a 7400 mWh power bank, and three independent charging methods (solar, hand crank, AAA batteries). Its built‑in 4‑LED reading light and 1 W flashlight provide illumination when power is unavailable. The device’s SOS alarm can signal rescuers, and the power bank can recharge smartphones for up to several hours. By distributing one radio to each volunteer leader, the group maintains a redundant communication layer independent of cellular networks.
Step 6: Assemble and Distribute First‑Aid Supplies
Medical emergencies can arise during storms, fires, or prolonged isolation; therefore, a well‑stocked first‑aid kit is indispensable. The Carlebben EMT MOLLE First Aid Pouch contains 180 essential medical items organized in water‑resistant compartments, making it suitable for both indoor and outdoor use. Its MOLLE attachment system allows the pouch to be affixed to backpacks, belts, or vehicle seats, ensuring rapid access. The silent‑pull zipper and elastic straps keep supplies secure while enabling quick retrieval during high‑stress situations. Placing a pouch at each designated shelter point equips volunteers to treat burns, cuts, choking, or hypothermia without delay.
Step 7: Conduct Regular Training and Drills
One must schedule quarterly training sessions that cover basic first aid, radio operation, and power‑station maintenance. Invite a certified EMT to demonstrate wound care using the Carlebben pouch, and have a tech‑savvy volunteer walk the group through charging the Jackery Explorer 300 with solar panels. Simulate a power outage scenario where the FosPower radio is the sole source of weather information, and practice the activation of the high‑priority alert protocol. Document lessons learned after each drill and update the action plan accordingly.
Step 8: Create a Resource Inventory and Sharing System
A transparent inventory of shared assets prevents duplication and ensures equitable distribution. Use a simple spreadsheet that lists each item (e.g., power stations, radios, first‑aid kits), its location, condition, and assigned custodian. The spreadsheet should be stored in a cloud folder with view‑only access for all members and edit access for leaders. Establish a check‑in/check‑out procedure that records when an item leaves the hub and when it returns, reducing the risk of loss.
Tips & Pro Tips
- Maintain a backup list of alternate suppliers for each product in case of stock shortages.
- Rotate the power station’s battery every six months by discharging to 20 % and recharging to full capacity; this prolongs battery health.
- Store the FosPower radio in a waterproof container when not in use to protect the solar panel and crank mechanism.
- Periodically inspect the Carlebben pouch for expired medical supplies and replace them promptly.
- Encourage neighbors to contribute non‑perishable food, water, and blankets to a communal cache.
Troubleshooting
Power station does not charge: Verify that the solar panel is oriented toward the sun and that the input cable is securely connected. If the issue persists, reset the unit by holding the power button for ten seconds and repeat the charging cycle.
Radio fails to receive NOAA alerts: Ensure the antenna is fully extended and positioned away from metal objects. Relocate the device to a higher elevation or near a window to improve signal strength.
First‑aid supplies missing after an event: Review the inventory log to identify who last checked out the pouch. Conduct a brief debrief to understand whether supplies were used, misplaced, or need replenishment.
Conclusion
One now possesses a clear roadmap for establishing a neighborhood mutual‑aid prep group, from gathering interested residents to equipping the hub with reliable power, communication, and medical tools. By implementing the steps outlined above, the community will be better prepared to face emergencies with confidence and coordination. The recommended products—Jackery Explorer 300, FosPower Emergency Weather Radio, and Carlebben EMT MOLLE First Aid Pouch—serve as practical assets that enhance resilience without imposing excessive cost. Continued training, inventory management, and open communication will sustain the group’s effectiveness for years to come.
Products Mentioned in This Guide
Frequently Asked Questions
What are the first steps to create a neighborhood mutual‑aid prep group?
Start by gathering interested neighbors, define the group’s purpose, and set up a reliable communication platform for coordination.
Which communication tools work best for emergency coordination?
Group messaging apps (e.g., WhatsApp, Signal) or an email list provide instant alerts and easy information sharing.
What essential equipment should a new mutual‑aid group acquire?
A basic emergency power source like the Jackery Explorer 300, a portable weather radio such as the FosPower model, and a well‑stocked first‑aid kit.
How can I encourage more households to join the mutual‑aid network?
Host a short neighborhood meeting, share clear benefits (faster response, shared resources), and invite neighbors to sign up via the chosen communication channel.
What ongoing tasks keep the group ready for emergencies?
Regularly check and rotate supplies, test power and radio equipment, and hold quarterly drills or information updates.