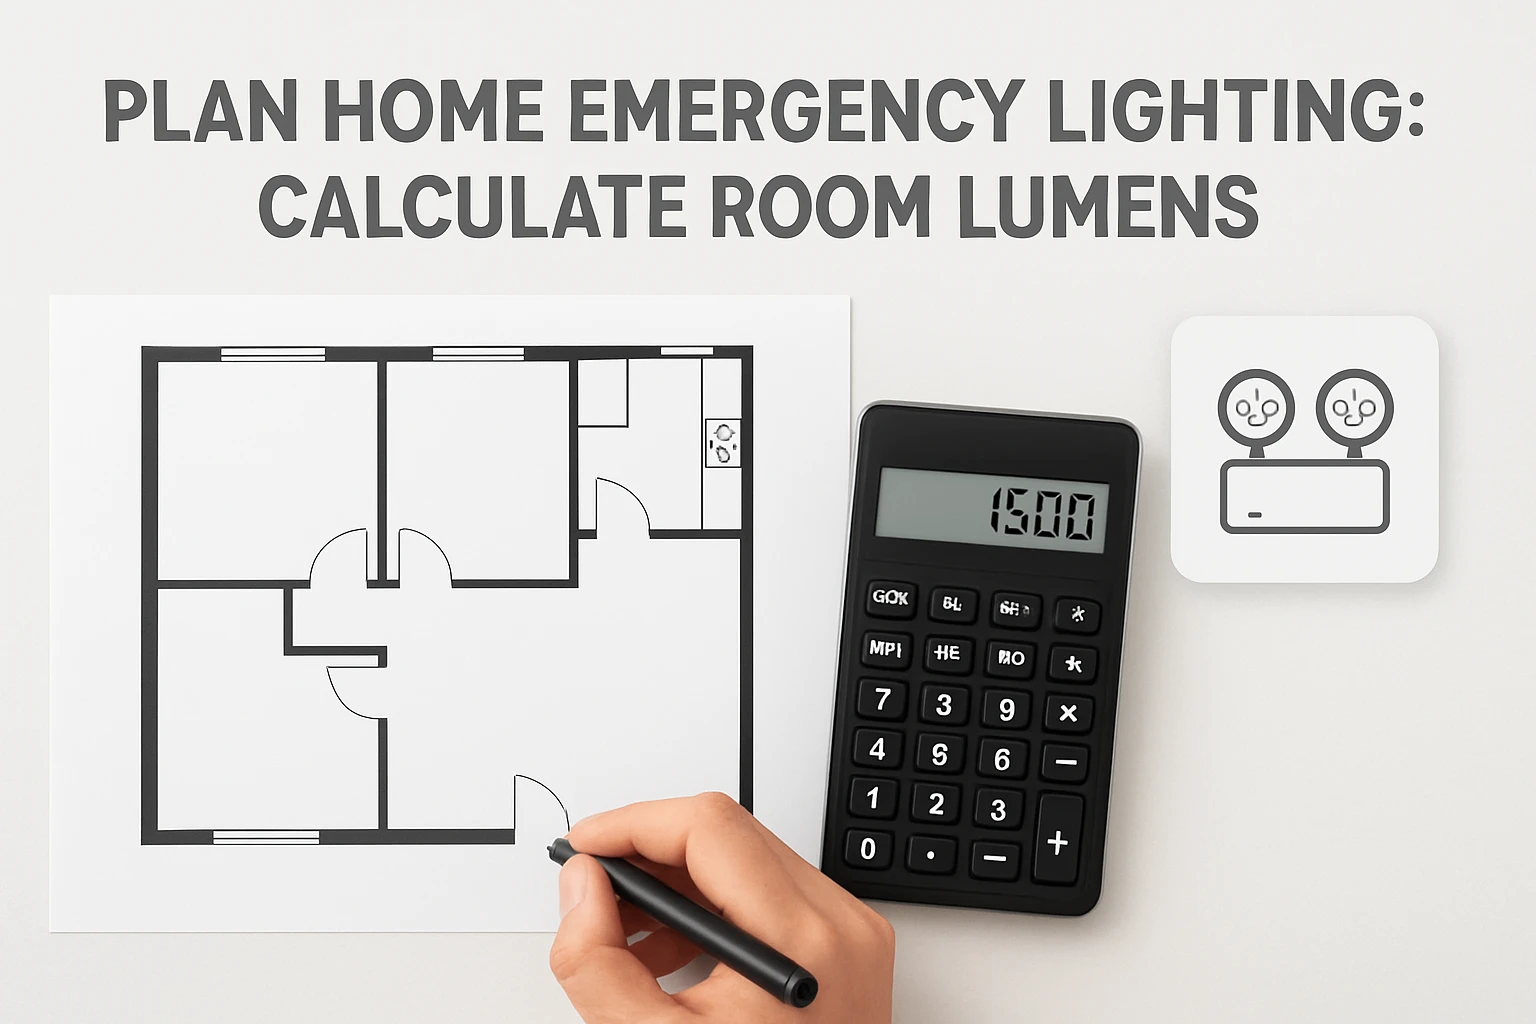

How to Plan Home Emergency Lighting: Calculate Lumens Per Room — Step-by-Step Guide
Introduction
One will discover how to evaluate a residential layout, determine the precise lumen output required for each space, and select compliant emergency lighting solutions. This guide explains why accurate lumen calculation is essential for safety, code compliance, and occupant confidence during power interruptions. It also demonstrates how to integrate reliable fixtures without compromising interior design. By following the structured process, one can create a resilient lighting network that functions automatically when the main power fails.
What You'll Need
- Measuring tape or laser distance meter
- Calculator or spreadsheet software
- Notebook or digital note‑taking app
- Selected emergency lighting fixtures (examples are linked below)
- Basic hand tools: screwdriver, drill, level, and wire stripper
- Personal protective equipment: safety glasses and insulated gloves
Step 1: Assess the Building Layout
The first major step is to document the dimensions of each room, hallway, and exit pathway. One should measure length, width, and ceiling height, then record the data in a table. Include the intended use of the space because occupancy influences the required illumination level. For example, a kitchen or workshop typically demands higher brightness than a bedroom.
After gathering measurements, calculate the floor area by multiplying length by width. For irregular shapes, divide the area into rectangles or triangles and sum the results. This systematic approach ensures that no square foot is overlooked, which could otherwise create dark zones during an emergency.
Step 2: Determine Required Lumen Levels
National fire codes such as NFPA 101 specify minimum foot‑candles for emergency egress routes. One foot‑candle equals one lumen per square foot. A common residential standard is 1 fc for general rooms and 5 fc for stairwells or exit corridors. Multiply the floor area by the appropriate foot‑candle value to obtain the total lumens needed for that space.
For instance, a 200 ft² living room requiring 1 fc needs 200 lumens of emergency output. A 50 ft² stairwell at 5 fc requires 250 lumens. Document these calculations in a spreadsheet to compare against the specifications of available fixtures.
Step 3: Choose Appropriate Fixtures
Having determined the lumen requirement, one can select fixtures that meet or exceed the calculated output while satisfying regulatory standards. It is advisable to choose products that are UL or ETL listed, as they have been tested for reliability under power loss conditions.
For fixed installations in corridors and entryways, the TANLUX Double Head Emergency Light provides 180 lumens per head, totaling 360 lumens per unit. Its multi‑voltage capability (3.6 V to 24 V) allows integration with existing emergency circuits, and the adjustable heads enable precise targeting of illumination zones. The product holds a 4.4‑star rating from 44 reviews, indicating reliable performance.
For larger commercial‑style areas, the RMC LED Emergency Light delivers two adjustable heads with a combined output that easily surpasses 500 lumens. Each fixture includes a built‑in Ni‑Cd battery that provides over 90 minutes of autonomy, meeting the 90‑minute requirement of most codes. Priced at $34.19 and rated 4.6 stars from 59 reviews, it offers a cost‑effective solution for high‑traffic zones.
When temporary or portable illumination is required—such as during drills or for supplemental lighting in a basement—consider the XTAUTO Collapsible LED Lantern. Each lantern supplies up to 25 hours of continuous light on a full charge and features both solar and USB charging methods. Although not a permanent fixture, its 4‑pack configuration provides redundancy and is rated 4.5 stars from 11,976 reviews, making it an excellent backup for unexpected outages.
Step 4: Install the Fixtures
Installation begins by locating the nearest power source that supplies the emergency circuit voltage. One should verify the voltage range of the chosen fixture; the TANLUX unit accepts 3.6 V to 24 V, while the RMC model operates on 120‑277 V AC. Use a multimeter to confirm the supply before proceeding.
Mount the fixture according to the manufacturer’s instructions. The TANLUX light offers both wall‑mount and ceiling‑mount options, and its low‑profile design reduces visual intrusion. Secure the unit with the provided hardware, ensuring that the mounting surface is rated for damp locations if applicable. For the RMC fixture, attach the mounting bracket to a sturdy wall or ceiling joist, then connect the wiring using proper wire nuts and a grounding screw.
After mechanical installation, power the fixture and perform a functional test. Activate the emergency mode by disconnecting the main power or using the test button if available. Verify that each head illuminates the intended area and that the measured output meets or exceeds the lumen calculations from Step 2. Document the test results for future maintenance records.
Finally, position any portable XTAUTO lanterns in strategic locations such as stairwell landings or utility rooms. Charge them fully using either solar exposure or the supplied USB cable. During a drill, deploy the lanterns to confirm that their brightness complements the fixed fixtures, thereby eliminating dark spots.
Tips & Pro Tips
- Always verify that the selected fixture complies with local building codes; some jurisdictions require a minimum of 90 minutes of battery backup.
- When installing multiple fixtures, stagger their activation times to reduce the inrush current on the emergency power source.
- Label each fixture with its model number and installation date; this simplifies future inspections and replacements.
- Consider integrating a low‑voltage dimming controller to adjust brightness based on occupancy, thereby extending battery life.
Troubleshooting
Problem: Fixture does not illuminate during a power loss test.
Solution: Check the battery connection and ensure the unit received a full charge during the last maintenance cycle. Replace the battery if it no longer holds charge for the required 90 minutes.
Problem: Light output appears dimmer than expected.
Solution: Verify that the fixture is set to the highest lumen setting and that the adjustable heads are oriented correctly. Clean any dust or debris from the LED lenses, as accumulation can reduce light transmission.
Conclusion
One now possesses a systematic method for planning home emergency lighting, calculating the exact lumen requirement per room, selecting compliant fixtures, and installing them with confidence. By following the steps outlined, homeowners can ensure that every exit pathway remains illuminated during an outage, thereby enhancing safety and meeting regulatory obligations. Ongoing testing and maintenance will preserve the reliability of the system for years to come.
Products Mentioned in This Guide
Frequently Asked Questions
How do I calculate the required lumens for each room in a home emergency lighting plan?
Measure the room’s square footage, multiply by the recommended foot‑candles (e.g., 1 fc for corridors, 5 fc for living areas), and then convert foot‑candles to lumens using the room’s area.
What building codes govern residential emergency lighting and lumen levels?
Most U.S. jurisdictions follow the NEC Article 700 and local fire codes, which specify minimum illumination (typically 1 fc for egress paths) and battery‑backed fixtures.
Which tools are essential for assessing layout and installing emergency lights?
A measuring tape or laser distance meter, calculator or spreadsheet, screwdriver, drill, level, wire stripper, plus safety glasses and insulated gloves.
Can I use decorative fixtures for emergency lighting without compromising design?
Yes, many manufacturers offer code‑compliant emergency fixtures with interchangeable lenses or housings that blend with interior décor.
How often should emergency lighting systems be tested and maintained?
Test the system monthly and perform a full battery and bulb inspection at least once a year to ensure reliable operation during power outages.

