
How to Test Water Storage Containers at Home for Safety: 7 Simple DIY Checks to Ensure Clean, Safe Drinking Water
One will learn how to evaluate the integrity and hygiene of water storage containers using straightforward household methods. This guide explains why each check matters, how to perform it correctly, and which tools can simplify the process. By following the seven steps, one can prevent contamination, extend the life of containers, and protect family health. The information is valuable for campers, emergency‑prep enthusiasts, and anyone who stores water at home.
What You'll Need
- Clean cloths and paper towels
- Food‑grade liquid soap
- Measuring cup or graduated cylinder
- pH test strips (available at hardware stores)
- Portable water‑testing kit (optional for bacterial analysis)
- WMXWAN Foldable Water Bags – eight 2.6‑gallon BPA‑free bags for storage and testing samples
- FastRack 1‑Gallon Water Jug – reusable, leak‑proof jug for holding test water
Step 1: Visual Inspection
The first step is to examine the container for obvious damage. One should look for cracks, discoloration, or worn seams that could allow microbes or chemicals to enter. A transparent container such as the WMXWAN Foldable Water Bags makes this task easier because the material is clear and the reinforced seams are visible. These bags are rated 4.6 stars by 130 reviewers and cost $19.99 for an eight‑pack, offering a cost‑effective way to replace damaged units.
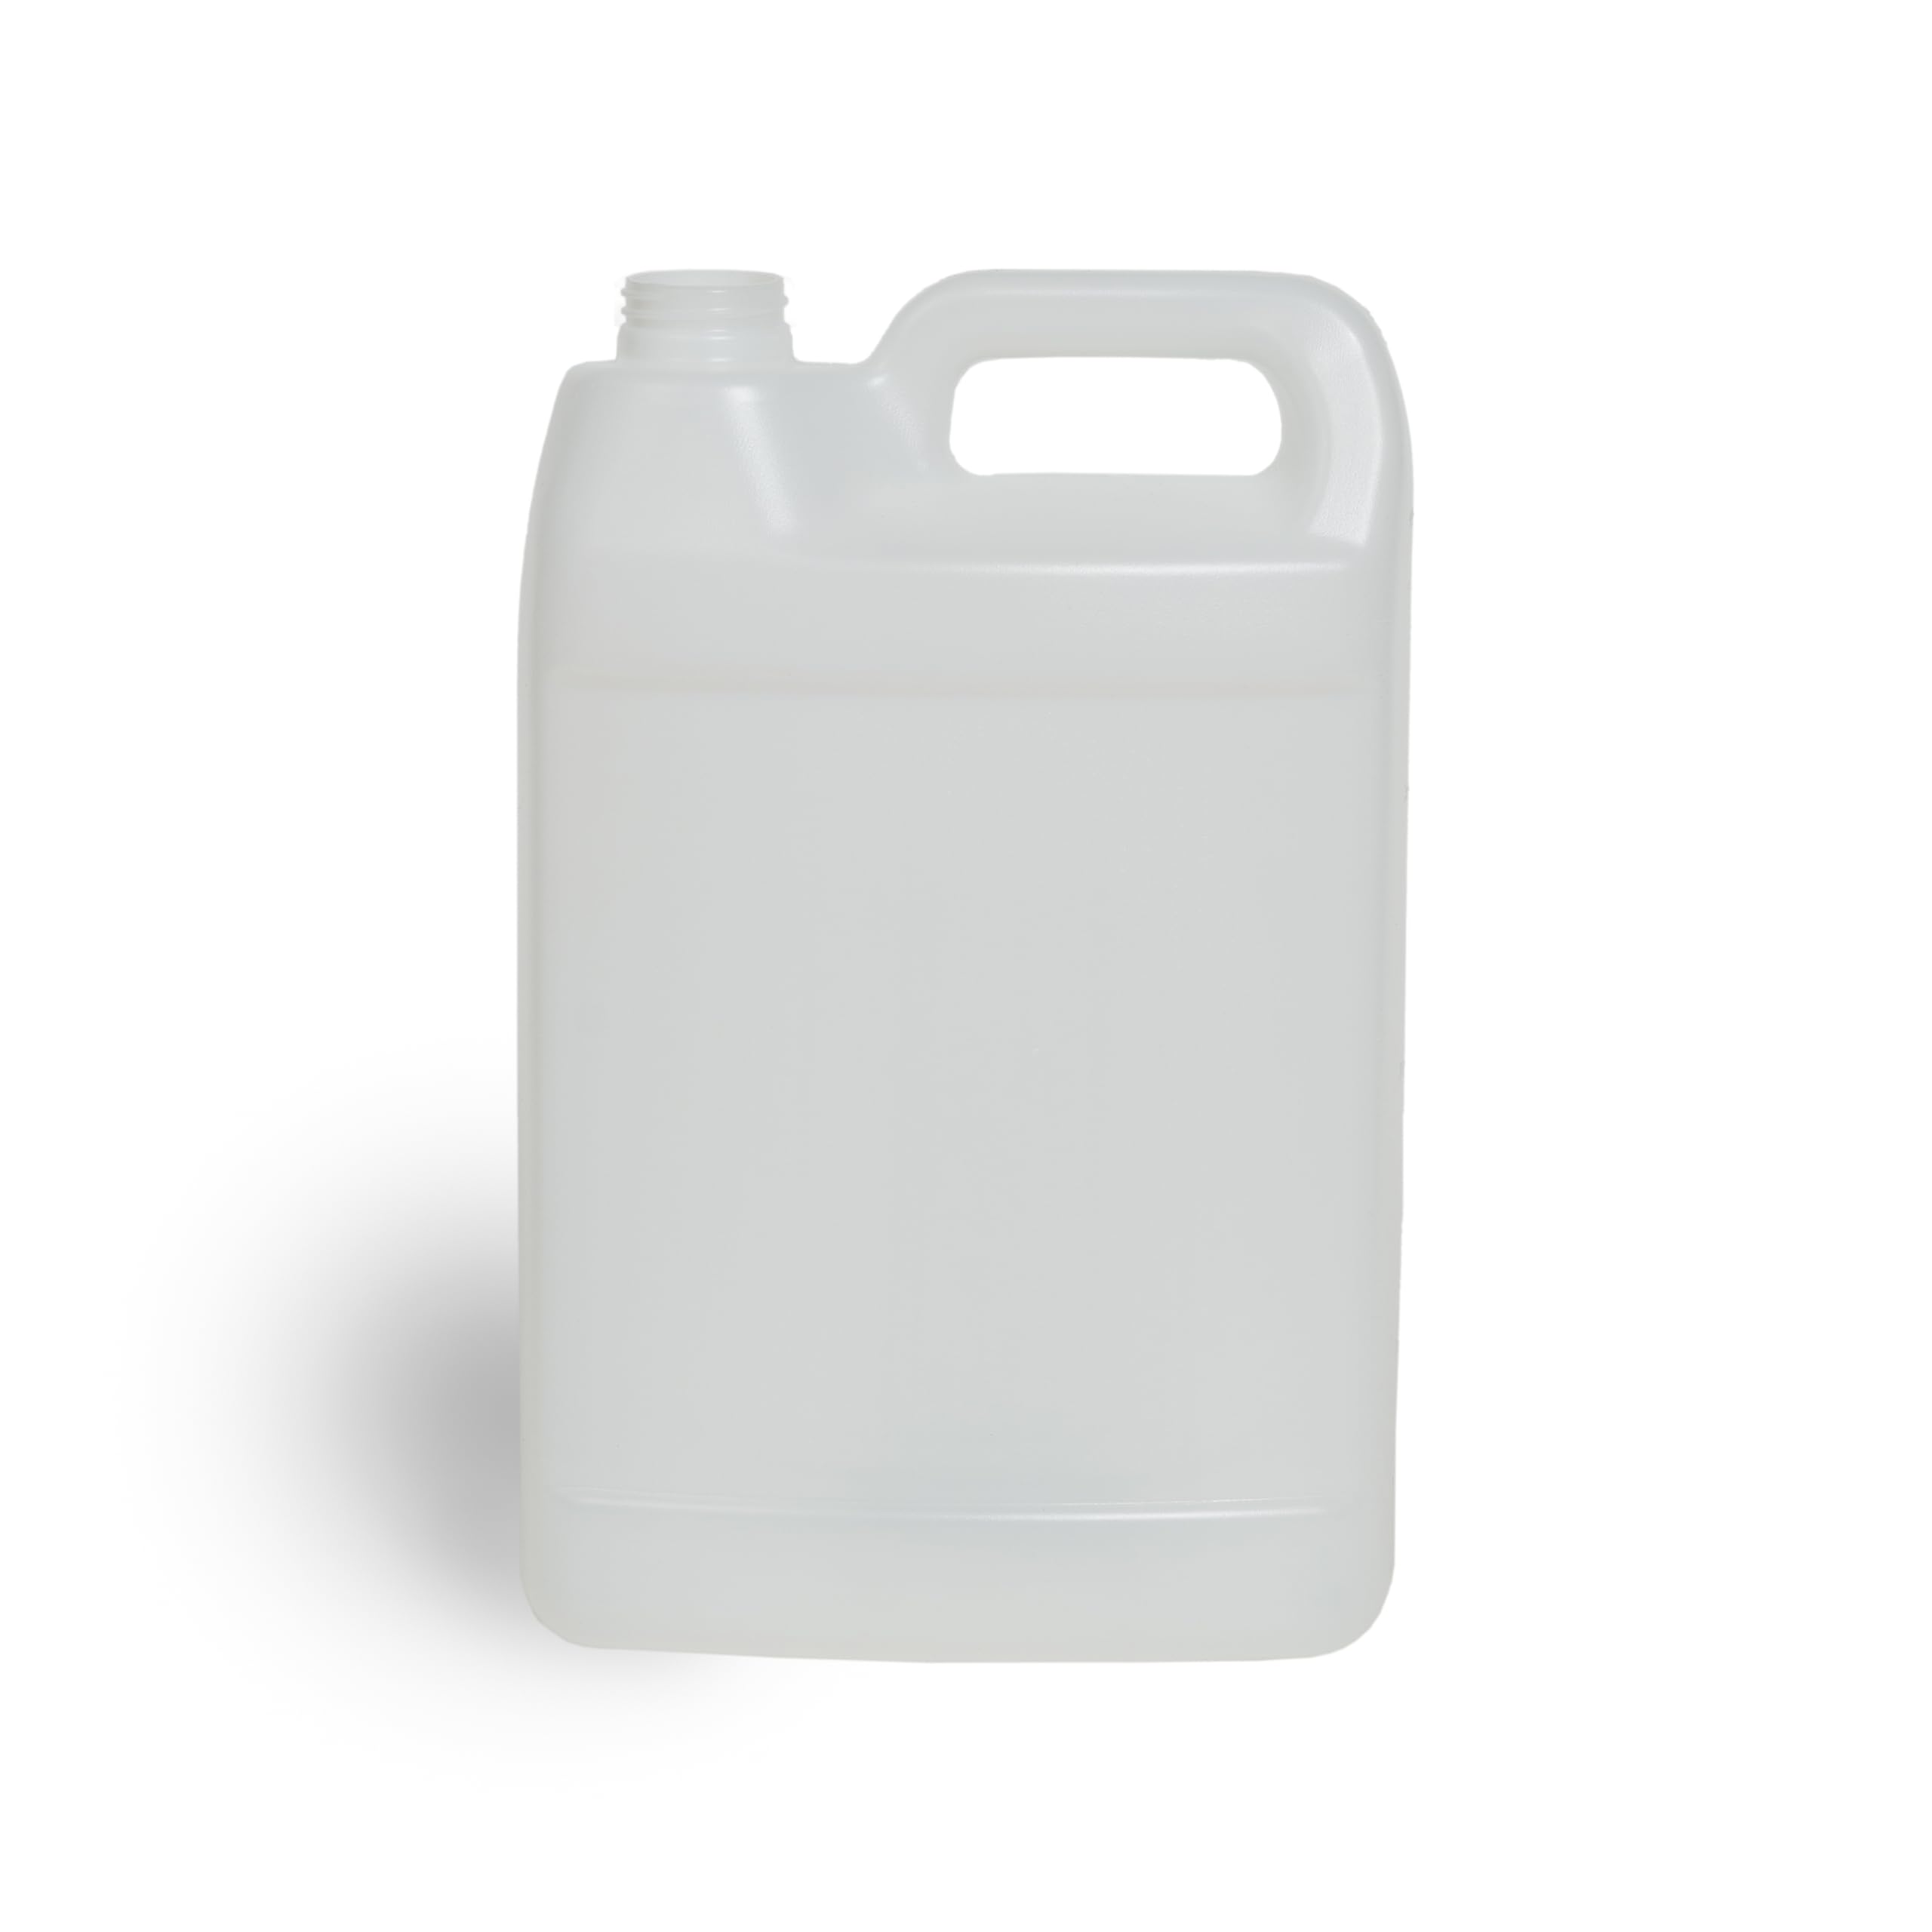
When inspecting, one should also verify that the closure mechanism (lid, zip‑top, or cap) seals tightly. A loose cap can introduce airborne contaminants during storage. The FastRack 1‑Gallon Water Jug features a threaded lid that creates a leak‑proof seal, which is useful for testing small volumes of water without risk of spillage. It is priced at $11.79 and holds a 4.6‑star rating from 136 reviews.
Step 2: Smell Test
After a visual check, one should open the container and inhale gently to detect any off‑odors. A plastic container that emits a chemical or musty smell may have absorbed contaminants from previous contents. The BPA‑free composition of the WMXWAN bags ensures that no plastic taste leaches into the water, making them ideal for both storage and testing.
If an unpleasant odor is present, the container should be cleaned thoroughly or retired. Using the FastRack jug for a small sample allows one to compare the smell of water stored in the jug versus the larger container, confirming whether the issue originates from the container or the water source.
Step 3: Leak‑Proof Test
One must verify that the container does not leak under pressure. Fill the container with a measured amount of water—approximately 1 gallon for the FastRack jug or 2.6 gallons for a WMXWAN bag—and place it on a level surface. Observe for drips around seams, valves, or the opening for at least 30 minutes.
The reinforced seams of the WMXWAN bags are designed for reliable leak‑proof performance, and the 1.65‑inch wide opening facilitates easy filling without spilling. The FastRack jug’s reinforced seams and tight‑sealing cap also prevent leaks, making it a convenient tool for this test. Both products have received positive feedback for durability, as reflected in their high ratings.
Step 4: pH Test
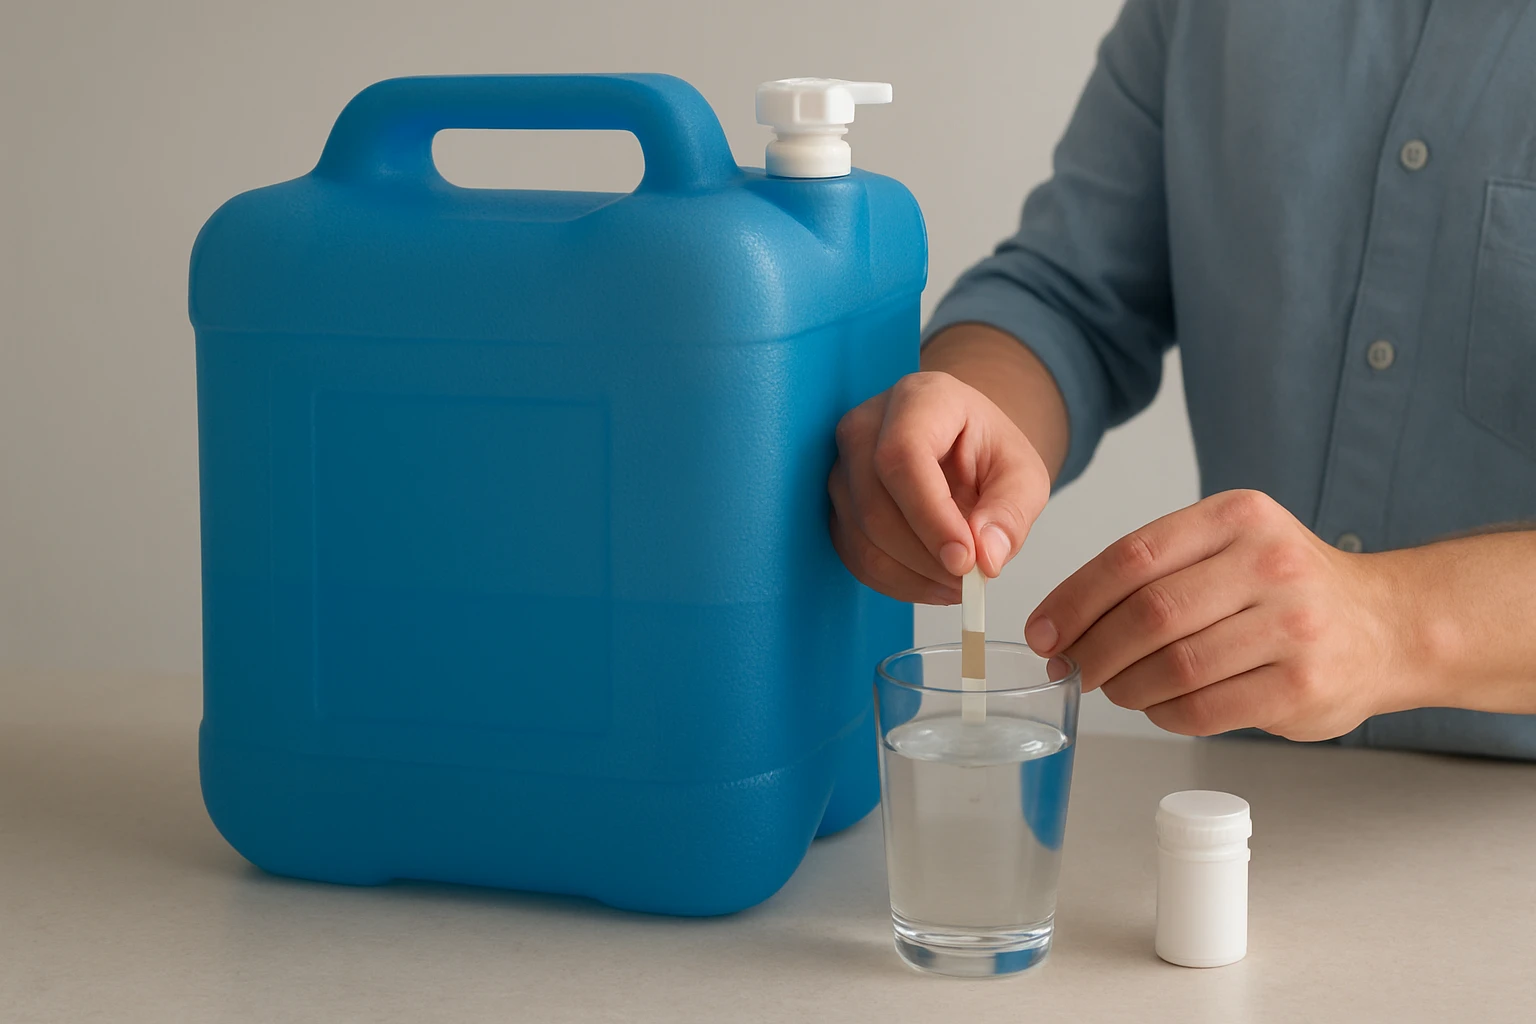
Water pH indicates whether the container is influencing water chemistry. One should use pH test strips, dip them into a water sample taken from the container, and compare the color change to the provided chart. Ideal drinking water has a pH between 6.5 and 8.5.
If the pH falls outside this range, the container material may be reacting with the water. The WMXWAN bags are made from PE and PA materials that are odorless, tasteless, and designed for food‑grade storage, reducing the likelihood of pH alteration. The FastRack jug, constructed from food‑grade HDPE, also maintains water neutrality.
Step 5: Bacterial Test (DIY)
For a more thorough assessment, one can use a portable water‑testing kit that detects coliform bacteria. Collect a 100 ml sample in the FastRack jug, follow the kit’s instructions, and wait the prescribed incubation period. Results are usually indicated by a color change or growth on a test strip.
While laboratory testing provides the highest accuracy, a DIY kit offers a practical compromise for home users. The clear, leak‑proof design of both the WMXWAN bags and FastRack jug ensures that samples are not contaminated during handling, which is essential for reliable results.
Step 6: Storage Condition Check
One should evaluate the environment where the container is kept. Containers stored in direct sunlight or near chemicals can degrade over time. The WMXWAN bags fold flat when empty, allowing them to be stored in a cool, dark cabinet without occupying excessive space.
Similarly, the FastRack jug’s lightweight construction makes it easy to relocate to an optimal storage area. Both products are advertised as space‑saving, which encourages proper storage practices that extend container lifespan.
Step 7: Record Keeping
Maintaining a log of inspection dates, test results, and any cleaning performed helps track container health. One can create a simple spreadsheet with columns for date, container type, visual findings, smell, pH, bacterial test outcome, and actions taken.
Using the WMXWAN bags for rotating water supplies aligns with best‑practice recommendations; one can label each bag with the fill date and replace the water every six months. The FastRack jug can serve as a reference container for periodic testing, ensuring that records reflect consistent methodology.
Tips & Pro Tips
- Always wash hands and use clean utensils before handling water samples.
- Rinse containers with distilled water after each use to prevent mineral buildup.
- Store containers upside down when not in use; this helps any residual water drain and reduces mold growth.
- Consider adding a small amount of food‑grade chlorine tablet to large batches for long‑term emergency storage, but test the water after a few days to ensure no off‑flavors.
- When using the WMXWAN bags, avoid over‑filling beyond the 2.6‑gallon capacity to maintain structural integrity.
Troubleshooting
Problem: Persistent odor after cleaning.
Solution: Soak the container in a solution of one tablespoon baking soda per liter of water for several hours, then rinse thoroughly.
Problem: Leaks at seams.
Solution: Apply food‑grade silicone sealant to the affected area, allow it to cure, and retest for leaks.
Conclusion
One now possesses a clear, seven‑step process for testing water storage containers at home, ensuring that stored water remains clean and safe for consumption. Regular visual, odor, leak, pH, and bacterial checks, combined with proper storage and documentation, mitigate health risks. By incorporating tools such as the WMXWAN Foldable Water Bags and the FastRack 1‑Gallon Water Jug, one can perform these checks efficiently and reliably.
Continued diligence in testing and maintenance will extend the service life of containers and provide peace of mind during everyday use or emergency situations.
Products Mentioned in This Guide
Frequently Asked Questions
How can I check if my water storage container is leaking?
Fill the container with water, place it on a flat surface, and inspect the sides and base for any drips or moisture after several hours.
What is the best way to clean a water storage container before testing?
Wash the interior with warm water, food‑grade liquid soap, and a clean cloth, then rinse thoroughly and let it air‑dry.
How do pH test strips help determine water safety in stored containers?
pH strips reveal whether the water is too acidic or alkaline, which can indicate contamination or leaching from the container material.
Are portable water‑testing kits necessary for detecting bacteria?
While optional, a portable kit provides quick bacterial analysis and adds confidence that the water is safe for drinking.
How often should I perform DIY checks on my water storage containers?
Inspect and test containers at least every six months, or sooner if they are exposed to extreme temperatures or physical damage.