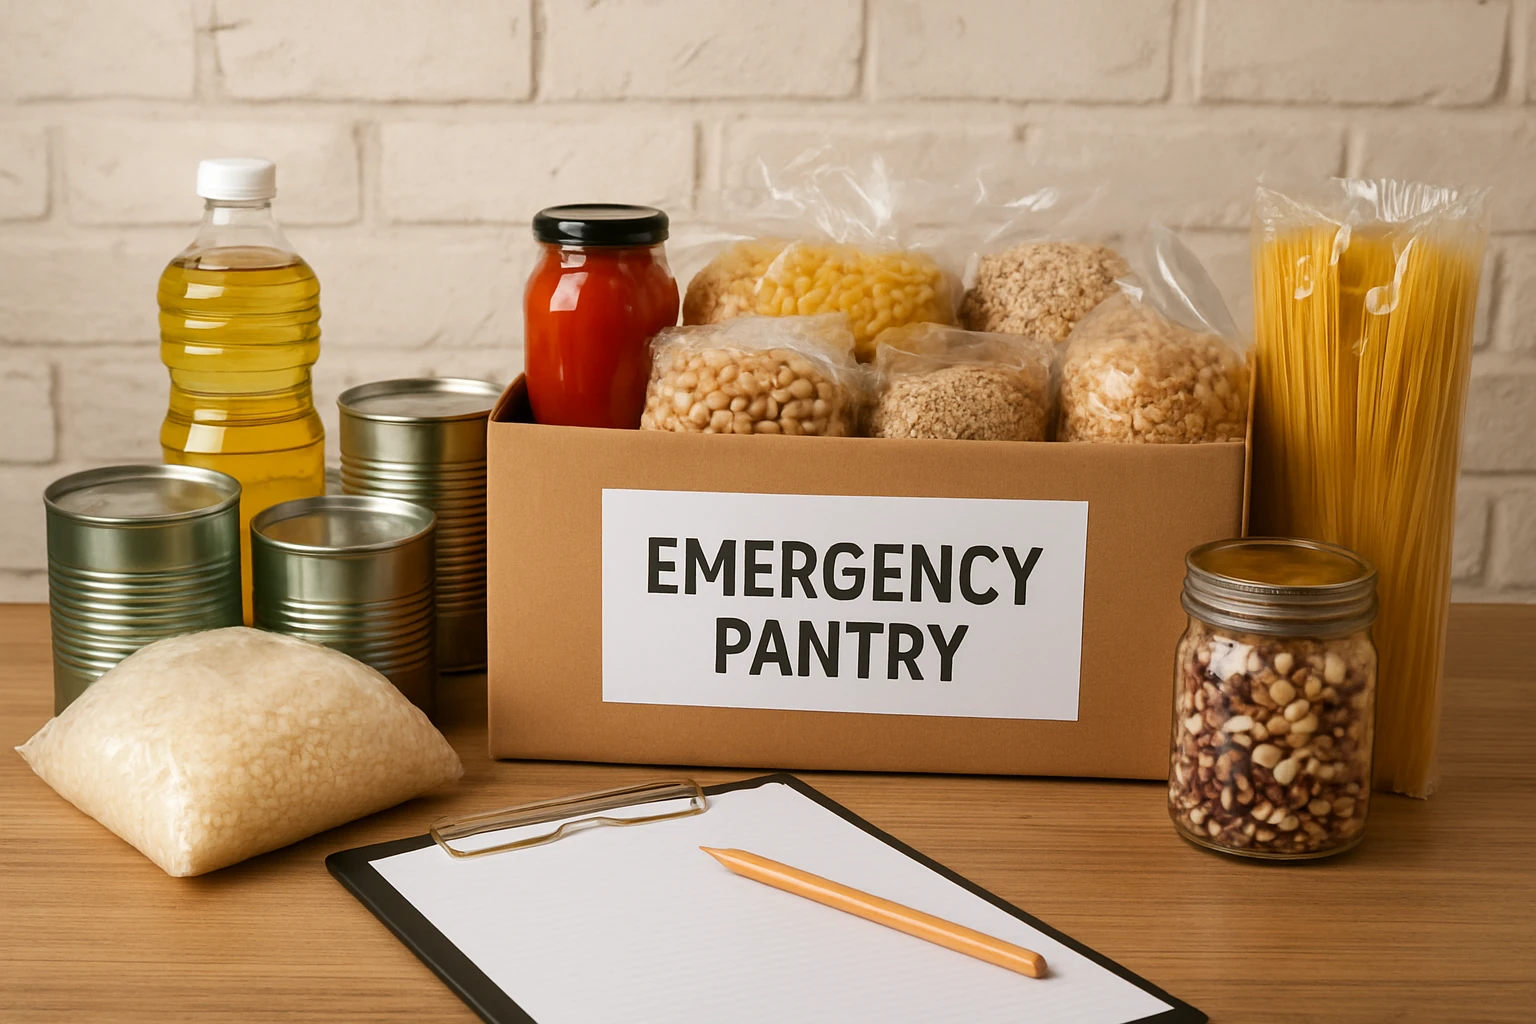
How to Create a Community Emergency Pantry: A Step‑by‑Step Guide
Communities that plan for emergencies are better able to protect vulnerable members during power outages, natural disasters, or supply disruptions. This guide explains how to design, stock, and maintain a pantry that serves multiple households for an extended period. Readers will learn which supplies are essential, how to store them safely, and how to involve local volunteers in ongoing management. By following these instructions, one can create a pantry that provides nourishment, peace of mind, and resilience for the entire neighborhood.
1. Assess Community Needs and Space
The first step is to evaluate the number of families, dietary restrictions, and typical consumption patterns within the community. Conduct a short survey that records average weekly meals, common allergies, and preferred food formats such as dry goods or ready‑to‑eat meals. Next, identify a secure location that offers climate control, easy access, and sufficient shelving for organized storage. A community center basement, church hall, or school cafeteria often meets these criteria while providing a central gathering point for volunteers.
2. Create an Inventory List and Budget
Develop a detailed inventory list that categorizes items by type, shelf life, and nutritional content. Allocate a budget that balances high‑quality long‑term supplies with cost‑effective bulk purchases. Prioritize items that are calorie‑dense, low‑maintenance, and have a proven shelf life of at least five years. Use a spreadsheet to track quantities, expiration dates, and restocking intervals, ensuring transparency and accountability among stakeholders.
3. Acquire Airtight Storage Containers
Proper storage containers protect dry goods from moisture, pests, and accidental contamination. The Vtopmart Airtight Food Containers provide a stackable, space‑saving solution that fits most pantry shelves. Each set includes 24 containers in four size variations, allowing organizers to allocate space for rice, beans, flour, and smaller snack items. The silicone gasket lids create an airtight seal, preserving freshness for years, while the clear plastic design enables quick visual identification without opening each container. At a price of $30.49, the set has earned a 4.7‑star rating from over 27,000 reviewers, indicating strong customer satisfaction and durability.
4. Stock Long‑Term Emergency Meals
In addition to staple dry goods, a community pantry should contain ready‑to‑eat meals that require only water for preparation. The ReadyWise Emergency Food Kit supplies 30 servings of freeze‑dried protein meals with a shelf life of up to 25 years. Each meal is individually packaged, lightweight, and designed for simple rehydration, making it ideal for disaster scenarios where cooking facilities are limited. Priced at $27.99 and backed by a 4.5‑star rating from more than 5,500 customers, the kit offers a reliable source of nutrition that complements the pantry’s dry‑food foundation.
5. Organize Containers on Shelving
Arrange the Vtopmart containers on sturdy shelves, grouping similar food categories together for intuitive access. Place the largest containers at the bottom to create a stable base, and stack the medium and small containers on top to maximize vertical space. Label each container using the included reusable labels, writing the food type and expiration date in clear, legible ink. The labels can be wiped clean and repositioned, allowing the pantry to adapt as items are rotated or replaced.
6. Implement Rotation and Inspection Procedures
Establish a quarterly rotation schedule that moves older items to the front of the shelf and replaces them with fresh supplies. Assign volunteers to conduct visual inspections, checking for signs of moisture, pests, or broken seals. Record any discrepancies in the inventory spreadsheet, and update the list promptly to maintain accurate stock levels. This systematic approach prevents waste, ensures food safety, and extends the usable life of each product.
7. Train Volunteers and Communicate Policies
Provide training sessions that cover pantry hygiene, proper handling of airtight containers, and emergency distribution protocols. Emphasize the importance of hand washing, using clean utensils, and avoiding cross‑contamination between raw and prepared foods. Distribute a concise policy document that outlines eligibility criteria, distribution limits, and contact information for pantry managers. Clear communication fosters trust, reduces misunderstandings, and encourages community participation.
8. Establish Distribution Logistics
Develop a distribution plan that outlines how supplies will be allocated during an emergency. Consider a ticket‑based system that limits each household to a predetermined amount of food per week, ensuring equitable access. Coordinate with local emergency services to synchronize delivery times and verify that the pantry location remains safe and reachable. Document the distribution process in the inventory log to maintain accountability and facilitate post‑event analysis.
9. Promote the Pantry and Encourage Contributions
Raise awareness of the pantry through community newsletters, social media posts, and informational flyers posted in public spaces. Invite residents to contribute non‑perishable items, monetary donations, or volunteer hours, highlighting how each contribution strengthens collective resilience. Recognize donors publicly, fostering a culture of generosity and shared responsibility. Ongoing promotion helps sustain the pantry’s resources and keeps the community engaged.
Tips & Pro Tips
- Store containers away from direct sunlight to prevent plastic degradation and preserve food quality.
- Use a digital thermometer to monitor pantry temperature; ideal storage is between 50°F and 70°F.
- Consider adding a small dehumidifier in humid climates to protect airtight seals.
- Maintain a backup power source for lighting and security cameras to safeguard the pantry during outages.
Troubleshooting
Problem: Lids do not seal properly after repeated use.
Solution: Clean the silicone gasket with mild soap and warm water, ensuring no residue remains. Inspect the lid for cracks and replace any damaged components.
Problem: Food items develop off‑flavors or visible mold.
Solution: Verify that the container seal is intact; if moisture has entered, discard the affected product and increase the frequency of humidity checks.
Conclusion
By following these nine steps, one can establish a community emergency pantry that delivers reliable nutrition, fosters cooperation, and enhances overall preparedness. The recommended Vtopmart Airtight Food Containers and ReadyWise Emergency Food Kit serve as essential tools for safe storage and long‑term sustenance. Ongoing maintenance, volunteer training, and transparent communication are key to the pantry’s success. One is encouraged to implement this plan promptly, thereby strengthening the community’s capacity to weather future challenges.
Products Mentioned in This Guide
Frequently Asked Questions
What factors should be considered when choosing a location for a community emergency pantry?
Select a secure, climate‑controlled space with easy access and ample shelving, such as a community center basement or school cafeteria.
How can a community assess the dietary needs of its residents before stocking the pantry?
Conduct a brief survey to gather data on family sizes, weekly meal consumption, allergies, and preferred food formats.
What are the essential types of supplies to include in a community emergency pantry?
Stock non‑perishable dry goods, ready‑to‑eat meals, water, medical basics, and items that meet common dietary restrictions.
How often should the pantry inventory be checked and rotated?
Perform monthly inventory checks and rotate supplies before their expiration dates to ensure freshness.
What role do volunteers play in maintaining a community emergency pantry?
Volunteers help with inventory management, restocking, distribution during emergencies, and outreach to keep the pantry active.