
How to Safely Transport Insulin During an Emergency Evacuation: Step‑by‑Step Guide for People with Diabetes
Introduction
During an emergency evacuation, maintaining the potency of insulin becomes a critical concern for individuals living with diabetes. This guide explains how to prepare, pack, and transport insulin so that it remains within the therapeutic temperature range of 2‑8 °C. Readers will learn practical actions, common pitfalls, and the advantages of using specialized cooling cases. By following these instructions, one can reduce the risk of insulin degradation and avoid costly medical complications.
What You'll Need
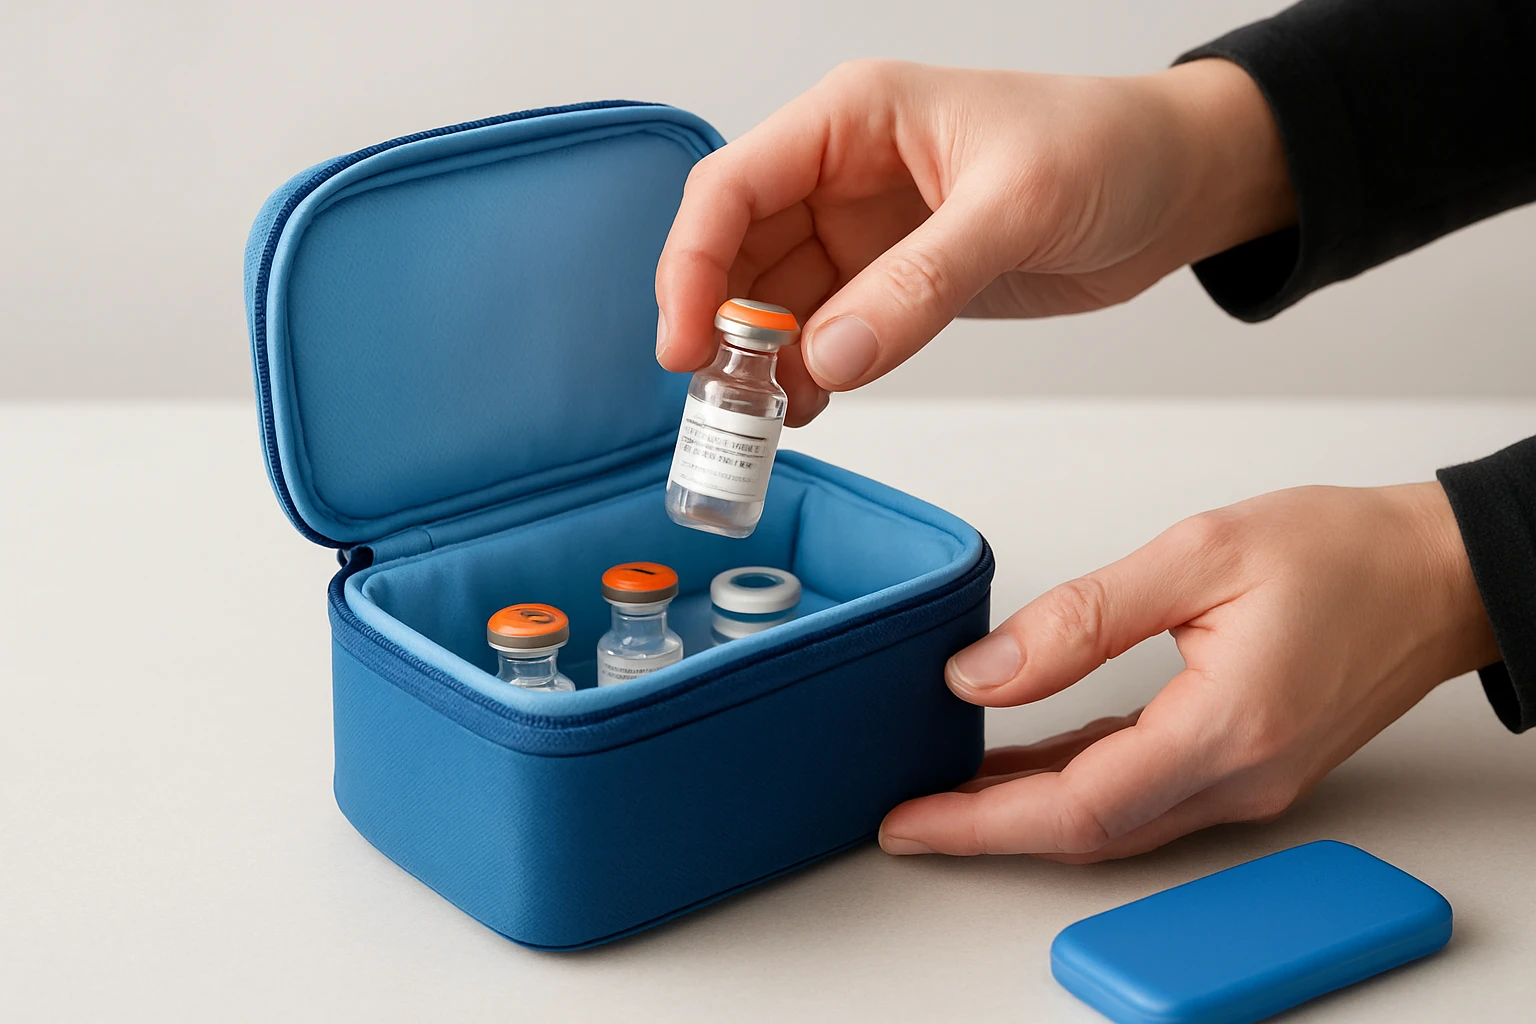
- Portable insulated insulin cooler (e.g., QIRDLP Insulin Cooler Case or YOUSHARES Insulin Cooler Travel Case)
- Two TSA‑approved ice packs (included with the YOUSHARES case)
- Battery‑operated temperature monitor or thermometer
- Backup insulin pens or vials, clearly labeled
- Emergency contact list and medical identification
- Water‑proof bag or zip‑lock pouch for additional protection
Step 1: Verify Insulin Viability Before Evacuation
Inspect the expiration date on each insulin vial or pen and discard any product that has passed its date. Check the current temperature of the insulin using a calibrated thermometer; the reading should be between 2 °C and 8 °C. If the temperature is outside this range, place the insulin in a refrigerator for at least four hours before proceeding. This verification prevents the transport of compromised medication and ensures that the subsequent steps are effective.
Step 2: Assemble an Emergency Diabetes Kit
Gather all necessary diabetes supplies in a single, easily accessible container. Include a minimum of two days' worth of insulin, spare syringes or pens, glucose tablets, and a glucagon emergency kit. Place the supplies inside a water‑proof bag to protect them from moisture during transit. The YOUSHARES Insulin Cooler Travel Case, which measures 8.5 × 3.5 × 2.3 inches and weighs only 0.6 lb, fits comfortably within most emergency backpacks, making it an ideal primary container for the kit.
Step 3: Prepare the Cooling Device
Activate the cooling mechanism of your chosen case at least one hour before evacuation. For the QIRDLP Insulin Cooler Case, fully charge the built‑in batteries for seven hours; the device can then maintain a temperature of 0 °C to 8 °C for up to six hours per battery. The case features an LED touch screen that displays real‑time temperature, allowing one to verify that the internal environment remains within the safe range. If using the YOUSHARES case, freeze the two included TSA‑approved ice packs for eight to twelve hours, then insert them into the compartment; the packs provide six to eight hours of cooling, which is sufficient for most short‑term evacuations.
Step 4: Pack Insulin Inside the Cooler
Place insulin pens, vials, or cartridges inside the cooler, ensuring that they do not block ventilation slots. The QIRDLP model can accommodate six to nine pens, twenty‑five bottles, or sixty refills, providing ample space for most treatment regimens. Arrange the items so that the temperature sensor has unobstructed contact with the air flow. Seal the cooler and verify the displayed temperature; it should read between 2 °C and 8 °C before departure.
Step 5: Transport the Cooler Safely During Evacuation
Carry the cooler in a carry‑on bag or a dedicated compartment of your evacuation backpack. Avoid exposing the cooler to direct sunlight or extreme ambient temperatures, as this can shorten battery life and reduce cooling efficiency. If traveling by vehicle, keep the cooler upright and avoid placing heavy objects on top of it. The QIRDLP case includes a sturdy handle that facilitates easy handling, and its TSA approval ensures that it can be taken through airport security without additional scrutiny.
Step 6: Monitor Temperature En Route
Check the LED temperature display or external thermometer at regular intervals, at least every two hours, to confirm that the insulin remains within the therapeutic range. If the temperature begins to rise above 8 °C, consider adding an additional ice pack or relocating the cooler to a cooler part of the vehicle. The rechargeable batteries in the QIRDLP case can be replenished via USB cable from a car charger, power bank, or hotel outlet, ensuring continuous operation during prolonged journeys.
Step 7: Post‑Evacuation Insulin Management
Upon reaching a safe location, inspect the insulin for any signs of discoloration, cloudiness, or particulate matter. If the insulin appears normal and the temperature log shows consistent cooling, it may be used as prescribed. Otherwise, discard the affected medication and obtain a replacement from a pharmacy or emergency medical service. Document the temperature history for future reference, as this information can be valuable for healthcare providers.
Tips & Pro Tips
- Label each insulin vial with the date and time it was placed in the cooler; this simplifies inventory checks.
- Carry a small solar charger or power bank to extend battery life when electricity is unavailable.
- Store the cooler in a shaded area whenever possible; direct sunlight can increase internal temperature rapidly.
- Consider using a secondary, non‑electronic insulated bag as a backup in case the electronic cooler fails.
- Practice the packing and temperature‑checking routine before an actual emergency to become familiar with the equipment.
Troubleshooting
Problem: The cooler does not display a temperature reading.
Solution: Verify that the battery is fully charged and that the LED screen is not obstructed. If the problem persists, reset the device by turning it off for thirty seconds and then powering it on again.
Problem: Insulin becomes warm despite the presence of ice packs.
Solution: Ensure that the ice packs are completely frozen before insertion and that the cooler’s ventilation slots are not covered. Replace any damaged or melted ice packs immediately.
Conclusion
This guide has outlined a systematic approach to protecting insulin during an emergency evacuation, emphasizing preparation, temperature control, and continuous monitoring. By utilizing a reliable cooling case such as the QIRDLP Insulin Cooler Case or the YOUSHARES Insulin Cooler Travel Case, individuals can maintain insulin efficacy and reduce health risks. Implementing the recommended steps and tips will increase confidence and safety during stressful evacuation scenarios.
Products Mentioned in This Guide
Frequently Asked Questions
How can I keep insulin at the recommended 2‑8 °C during an evacuation?
Use a portable insulated cooler with TSA‑approved ice packs and a temperature monitor to maintain the cold chain.
Are ice packs allowed in carry‑on luggage for air travel?
Yes, TSA‑approved gel packs are permitted in carry‑on bags as long as they are frozen or slushy at security screening.
What should I do if my cooler malfunctions and insulin warms up?
Switch to a backup insulin supply, contact your healthcare provider for emergency dosing instructions, and seek refrigeration as soon as possible.
How many extra insulin pens should I pack for an evacuation?
Pack at least one full day’s worth of backup pens or vials, clearly labeled, in addition to your regular supply.
Do I need a prescription or doctor’s note to bring insulin and cooling supplies through security?
No, insulin and its accessories are exempt from the 3‑1‑1 rule, but having a doctor’s note can speed up the screening process.
